Good lighting is key to the success of any studio photographer. Here are some simple set ups and lighting techniques.
Photographers have a style and work flow that fits the type of work they shoot and their personality. Here are some studio lighting techniques that focus on work flow and time management. Studio time is expensive for clients therefore it is important to maximize the set up time and arrange the shoot area for easy access to all equipment that will be needed for the shoot.
- Make sure the studio is clean. This sounds simplistic, but is important to keep dust away from all photographic equipment and it gives a bad impression to clients to see a messy studio.
- Plan the shoot in advance. Make sure you discuss with the client their needs so you can plan what you need for the shoot.
- Arrange the initial light set up before the client arrives.
- Set fill lights and reflectors close to the shooting area.
- Arrange all cameras and lenses to be used on a table close to the work area.
- Have all film or CF cards handy.
This is the basic set up list for most studio photography.
Lights
It is important to decide the lighting style to use for portraits.
- Softboxes diffuse light , reduce the overall sharpness and help soften the face to minimize the appearance of wrinkles and shadows. They also keep light contained so not to spill all over the room.
- Softboxes have even light as opposed to umbrellas that have a center spot and light falls off from there.
- Umbrellas are lighter and easier to travel with, not to mention can be set up faster than putting together a softbox.
- Both can achieve great results with proper use.
Portraits
When photographing portraits, it is important to start with one light on the subject and build from there. The closer the light is to the subject the softer and more diffuse it will be.
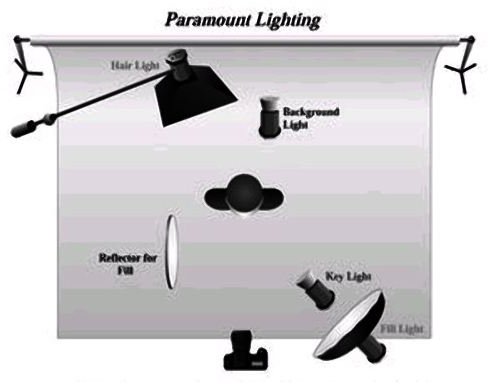
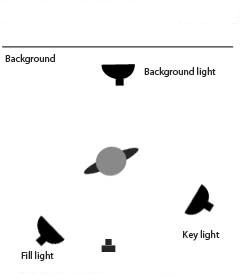
- The key light should be large and close to the subject. The light should be placed at a 45-degree angle from the subject.
- Next position the fill, hair and backlights. The fill light will be at the same angle on the opposite side of the camera from the key light.
- It is important to determine the ratio to be used for the portrait. Take the first light reading from the subject’s face aiming the meter towards the camera lens. The lighting ratio will depend on the type of portrait lighting to be used.
- 4:1 ratio is a common for studio portraits. This is dramatic lighting. (2 stops)
- 3:1 ratio is good for general portraits. This is defining light, but less dramatic than 4:1 ratio. (1 1/2 stops)
- 2:1 ratio is good for corporate headshots and general portraits. There is very little shadowing on the face, but still some contrast on the fill side of the face. (Not much, just some) (1 stop)
- 1:1 ratio is flat lighting. Not good for portraits. The light flattens the face and loses most of the definition and shape of the face. (Even)
Generally, 4:1 or 3:1 will render a good studio portrait. Measure the key light from the subject’s face and set the fill light two stops from the key light for 4:1 ratio, 1 1/2 stops for 3:1 ratio.
To meter for the ratio, meter the shadow side of the face, compare with the first meter reading on the light side of the face and make sure it is a little less than the correct ratio. Now, move the reflector in and take another reading. Keep moving the reflector in and out till the proper ratio is reached. For example, if the meter reading off the key light is f/11, then the shadow side of the face should read f/5.6 for the proper 4:1 ratio.
Lighting Set Ups
Product Shots
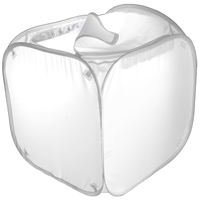
With product photography there are different considerations depending on the items to be photographed. With neutral objects a light cube can be used, but tabletops are great for most items and are versatile.
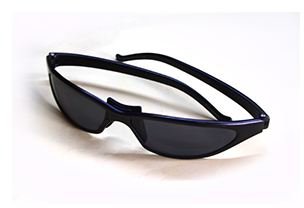
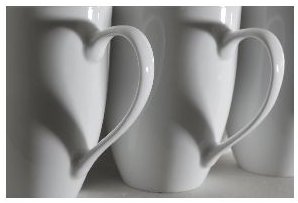
- White objects, silverware, and some black objects need shadow detail to define the object. (See Sunglasses & Mugs)
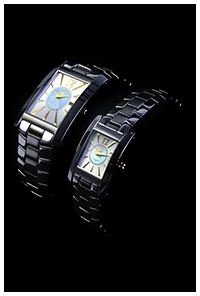
- Black objects, jewelry and reflective items need spectral highlights to define the object. (See Watches)
- If using a light cube, two lights on either side of the cube will give soft light.
- Place a black background inside the cube for objects that need spectral highlights and for jewelry.
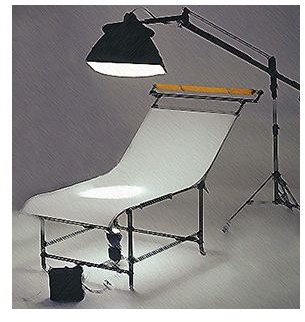
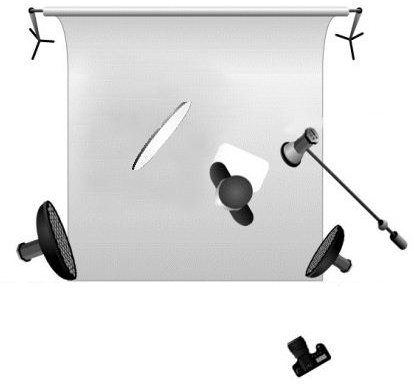
- For tabletop lighting, bounce a light off a soft box suspended by a boom arm, this will soften the shadow detail. Or, a light can be bounced off a low ceiling. Add a softbox above and on one of the sides. The next step is to work with another light and position the light for shadow detail.
- Reflectors can be added as needed.
- See the shooting table below for the basic layout. Lights can be added depending on the subject and light needed.
Equipment