This article covers three simple but versatile portrait lighting techniques. These tips are useful for professionals and advanced amateurs.
The Basics
There are many different types and styles of portrait photography lighting techniques. This article will cover simple lighting set ups and focus on getting the most drama in the portrait with the least effort and equipment. Lighting techniques are key to getting a great portrait. Not all portraits are for corporate websites or for the family photo. That is why different lighting techniques are needed. This is not the definitive article on portrait lighting; instead we will look at several different lighting situations. These will cover many of the situations a professional photographer could use as well has an advanced amateur.
Portrait photography is about photographing people. Good portrait photography uses light to create a mood when photographing people. It is important to determine what kind of portrait mood fits the subject. Here are a few lighting situations to consider.
- Corporate headshots - The standard three light set up would work best. The focus is on clearly defining the face of the subject.
- Dramatic portraits - Use fewer lights, but with background considerations for shadows and colors.
- Use the whole body - Not all portraits are just head and shoulders. Body language can create a story or impression that symbolizes the subject or the mood.
- Environmental portraits - Use the surrounding scene to describe the person. Lighting a larger area will be important.
Dramatic Lighting or Rembrandt Lighting
Dramatic lighting can be simple, but still create impact and draw the viewer into the picture. Here is a simple lighting set up that is great for drama.
- Use a black background for black and white portraits as well as defining the portrait from the background.
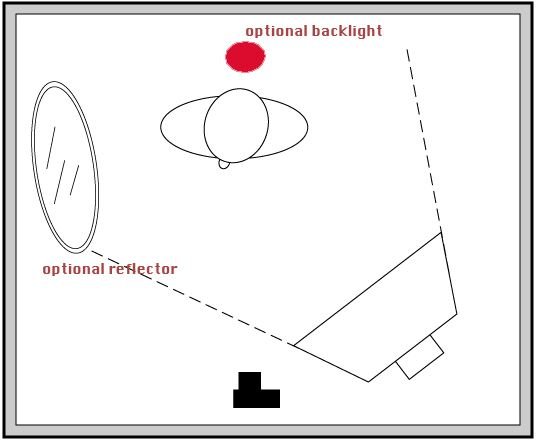
- Set the key light at a 45-degree angle to the subject. The key light should be higher than the head of the subject. (Figure 1)
- To slim the face of the subject, direct the key light towards the side of the face farthest from the light, reverse this if the subject has a thin face that needs to have a little extra weight.
- Turn the subject to light 2/3 to 3/4 of the face.
- A backlight can be used to separate the subject from the background.
- To soften the image a little, use a side reflector. For more drama, leave the reflector out. This looks especially good in black and white portraits.
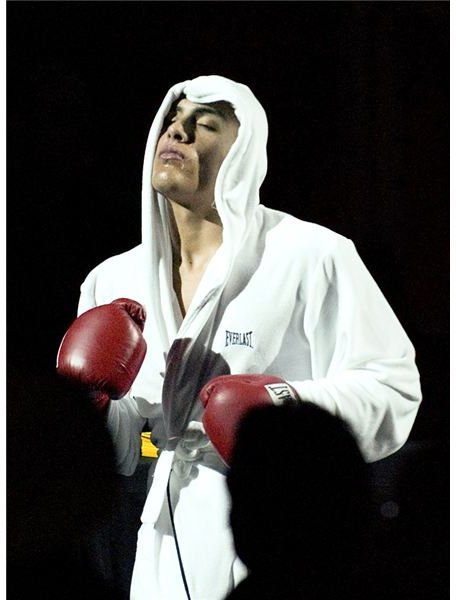
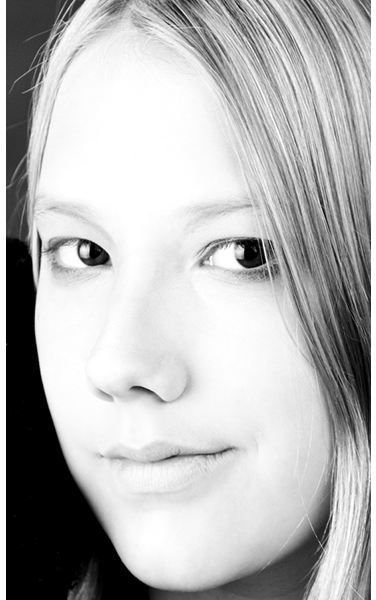
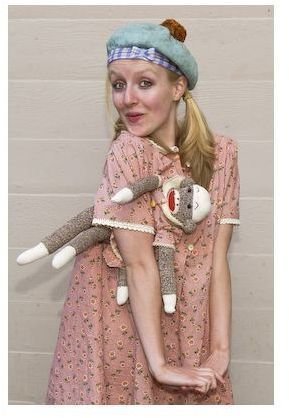
Figure 2 below is an example of this lighting situation outside of the studio. This would be a one light set up. The backlight and side light were not used.
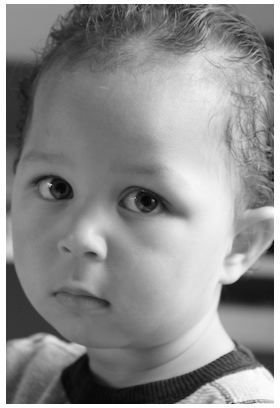
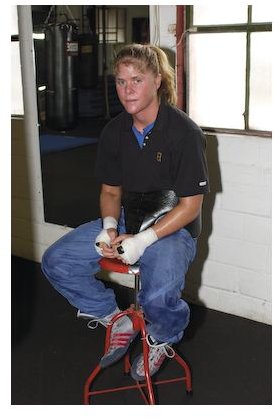
Figure 3 below is another example using this set up with one main light, the face is 1/3 toward the main light and a fill is used on the left side to soften the image.
Both of these examples are using remotes and reflector fills outside the studio.
Rembrandt Lighting Version 2
Here is another modified version of the above Rembrandt Lighting. This is with three lights. The set up is the same using a light in place of the reflector. This can fill in more light on the face and work to balance the portrait.

Figures 5 and 6 were both shot in the studio using this lighting set up. The difference is that the key light was switched to the opposite side on Figure 6.
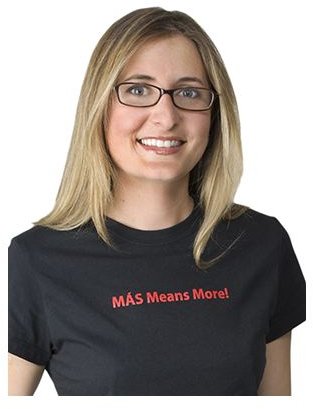
Corporate headshots can be shot using this second version. Depending on how the fill and backlights are used, the lighting can be used for more dramatic portraits or it can be used for standard headshots. Either way, this style of light defines the facial features in a more dramatic way. Compare this method with the paramount lighting and see the differences in softness and tone. Women usually prefer the paramount lighting to the Rembrandt lighting.
Paramount Lighting
Paramount lighting is great light for portraits, it can sculpt the face with light. The effects of highlighting and defining features to enhance or soften the overall look will pay off in the final print.
- The key light is placed at a 45-degree angle to the subject.
- A backlight is used for separation from the background.
- A hair light is used. Not a spot, a soft box (preferably) or diffused light above the subject.
- A fill reflector is used on the dark side of the subject.
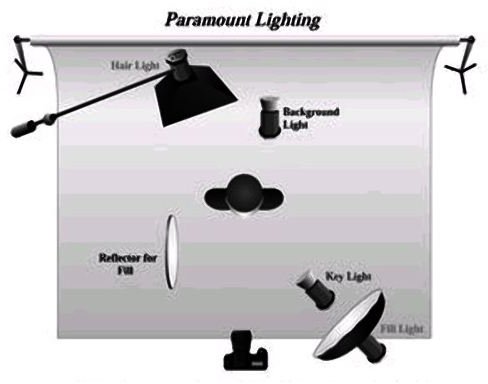
This is great light for many situations, but works best in the studio. This can be done on location, but all the lights need to be used in order to get the look from this light set up.
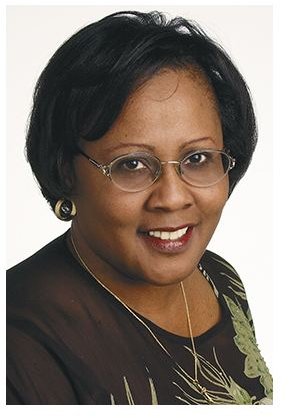
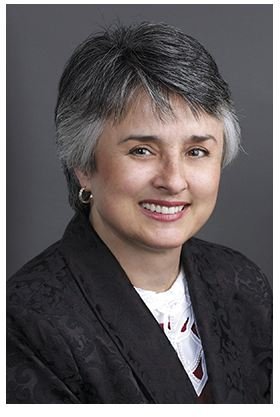
Figure 4 was done in the studio using this light set up.
Basic Lighting Set Up
This is the most versatile of the three lighting set ups. This set up travels well and is quick and easy to set up. Many different variations can be used with this basic system. You can use a bright window for one of the lights, a white wall for the reflector, a remote for the fill or backlight. So, this set up can be modified to fit any situation either in the studio or on location. If a bulb burns out or the photographer only has one light and flash, with the proper positioning, this lighting set up can be achieved with minimal equipment. That is the beauty of this particular lighting technique.
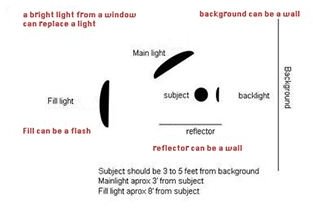
Figures 7, 8 and 9 were all taken using this method. All of the portraits used a different variation. Figure 9 used the same set up as the diagram using all the lights.
Summary
These are just three different lighting set ups, but they are simple and can achieve dramatic results in a portrait. All of these different lighting techniques were chosen because of their simplicity, portability and versatility. Any section can be modified using existing light and reflective surfaces. That is why these are great portrait lighting techniques to know.
All of the images were created using one of the lighting techniques or a variation. They were photographed either in the studio, outside or on location. This shows the variety of results that can be achieved depending on the photographer and the variation of lights.


