Photo retouching tutorial on simple color correction in RGB color to remove excess color hue in pictures. The curves tool in Photoshop is a great tool to perform color corrections.
Photo Touch Up In RGB Color
Most images have an overall hue that is not part of the natural color. Images shot in mixed lighting (i.e., natural and Tungsten) have a color hue from one of the light sources. Tungsten light casts a yellowish color if the camera is not white balanced before photographing the scene. Fluorescent, Neon and other types of lighting can give your pictures a colorcast that is not always pleasing. This tutorial covers a simple technique to balance these types of unwanted color hues using the Photoshop Curves tool.
Open Curves Tool
- Open your image in Photoshop. Make sure the image is in RGB. If it is not, select Image > Mode > RGB from the Menu bar. Figures 1 and 2 both have a yellow color hue from tungsten lighting. This color is not natural and can be removed easily using this process.
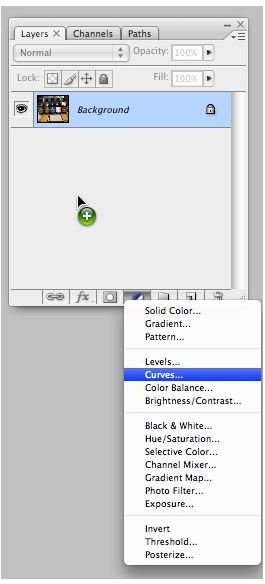
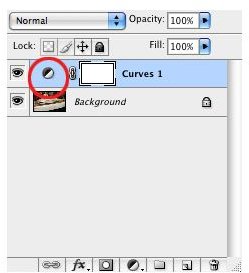
- Go to the Layers Palette and click the Create New Adjustment Layers button on the bottom of the palette. (Figure 3) Or select Layer > New Adjustment Layer > Curves from the Menu bar.
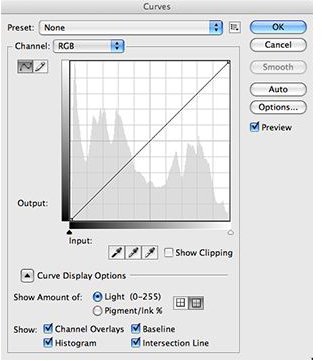
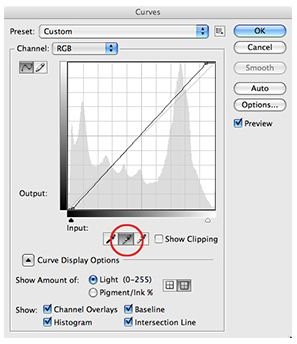
- Now, the Curves Tool should be open. (Figure 4)
Find The Mid Tones
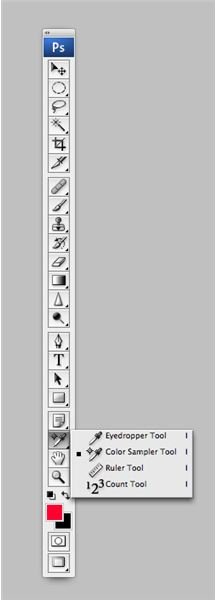
- With the Curves tool open, put on the Caps Lock and select the Color Sampler tool from the Tools Palette. (Figure 5) This will make the circle of the Sampler tool into cross hairs.
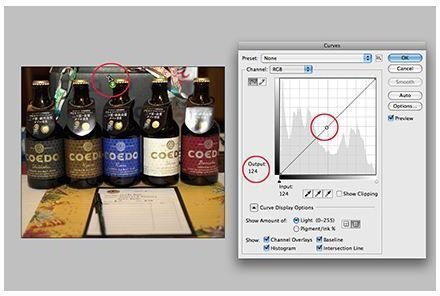
- Left click on the image and look for an Output number around 126. This will give you a midrange area that can be neutral. (Figure 6)
- Shift click on that spot. This will not reset the values, it will only mark the area for later. (Figure 6)
- Close the Curves tool dialog box by selecting cancel.
Set The Lightest & Darkest Points
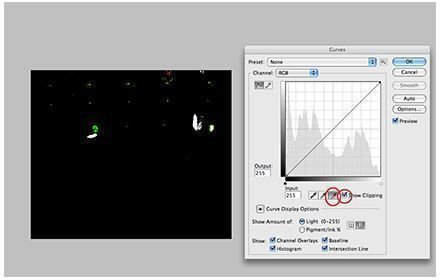
- Open the Curves tool , in the dialog box check the Show Clipping box and click on the white color sampler. This is the far right eyedropper. (Figure 7)
- The image will go black. In the upper right corner, (or whatever corner is set to white) pull the line to the left until the first sections of something white become visible in the main image area, click on that area. (Figure 7)
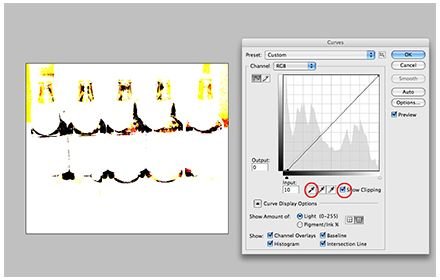
- Next, click on the black color sampler. That is the far left eyedropper. (Figure 8)
- The image will go white. Starting in the lower left corner (or whatever corner is set to black) drag the line to the right until the first pixels of the black area become visible, click on that area. (Figure 8)
- Click OK on the Curves tool dialog box.
Set The Mid-Range Point To Neutral
Now, the image has the light and dark points set. The last thing to set is the mid-range of the image to a neutral tone.
- Re-open the Curves tool by clicking on the half circle icon in the Layers Palette. (Figure 9)
- Click on the middle color sampler eyedropper. Set the Caps Lock and position the target directly over the mid-range point that was set earlier. The circles should line up exactly. When they are aligned, click on the points. (Figure 10)
- Click OK on the Curves tool dialog box.
Your image is now color corrected.
Before & After