This is the first part to an introductory series of articles on Adobe Photoshop CS3. This particular article will go over the most commonly used tools from the Photoshop toolbox.
Welcome to the first article in what will be a series on Adobe Photoshop CS3. The series will be aimed towards beginners just starting out with Photoshop.
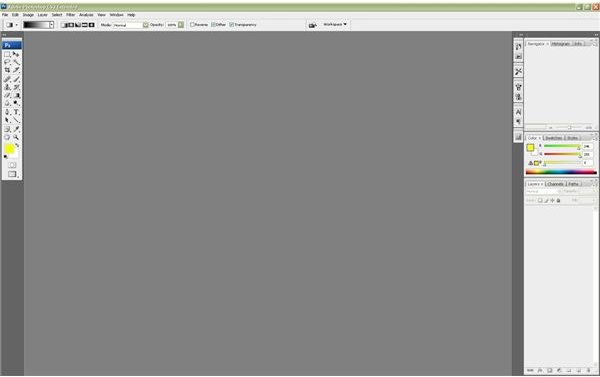
When you load up Photoshop CS3 for the first time, it definitely looks more than intimidating.
Photoshop CS3: Default Screen
Not to worry. Let’s go one step at a time as we dissect this complex piece of photo manipulation software.
Below you can see the Photoshop toolbox labeled. Some of the labels are highlighted - we’ll go over these tools first because I’ve found them to be the most common and necessary tools for general day-to-day tasks. A lot of these tools are relatively self-explanatory, so I’ll just briefly touch on them. We’ll go over other tools that may be less intuitive later on in this article series.
The Toolbox
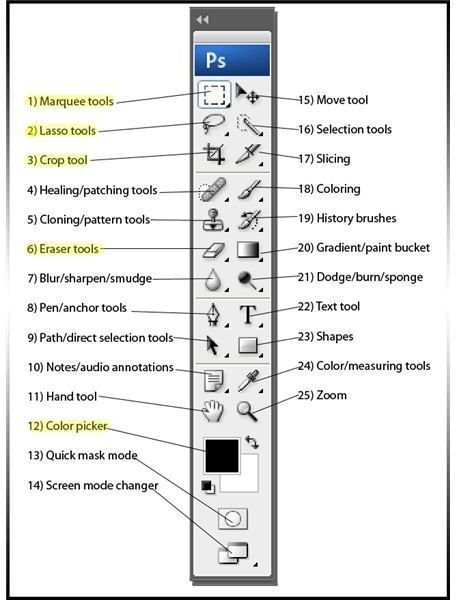
Alrighty then! Let’s break down those highlighted tools.
1) Marquee tools - These are selection tools. Click on the button and you’ll see you can choose between a rectangle tool and a circle tool. Ignore the row/column tools for now. Once you’ve selected which shape you want to use, simply click and drag on your image to make a selection. You can right click the selection for a set of options.
2) Lasso tools - Here you have a set of three more selection tools. The top lasso tool simply depends on your mouse movement. Click and drag to make your selection. Next is the polygon tool. Click once to start a selection. Then continue clicking for a “connect-the-dots” type of selection. This is good especially for selecting anything without curvature. The magnetic lasso tool will stick to any contrasting surfaces as you click and drag it along a subject. For instance, the outline of a person.
3) Crop tool - Pretty self-explanatory. Click and drag to expand your crop selection. Once you let go of the crop tool you can drag the corners to really get the crop you want.
6) Eraser tools - Eraser tool - easy. Background eraser tool - erases a background. It continually samples the background in your image in cases when your background is not a solid color. Magic eraser tool - selects pixels of the same color and eraser for backgrounds that are a single color.
12) Color picker - The color pickers lets you keep two colors at reach. The switch arrow will change the background color to the active foreground color. The small black/white overlapping button reverts the color picker to a default of black foreground with a white background. Clicking the color picker reveals a big square that ranges from high to low brightness and contrast. The vertical scale to the right (rainbow) allows you pick a base color.
Photoshop CS3 Tutorial Series
More coming soon in the series, expect an update soon!


