Setting your white balance to custom can save you a lot of work in front of the computer when you are editing your photos.
Remember in our previous discussion of white balance , when I briefly mentioned the custom white balance function? I deliberately did not go into it too much then because it really is a separate topic.
The custom white balance function is useful for when you are shooting in multiple different light sources. For example, in my studio, I have AlienBees lights, which are balanced to represent daylight. That is exactly what I want: a wash of pure white light. However, I also have overhead incandescent lights that help me see what is going on between the brief bright flashes of light. In addition, my landlord found it necessary to locate a bright flood light right outside my window. I don’t know what kind of light it is but it is a different color than the other lights.
Although the AlienBees lights are brighter than any other light source in the room, they do not drown out the others. Light is additive. That is, turning one light brighter will not wash out the colors in the other lights. The light colors mix together and combine to make something slightly different from what you want in the photo. Because of this, I have to make sure the camera sees what I want it to. This is where custom white balance comes in.
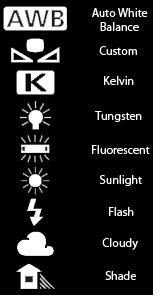
As a refresher, here is a list of the different white balance settings.
Each of these steps is manufacturer-dependent, so you should consult your camera’s user guide for the precise way to do it. This is a general guide.
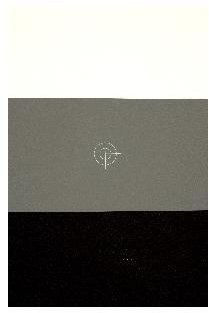
The first step is to set and meter your exposure . I recommend using the PhotoVision Digital Calibration Target. Next, set your camera to the custom white balance setting. In some cameras, for instance, the Canon Rebel XT and XTi, you can use the proper exposure of your calibration target to set your white balance. On my Pentax, I have to shoot a whole new frame while in the custom white balance menu. Your camera may be different again.
Once you set the white balance, do not change the lighting dramatically, or else you will have to meter and rebalance everything again.
If you do not have the digital calibration target listed above, you can also set the white balance by using something white, like a sheet of printer paper or a white reflector. A white t-shirt might not be a good choice, as fabrics tend to let a good bit of light through due to their weave.
Once you get in the habit of using the custom white balance functions, you will find yourself doing less and less when you edit your photos because they will already have all the right colors.


