Understanding and Using ISO Settings - Learning about ISO Settings on Your Digital Camera
The Basics of ISO
ISO is what we used to call film speed, back when everyone shot film. It refers to how sensitive the sensor in your camera is to light. The obvious thing to think is that more sensitivity is better, right? Well, not necessarily. I’ll explain in a minute.
Your ISO settings have a range of something like 100-1600. Some cameras start at 200, others at 50, and some go even to 6400. These numbers refer to film speed equivalents, which were measured based on the size of the film grain. The larger numbers refer to a larger grain of film. The larger grains were easier to see and thus the final print appeared “grainy.” Starting to make sense?

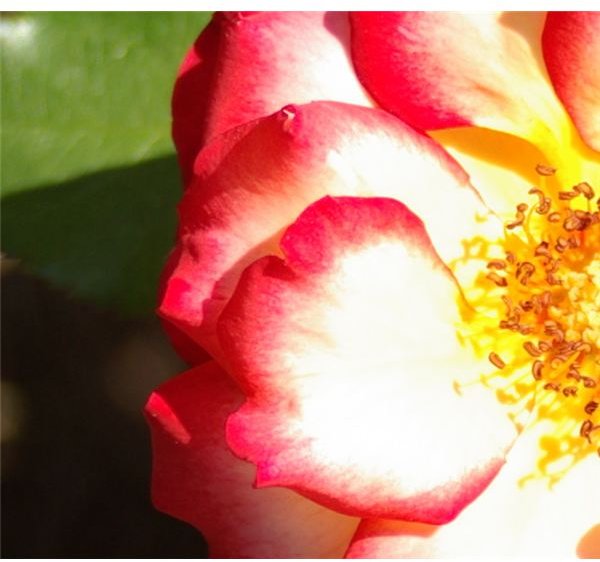
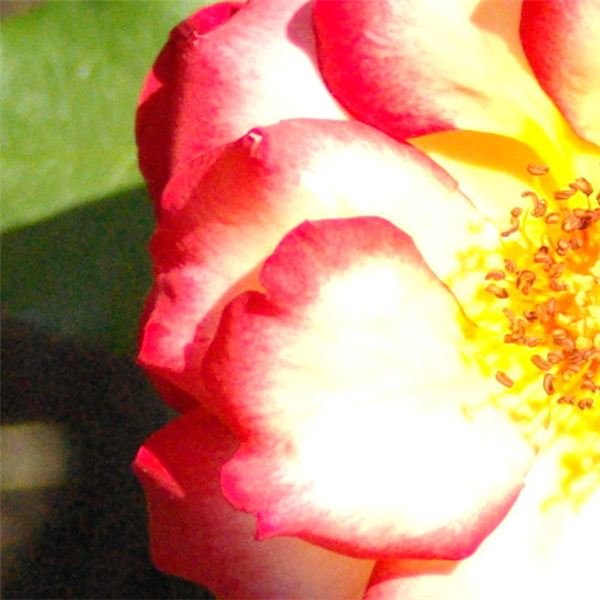
The important thing to know is that the lowest setting (smallest number) is least sensitive to light and the highest setting is most sensitive. There is a trade-off in using higher sensitivity settings, though. Effectively what your camera does to make the sensor more sensitive is it turns off some of the pixels, requiring less light to get the exposure you want. This results in more digital “noise” (the digital equivalent to “grain”) and thus a picture that is not as sharp as it could be. See these examples to the right, the first shot at 100 ISO and the second at 1600.
What a higher ISO setting allows you to do is to shoot with less light. You can stay out later shooting instead of packing everything up as the sun gets low on the horizon. The greater light sensitivity also allows for faster shutter speeds, which will allow you to capture action shots easier. Shutter speed is a different topic, though – one we cover in a different tutorial.
Keeping your camera set to the lowest ISO setting will ensure that your photos are as sharp as possible. However, the grain of a higher setting can add an interesting artistic effect.
Bringing it all Together
So what does this mean in a practical sense? How should you set your ISO setting? All camera sensors are made a little bit different, but here is my thinking on it. When I shot sports, I set the camera to ISO 400. I found that 400 is fast enough to get a good action shot in daylight, while still producing a relatively grain-less photo and allowing me to have a big enough aperture to give me decent depth of field. When I am shooting in the studio, the woods or almost any other situation, I set it to the lowest setting possible for the amount of light available.
The reason I shoot at the lowest possible ISO setting is because the photo ends up being more versatile. In general, it looks better and sharper. If you want something a little more noisy and grainy, you can always add it later in Photoshop or other photo editing software. However, you can’t remove grain that is a result of your ISO setting if you want the picture to be a little more clear.
The most important thing to remember when trying to understand ISO and the other exposure settings is that you should experiment with them so you have a more concrete idea of what they do. Photography is an art but the basis of it is science, so don’t be afraid to experiment and play around a little.
