The Art of Smooth Skin Photoshop Techniques
When looking at a recent magazine with a celebrity photo spread, it is often easy to get jealous because of how beautiful and perfect that celebrity is. Whether it is a movie star, pop singer or model, everything about them seems to be perfect and it is often questioned how they can remain so beautiful while the rest of the world wrestles and fights with blemishes and wrinkles day in and day out. While the first accusation usually falls on the side of plastic surgery, the real truth in most cases rests in the art of touching up the photographs after the session. The photographers make sure to remove blemishes, eliminate wrinkles and smooth out the skin before the photos ever reach the light of day. You too can be as perfect as those celebrities when you learn to touch up your photos using this smooth skin Photoshop tutorial.
The Easy Method: Step-by-Step Instructions
While it may seem tempting to get carried away when starting to smooth skin in Photoshop, the basic amateur photo editor needs to understand that it is not an easy task and can end up messing up the photo instead of bringing out the beauty of the individual. There is no way to absolutely make sure that the photograph is perfect when undertaking this task and the work to get it as close to your ideal as possible is time consuming.
With that said, load up Photoshop and let’s get to work.
**
Step One: Open your photograph you want to retouch into Photoshop (File>Open).
Step Two: One of the most important things to learn when editing photographs or retouching them is to never destroy the original print. If everything goes wrong, you always have your original print to come back to and start over. If you start editing your only version of the photograph and mess up, you are finished. To avoid this, duplicate the background into a new layer. To do this, simply right click on the image in the Layers Palette and then click Duplicate. Name the duplicate layer and click Enter.
Step Three: Starting with Photoshop CS2, a new tool called Surface Blur was introduced by Adobe. The basic Blur affects the entire image but the Surface Blur uses smart technology to only smooth areas that are already crisp in detail. Choose (Filter>Blur>Surface Blur). A new dialogue box opens and you should focus on the area of the face with the worst lines and then adjust the lever to the exact point where the skin is smoothed. Do not go over this amount though or it will start to mess up things like the image’s eyes. Threshold concerns the tonal values of the pixels while Radius determines the size of the area sampled.
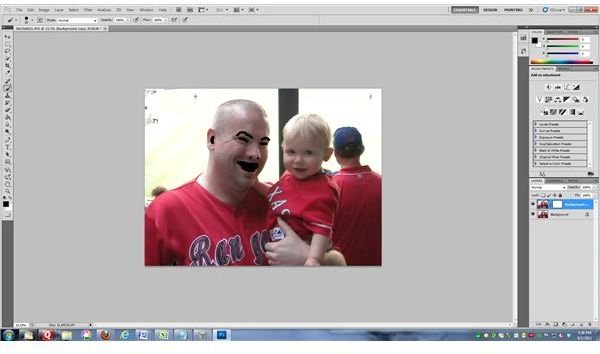
Step Four: Add a layer mask to the blurred layer and expose the areas from the image. This is important to start to perfect the smoothing technique while not affecting the eyes, lips and hair. There are a couple of ways to go about this and both have the same results.
In the first way choose (Layer>Layer Mask>Reveal All). When you paint in black on the mask, it allows your eyes and lips to shine through from the bottom photograph. In the second, choose (Layer>Layer Mask>Hide All) and when you paint white on that mask, the underlying image shines through those areas. Basically, just paint over the eyes, mouth, hair and whatever part of the background needs to be unaffected by the Surface Blur effect.
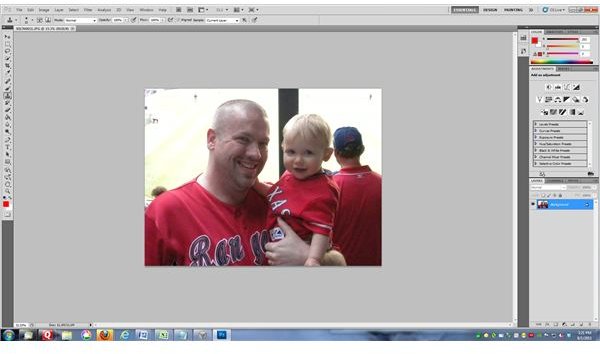
Once this is completed, the skin will look much smoother in the photograph.
A More In-Depth Airbrushing Tool
The above technique is a simple and easy to use method to smooth skin in Photoshop but there is another method that is harder and involves more work but might give you more control over the touchup effects.
Step One: Open your photograph you want to retouch into Photoshop (File>Open).
Step Two: Use the Lasso Tool to cut out the individual from the photograph to reduce the size of the file in order to speed up the process. Once this is done, Duplicate the Lassoed image into its own layer. To do this click (CTRL-J) and select Duplicate. Do this one more time, so you will now have the original and two duplicated layers of the individual in the photograph. Name the upper layer High Pass and the lower layer Low Pass.

Step Three: Click on the High Pass EYE to hide the layer. Choose the Low Pass Layer to work with first. In this layer, use the Surface Blur as shown in the Easy Method. If your photograph is of high quality, increase the Radius. Lower the threshold until the image gets blurry but is still recognizable. Then adjust the Radius to make the skin look smooth.
Step Four: Click the High Pass EYE to make it visible again. Change the layer mode to Linear Light in the dialogue box. The bumps on skin that you want to smooth out are most visible on the neutral skin tones and not on the darker skin tones. To combat this, add a layer mask (Layer>Layer Mask>Reveal All). Now, use the Apply Image to add a copy of the image in the layer mask itself. This reduces the effects in dark areas.
Step Five: Now, for the hard part. Click on the IMAGE in the high pass (there is a layer in there too but just select the image thumbnail). Zoom in to 100-percent to make this as easy as possible. Select (Filter>Other>High Pass) and start to adjust the Radiant one step at a time until the skin looks smooth.
Step Six: When you are satisfied with this look, click on the layer mask thumbnail and choose (Image>Adjustments>Brightness/Contrast). Increase the contrast and adjust the brightness to make the dark area’s bumps less visible. When you finish with this step, the skin is completely smoothed out.
Step Seven: Unfortunately, all the image is smoothed out as well. Select both the top two layers (High Pass and Low Pass) and click (CTRL-G) to open the Layers Menu. Select Group Layers to group these two together and then add a Layer Mask to the group (Layers>Layer Mask>Hide All).
Step Eight: The image now looks like it originally did. Add a new Layer below the Group Layer but above the rest and make it RED. Change the opacity of the layer to around 50-percent. Now, choose the Group Layer again and choose the paint brush. Start painting over the areas of skin that were smoothed out in your work. As you paint over them, you erase that portion of the layer and the red from the layer beneath shows through. This does not have to be perfect because the smooth effects will not cause more than minor flaws and are unnoticeable. Paint in all the skin but not the hair, clothes, eyes or background. When you are finished, delete the Red Layer.
You have now completed smoothing out the skin in your photographs. While movie stars and pop musicians always seem to look perfect in their magazine spreads, that is not normally the truth in real life. Now, with this tutorial, you can have photographs of yourself that rivals these celebrities and can prove to everyone once and for all that nothing is ever what it seems.
References
Article is from author’s personal experience.
Images from personal collection
