Lighting is important all types of photography, including nature photography, but how do you incorporate lighting in wildlife photography? Learn nature photography lighting tips in this digital photography article.
About Nature Photography Lighting
Nature photography allows you to capture the beauty of the world around you. You can take nature photographs nearly anywhere that you go. You know that you need a digital SLR camera and maybe a tripod. What do you do about nature photography lighting?
Types of Lighting
Generally, the lighting that you need depends how you want to illuminate the subject. You have about three choices for lighting: front, back and side. When you light items from the front, the object looks very flat. You will bring out the color of the subject, but you will lose a lot of contrast.
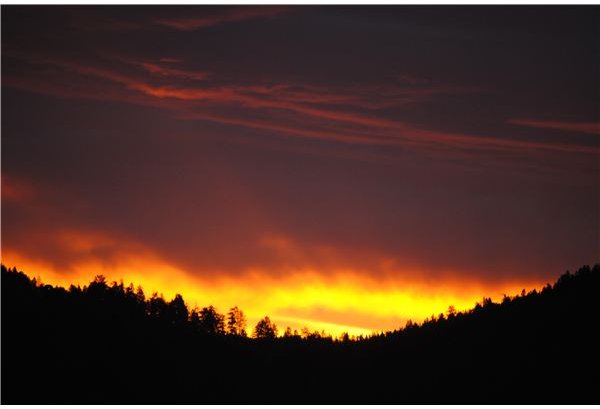
Back lighting increases the contrast between the background and the subject. You can also use this for silhouettes. Detail sometimes can suffer when backlighting images so you must decide what is more important: detail or background/foreground contrast.
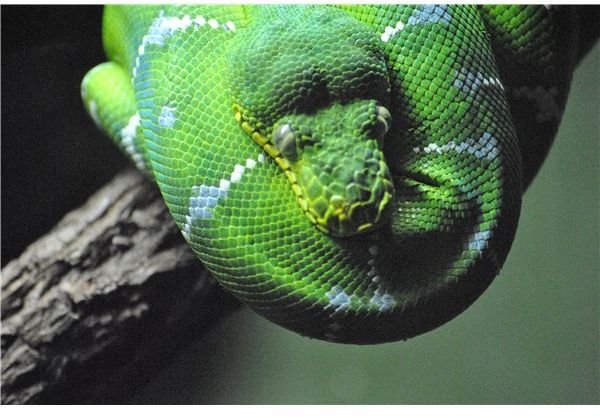
Side lighting gives your subject a three-dimensional look. It adds texture and shadow to the scene, bringing out minute details. For animals, generally front and side lighting works best. You can also capture some nice shots with backlighting.
Flash or No Flash
Of course, with nature photography, you may not have time or even the means to set up your lighting, especially if you are capturing wild animals or natural scenes. This also goes for capturing sweeping scenes. It is not as if you have a big enough light (except the sun) to illuminate a mountain from the side.
For nature photography, most professionals use natural lighting and filters. Natural lighting provides you with shadows and contrast. In addition, if you capture photos during either the morning or afternoon, the light is nicely filtered.
You cannot get contrast with flashes, not even if you are using a fill flash. Flash tends to flatten the image and can even over-expose it.
Natural Lighting
So, what do you do if you want to capture a particular scene with a particular type of lighting? Well, you need to do your homework. Scout the area long before you plan to photograph it. As the sun moves across the horizon, the light it provides also changes. Spend a day examining how light plays across a particular object, and wait for the light to illuminate it just right.
You can only do this for stationary objects. If you are capturing animals, then you must take the photographs when the animals are present. Luckily, wildlife tends to come out in the early morning or late afternoon since these are their feeding times. Since these are the optimum time for taking photographs using natural lighting, you should be fine. The major concern is just finding out where the animals congregate, which may mean surveying locals or asking park officials.
Experimentation
If you are new to using natural lighting, experiment with your camera and camera settings long before you ever venture out to take your photographs. Play with the ISO settings . Generally, for natural lighting, you want the setting to be about 800. See what your camera can do, and then take lots of photographs.
References
Zuckerman, Jim. “Wildlife Photography with Maximum Impact: Outdoor Lighting and Contrast”, https://www.betterphoto.com/article.asp?id=218
Erhardt, Jim. “Wildlife Photography – Direction of Light”, https://www.naturephotographers.net/np101/je0904-1.html
Image Source: Author


