GIMP Tutorial: How to Get Rid of Double Chin in GIMP
GIMP: Free Program with Lots of Tools
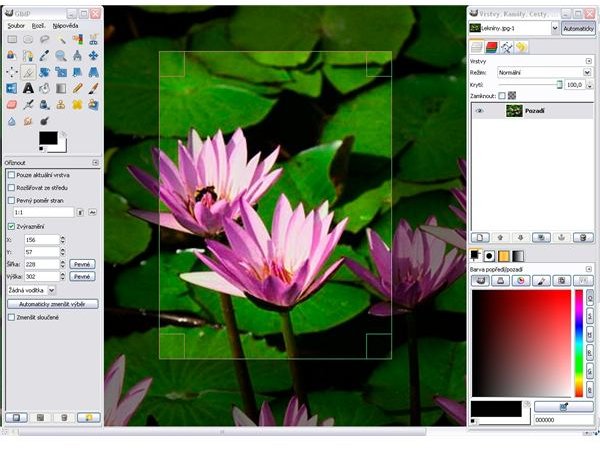
GIMP is a free program offered under the GNU Public license. This program helps you add effects to and touch up your photographs. If you are photographing people, then you have probably run into the problem of someone having a double chin, and you want to get rid of this problem in GIMP. So, you are faced with a question: how to get rid of double chin in GIMP?
Download GIMP
Before you can start using GIMP, however, you must download the program. As mentioned earlier, it’s completely free to use this program, and it is available for the major operating systems, including Linux, Windows and Mac. Just go to the GIMP website, and click
on Downloads. The website should automatically detect the operating system that you are using and provide you with just the download options for that operating system.
Click on the download link, and let the program completely install. You may have to restart your computer depending on the type of system that you are using. Once the program is completely installed, open it up, and select the image that you want to correct.
Using the IWarp Tool
Now, you want to zoom into the section of the image that you want to manipulate. You can use the Zoom or Hand tool to do this. Or, you can press CTRL plus ALT plus zero (0) all at the same time to zoom into the image. Press CTRL and “-“ to zoom out.

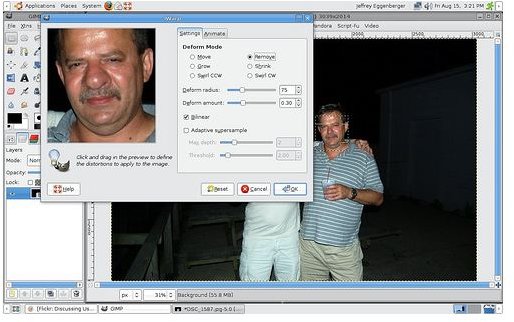
Once you have zoom into your image, go to Filters and open up the IWarp tool. If you are familiar with Photoshop, then this tool is very similar to the Liquefy filter in Photoshop, and it works basically the same way. Change the size of the brush if it is too large. Remember, you only want to target the double chin and not the rest of the face.
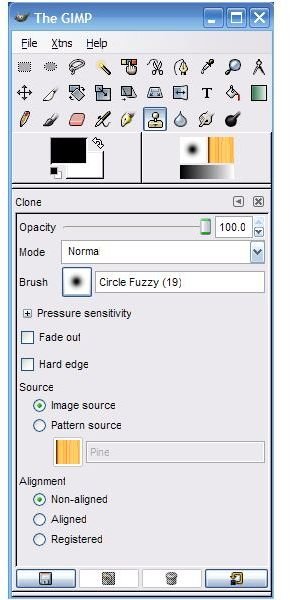
Take your tool, and start brushing along the chin line. The tool will start blurring the area underneath the chin line. Next, click on the Clone tool. Hold down the ALT button on your keyboard, and click on area that you want to duplicate. This duplication will cover up the area underneath your chin line that you just blurred. For example, if the person was wearing a turtle neck shirt, select a section of the shirt to mask the now blurry double chin.
Smudging Your Work
Now, change the Opacity of the Clone tool to about 30, and paint over the blurry area. The selected image section will now be painted

over the blurry double chin. To perfect the look of the image, select the Smudge tool, and change the tool size to about 20. Place the tool over the area where you just used the Clone tool, and paint downwards. This blends the cloned area with the rest of the image.
Save your work if you are pleased with the results.
References
GIMP, https://docs.gimp.org/en/gimp-tool-clone.html
GIMP, https://www.gimp.org/screenshots/
jeffegg2, https://www.flickr.com/groups/gimpusers/discuss/72157606750910549/
