Ever wondered how you’d learn to use Adobe Photoshop Elements? Thinking of an upgrade but daunted by the learning curve? Puzzled by the many buttons or functions? If you’ve answered yes to any of the above, you’ve reached the right place. Read on to learn how to use Photoshop Elements.
Adobe Photoshop Elements , the younger sibling of the all-powerful Adobe Photoshop, is usually the first ‘real’ photo editor for many people. Though much simpler than its big brother, all those buttons and options can be quite daunting to the Photoshop rookie. Follow this easy tutorial which introduces you to the basics of this fantastic software. Learn interesting tips on how to use Photoshop Elements that will make editing photos as much fun as shooting them. I’ll be using Photoshop Elements 9 for this article, though the concepts explained should hold for almost every version of the software.
1. Try Things Out
As with most software, there are many ways to learn how to use Photoshop Elements.
- You may start off with online articles and tutorials to get an idea of the basics.
- You may hover your mouse over various buttons within the program to learn their functions. What’s more, clicking the text box that describes the function takes you to the help pages associated with the function.
- Use the ‘Guided Edit’ feature, which gives you step-by-step instructions on performing common photo edits.
And before you get your hands dirty with Photoshop Elements, let me give you two invaluable tips:
- Always work on copies of your original photos. To do this, click ‘Save As’ and save a copy of your photo. You can now safely make any changes to the photos without fear of losing the original.
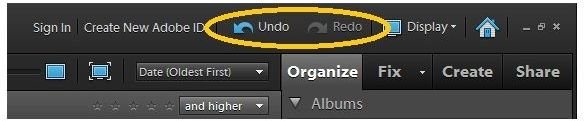
- Make full use of the ‘Undo’ and ‘Redo’ options. I feel they are the two best functions in the software!
For exhaustive tutorials on getting specific tasks done using Photoshop Elements, check out the Photoshop Elements Guide .
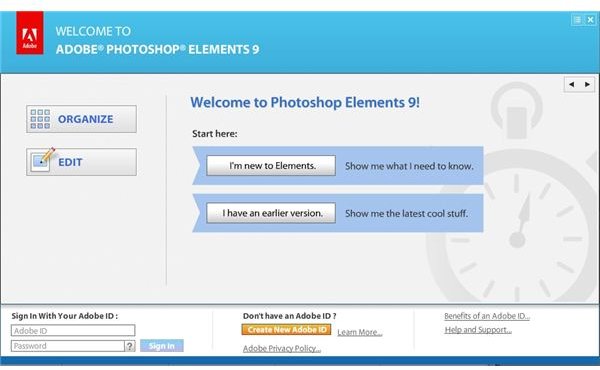
2. The Opening Splash
When you click on the icon to open Photoshop Elements, the splash screen presents you with four options:
- I’m new to Elements - A tutorial to help you with the most common features of the software.
- I have an earlier version - A slideshow featuring only the improvements in this version over the previous one.
- Organize
- Edit
Organize and Edit are essentially the two broad categories or ‘workspaces’ into which Elements is divided. You can organize, tag, label, rate and create albums based on various parameters in the Organize workspace whereas touch-ups, improvements and modifications of photos can be made in the Edit workspace.
Please continue on to the next page for more tips on how to use Photoshop Elements.
3. The “Organize” Workspace
The Organize workspace is divided into three sections:
- The main screen is occupied by photos from the folders which you specify. You can rate your photos from right within this screen.
- The lower right pane allows you to ’tag’ your photos with keywords. It also contains a nifty ‘Find People’ option that recognizes faces in your photos , allowing you to use names of people as tags. On the top of the screen is the search bar, which allows you to locate specific photos or albums. You can also search by ratings or tags. Simply dragging and dropping a tag on the search bar will result in all photos matching the tag being displayed.
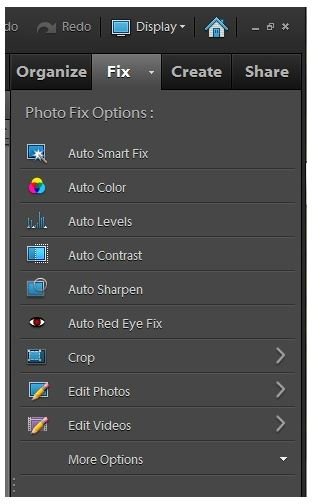
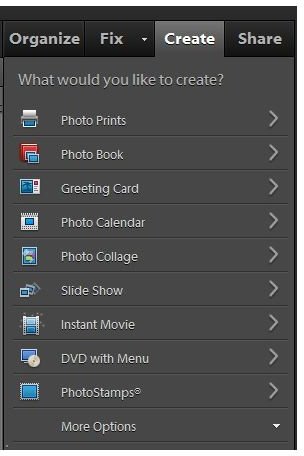
- The upper right pane allows you to switch between the various screens. Apart from the Organize screen, the others are:
-
 Advertisement
Fix, for editing photos.
-
Create, to use the photos to make a collage, a greeting card, a calendar, photobook or even a DVD.
Advertisement -
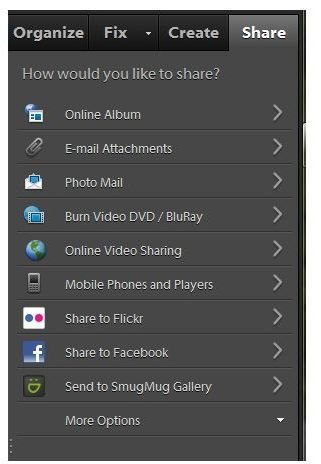
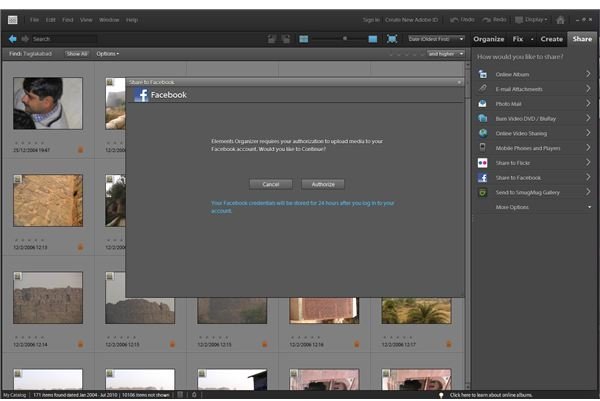
Share, which allows you to upload photos to your email, to a web album, or to a photo sharing site like Flickr. You can even directly upload your photos to Facebook using the built-in option, which automatically re-sizes and uploads your photos to your Facebook profile.
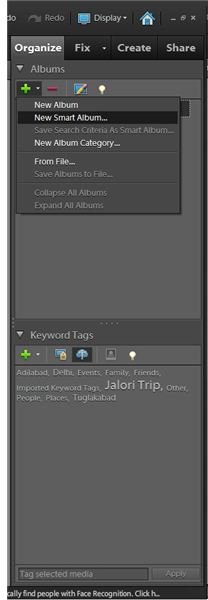
4. Smart Albums
Smart Albums are albums that automatically collect files that match certain criteria. Simply specify the criteria and watch your album being created and updated dynamically. To do so, click on the small ‘down arrow’ beside the green ‘+" sign in the Organize pane, and choose “New Smart Album”
.
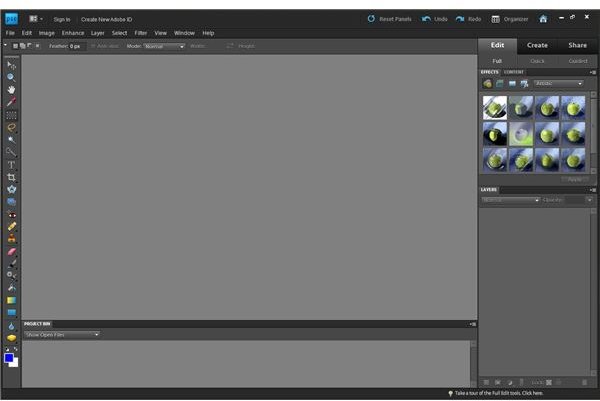
5. The “Edit” Workspace
The Edit workspace in Photoshop Elements offers three options, on the right pane"
- Full Edit - Quite similar to its big brother Adobe Photoshop, Element’s Full Edit offers a plethora of options to edit your photos, right from simple brightness/contrast adjustments to full-fledged image manipulations using layers, healing and a multitude of plug-ins. One can also add extra plug-ins to increase functionality.
- Quick Edit - Meant for those who are not interested in getting bogged down with a plethora of options, and want to do only minor touch-ups, the Quick Edit offers the most common functions in an easy-to-use format. You can easily set color, lighting, sharpness, contrast, levels and temperature in a jiffy. For those who like it simpler, there’s also a ‘Smart Fix’ option wherein the software itself analyzes the photo and smartly ‘fixes’ it. Simply drag the sliders corresponding to each option until you’re satisfied with the image.
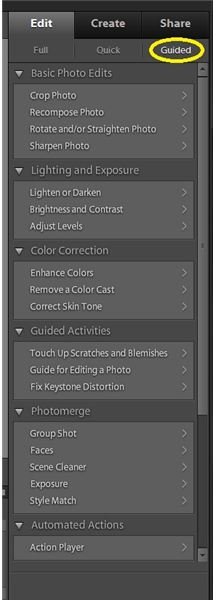
- Guided Edit - This is somewhere in between the previous two options. The most commonly performed tasks are classified into six categories, and step-by-step instructions are provided to get the task done. Really useful to learn the various features of the software and how to put them to use.

With that, I’ve given you an introduction which will teach you how to use Photoshop Elements. Once you learn the way the software functions are organized and how simple it is even for a beginner to edit photos and give them a ‘professional’ look, you will appreciate Photoshop Elements all the more. By all means, install a trial version and give it a shot - I’m sure you’ll love it.


