How to Manage Your Droid Contacts
The Motorola Droid was the first Android phone to hit the market on the Verizon network. Owning a smartphone would be pointless without having any contacts in your device. Let’s look at a few ways to edit the contacts on your Motorola Droid.
Editing Contacts
This is a very simple step that may have slipped right under your nose. Needing to edit a contact can be crucial when you find out someone has changed their number and you do not want to enter a whole new contact. Also you can add a picture to someone’s profile in your phone so you can just look for faces instead of the name.
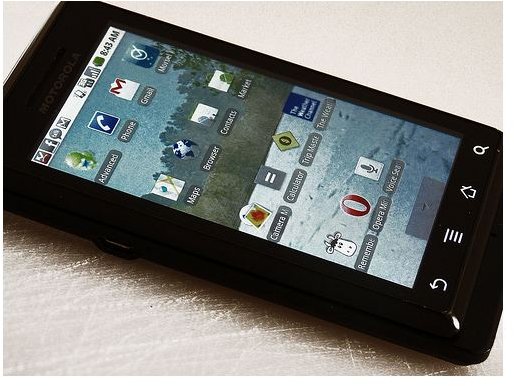
To edit your Droid’s contacts you must first enter the contacts menu. The icon should be located directly on the home screen of your phone. After your list of contacts appears, find which contact you would like to edit. When the contact is found click on their name and it will bring you to a screen with all of their information on it, such as their number, name, and profiles they are linked to.
Find the Menu button, which is the second button in from the left with the four lines. This will bring up a few options and one of them will be Edit. Press the Edit option and you will be given a screen that allows you to change the contact’s number, name, email, addresses, and even additional info. For example: If you have a contact in your phone that you owe money to, then you can leave additional info reminding you of the owed money.
Syncing Contacts with Outlook
Syncing your Motorola Droid to Microsoft Outlook can seem like a daunting task unless you are tech-savvy. It happens to be one of the easiest tasks to accomplish with your Droid. You do not even have to plug your phone into your computer. The steps require you to send your contacts to Gmail from Outlook. Here are the steps.
First you must open Microsoft Outlook on your computer, once opened go to the file tab. Once the File tab drops down you must click on Import

and Export, and you will want to choose Export. After clicking Export you will be presented with a folder, make sure to choose the Windows folder. You then must select contacts, which is a file with all of your contacts from Outlook, and choose where to save them to (saving to the desktop is the best decision).
Next all you must do is log into your Gmail account, which is where you are going to import your Microsoft Outlook contacts to. In Gmail click on Contacts and choose the Import option. You will then be allowed to choose the folder you have just saved and import it into Gmail. After selecting the file click import and all of your contacts will now be in your Gmail contacts.
When any owner first receives a Droid they must set up a Gmail account. Go into the Gmail account you have chosen and head to the contacts section once again. You will then click on the Menu button, which will lead you to accounts. Choose your account and go to Menu once again where you choose Import for the last time. After pressing import, all of your contacts will be synced and any duplicates will be deleted.
Changing Order of Contacts
If you’ve been wondering – how do you change the order of contacts in the Droid? Unfortunately at this time there are no options to change the order of your contacts. In your main contacts list every name is ordered alphabetically by their first name. There is, however, a way to order your favorites whichever way you would want.
First go to each contact that you would like added to your list of favorites. After deciding who you want added you will press on their name and click the red star. The red star signifies that they are a favorite and will add the contact to your list. The favorites list does not organize itself in alphabetical order. Whoever you want as your first contact should be the first person added to your favorites list.
References
Sources: Author’s personal experience.
Pictures:
