Learn about the ultimate free iPhone spam filter and how you can set it up in a few minutes without the need to install a single program. Don’t be surprised to read that this great solution is free, easy to use and it comes from Google. Read our article on the ultimate iPhone spam filter.
iMail
The default Mail program for the iPhone does a wonderful job at providing easy, integrated access to email. However, it lacks in one
particular area, which is likely what drove you to search for an iPhone spam filter.
The default iPhone mail program simply does not have a built-in spam filter. There are many reasons why Apple may have chosen to leave this detail out, the most likely being the fact that most email services have their own built-in spam filter. This is especially true for services such as Gmail which users commonly use on the iPhone.
Users of services with less spam protection such as Yahoo and Windows Live Mail, likely find themselves needing an iPhone spam filter. Due to program restrictions by Apple, there is no way to release an iPhone spam filter on the iPhone. This was confirmed by the creator of the popular Spam Filter, SpamSieve, when he confirmed there is no planned iPhone version because Apple does not allow programs to interact with the native mail application.
While there may not be an iPhone spam filter, there are still powerful email services such as Gmail which have spam protection. This guide will teach you how to set up a Google Mail (Gmail) account and get it running on your iPhone, this is currently the easiest and best iPhone spam filter available.
Getting Gmail Going
You may be thinking that you do not want Gmail, or that you have no desire to change your email account. If this is the case, you can simply skip this section, but be warned: there is no other iPhone spam filter.
- Create a Gmail Account. Visit https://www.gmail.com . Click “Create an Account” in the bottom left corner. Follow the instructions to create your account and choose a username.
- Enabled iMAP. Login to your Gmail account by visiting https://www.gmail.com . Enter the username you just created and the password too. Once logged into Gmail, click Settings and then Forwarding and POP/IMAP. Select the “Enabled IMAP” box and Save Changes.
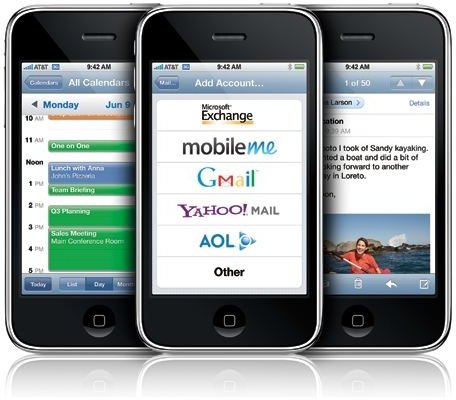
- Create a new account on iPhone. From the start screen of the iPhone, choose “Settings”. Now choose “Mail, Contacts, Calendars” and tap Add Account. Select “Gmail” from the list.
- Configure the account. Enter anything you please into the name field. Enter the full username (including @gmail.com) into the address field. Enter your password into the password field and again, enter anything you want into the description field.
- Save changes. Tap “Save” and press the home button to exit. Your Gmail account is now setup on your iPhone.
Conclusion
Once your account on Gmail is set up, it is pretty simple to use. Simply give out your new Gmail address as you would any other email address. It can be checked on the computer or from your iPhone at any time. Gmail’s built-in spam filter will prevent your iPhone from being overrun by annoying Spam.
If you do not want to “change” your email address, simply set your old email address to forward to your Gmail account and continue to use the old one. Mail will be forwarded to Gmail and appear on your iPhone. It will also pass through Gmail and thus be filtered for spam. While Gmail may not be a piece of software installed on the iPhone, it is still a great iPhone spam filter.
For more help setting up your Gmail account, take a look at this article . You may also want to read, Texting with Gmail and GTalk .


