Looking for the best remote control application for your Android smartphone? Look no further I bring you Gmote 2.0. The best general purpose remote control for your Mac, Linux or Windows PC.
What Can I Do With Gmote?
Gmote turns your Android smartphone into a remote control for your Mac, Linux or Windows PC (Personal Computer). There are many programs on the Android Market that let you remote control your Mac, Linux or Windows PC, none are as full featured and powerful as Gmote.
Gmote allows you to run music and movies from your Android smartphone and supports all major remote control functions such as play, pause, rewind and control of the volume. Gmote also includes a very smart file browser that allows you to pick and choose what to play.
How Do I Install Gmote?
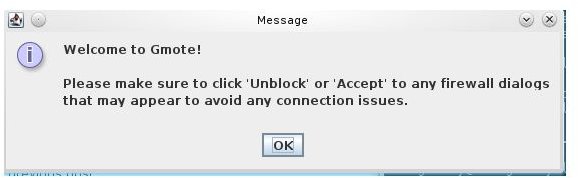
The Gmote application itself can be installed via the Android Market but in order to control a PC you must have the Gmote server software installed on your PC. Depending on whether you use a Mac, Linux or Windows based PC the installation routine is slightly different.
Windows: For Windows you simply need to download and install the latest .exe from the Gmote website. Once the file has been downloaded to your local hard drive double click the file to proceed with the setup process.
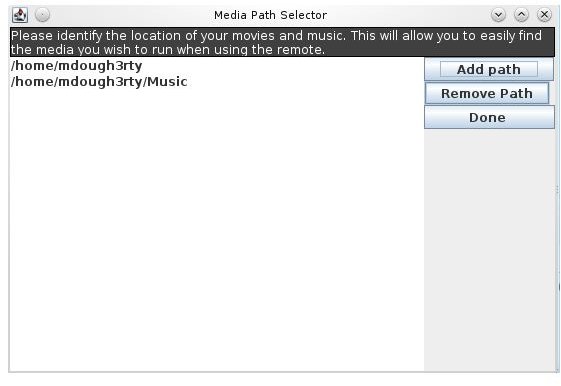
Mac: Similar to Windows you will only need to download the Mac .pkg file and double-click to install. Each of these setup routines will require you to provide a password for your Gmote server as well as setup any media directories you want Gmote to have direct access to.
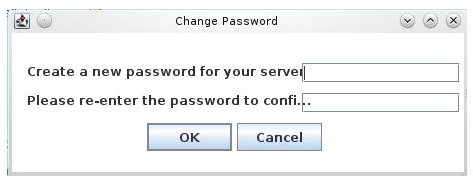
Linux: The installation of Gmote Server on Linux (Ubuntu in this example) is a little more complicated but still an extremely easy setup process. On Linux your first step will still be to download the appropriate file, in this case the Linux archive. Once downloaded extract the archive either from the CLI (Command Line Interface) or your file manager of choice. Make note of where you extract the file contents to. Finally, from the CLI navigate to where you extracted the files and run ./GmoteServer.sh. Like the Windows and Mac versions you will then be prompted for a password and list of your media directories. That’s it. You’re ready to start using Gmote!
My recommendation on Linux is to extract the contents of the Gmote Server and then move it to your home directory hiding it from normal file manager views. You can accomplish this with the following commands:
mkdir ~/.gmote
mv /path/to/GmoteServerDownload ~/.gmote
Once the files are happily hidden in your home directory you can create a simple startup script to run the Gmote Server each time you boot up your Linux PC so the Gmote Server is always sitting in your system tray when you need it.
Gmote: Put to the Test (5 out of 5)

During my testing of Gmote 2.0 I encountered no problems at all. The interface is minimal but fully functional. The function most users will make use of in Gmote is its ability to control your media via the remote. I was easily able to launch my media player via Gmote and load music and videos on my PC, control the volume and even launch and browse webpages from my Android smartphone .
The second very useful function of the Gmote remote software is its ability to allow you to control your mouse and keyboard from your Android smartphone. Anything you can do directly on your PC using your mouse and keyboard you can do via the Gmote remote using the touch interface. I found the touch interface 100% useable and experienced no lag between my input on the Gmote and the resulting action on my PC (unlike many Android remote applications).
Gmote Tips & Tricks
- To skip to the next song in a playlist, hold down the right arrow button for 2 seconds.
- Try using Android’s “back” arrow key to return to your media list.
- To right click in GmoteTouch mode, press down on the screen for 2 seconds.
Photograph Credits
All photographs and screenshots courtesy of Michael Dougherty .


