Learning how to temporarily post a maintenance web page can be an extremely useful tool for all web site owners to know. Here you will find a full guide on how to post a maintenance notice for web site downtime.
Posting a Web Site Maintenance Page
Learning how to temporarily post a maintenance web page can assist web site owners during maintenance downtime. There are a number of ways this can be accomplished using the Apache web server. A maintenance web page can be created by directing traffic to a maintenance page on your web application, or by setting up your web server in maintenance mode. Apache directs all web site traffic to your maintenance page to allow the web site owner to make changes and tweaks to their site.
Allow Access to .htaccess Files
The Apache configuration must be changed using one of two methods. The configuration can be edited directly or with the use of htaccess website files. For those who maintain shared hosting, the setup to enable .htaccess may have been completed. For web owners on a dedicated server, the httpd.conf on the Apache configuration should be opened in a text editor. In the text, locate the word “AllowOverride”. Add the word “All” to the end of this term to allow access to the .htacess files. Your final term should be “AllowOverride All”.
Design a Maintenance Page
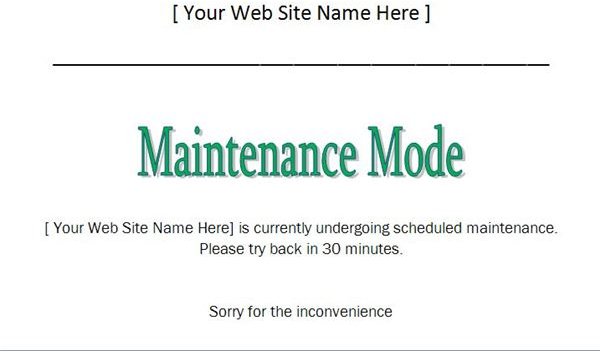
The design and look of your maintenance page will depend on your specific needs. The page can be simple with a phrase that reads “Our Site Is Down for Maintenance Temporarily. Please Come Back Later. Thanks!” or it can be more elaborate with your company logo and various other images. Once you have created a maintenance page, save it to your computer as “maintenance.html”.
Set Up a Mod Rewrite
Before you can have a functional maintenance page on your web site, you will need to properly set up a mod rewrite on your server. Mod rewrite is typically installed with Apache and can be edited. Open the file titled “/etc/httpd/conf/httpd.conf” and locate the line that appears as “LoadModule rewrite_module modules/mod_rewrite.so”. Once you have located the file, simply add “/etc/httpd/conf/httpd.conf” to your Apache configuration file. Once Apache is restarted, the new settings will take place.
Create a .htacess File
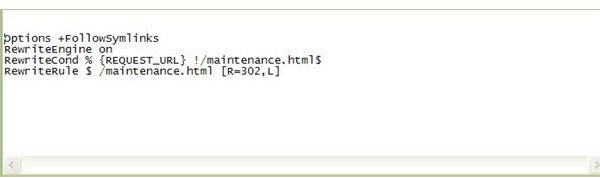
Next, you will need to forward your maintenance page to the visitors on your web page. A file should be created and titled “.htaccess”. This file should be placed directly into your web application. In the file, copy and paste the code below:
Options +FollowSymlinks
RewriteEngine on
RewriteCond % {REQUEST_URL} !/maintenance.html$
RewriteRule $ /maintenance.html [R=302,L]
Test Setup in a Browser
Once you have accomplished all the steps above on how temporarily post a maintenance page, you can test your setup in your browser. Begin by clearing your browsers prior history, files, cookies and cache. Type the URL of your website into the browser and visit your page. You should be automatically redirected to your maintenance page. If you are not, go through each step again to see if you missed one or made a typo.
Removing the Maintenance Page
When you are done making changes or upgrading your web site, you will want to remove the maintenance page so your viewers can see your new site. To do this, simply remove the code that was added to the .htaccess file. Once again, clear your browsers cache and reload your web page to see the changes.


