Do you want to make a web page through an easy to follow instruction wizard? Follow these simple tips on how to create web pages using Microsoft Publisher to create your own web site.
Creating a Web Site with Publisher
Microsoft Publisher is the latest desktop publishing software created by the Microsoft Corporation. Microsoft Publisher has the ability to design web pages from scratch using its various features such as picture enhancement, design workspace, and print and preview capabilities. Use these tips on how to create web pages using Microsoft Publisher to design and create web pages easily.
Open a New Document
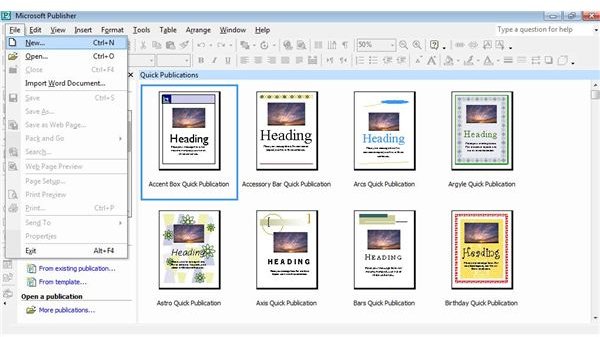
Double click the Microsoft Publisher icon on your desktop to start the program. When the software initially opens, a ‘New Publications’ wizard box should appear on the screen. If the wizard does not appear, manually open a new document by clicking ‘New’ from the ‘File’ menu. Then click ‘Publications by Wizard’ to open the publishing wizard. Look through the styles featured by the publisher examples at the right, and finish by clicking ‘Start Wizard’.
Follow the Wizard Instructions
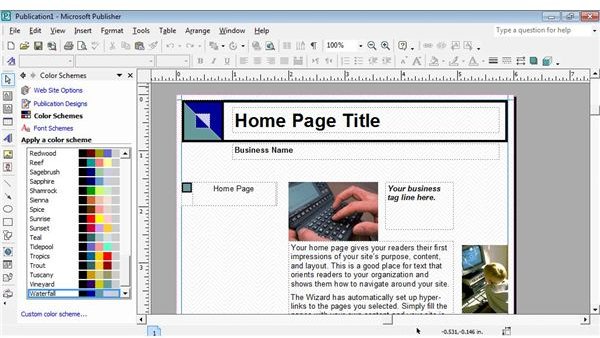
Simply follow the instructions located on the Microsoft Publisher wizard screen. You will have to choose options such as color scheme, sounds, layouts, forms and various other web page components. Once all the features have been chosen for your personal or business web page, click ‘Finish’ to complete and close the wizard.
Add Web Page Components and Text
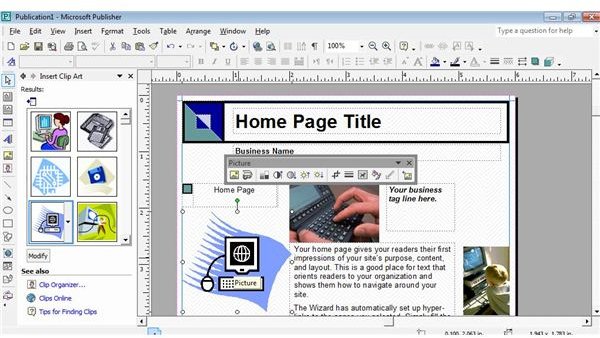
Almost every web page will include text that explains what the site does, how it works and contact information. Add the desired text using the text frame areas. Add new text frames by using the text toolbar. Clip art and images can be uploaded onto the web page using the menu bar image options located across the top of the publisher screen.
Fill in Web Page Properties
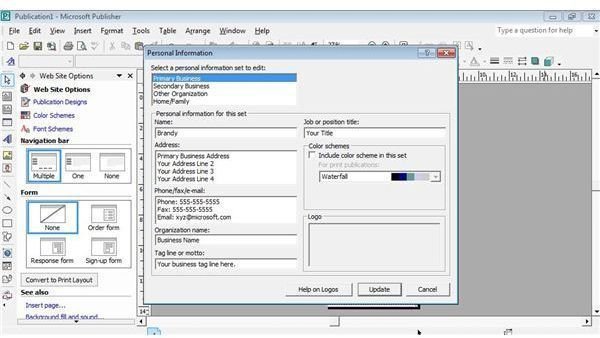
Select web page properties by using the ‘File’ menu on the top left corner of the publisher. The web page title, keywords and similar information should be submitted using this tool. Adding this information prior to posting your web page on the internet can help to engrave information and important SEO methods into the background of the web page.
Preview and Save the Web Page File
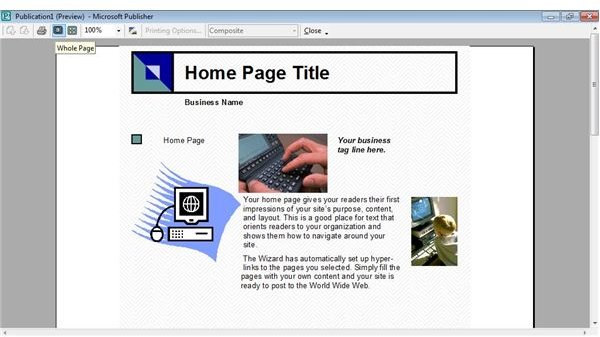
To preview your web page, use the ‘File’ option and click ‘Preview’. You will also find a ‘Save’ and ‘Save As’ option. This will allow you to save your web page to your computer and throughout the process in case of computer problems or unexpected shut downs. When saving your web page to your computer, choose ‘Save as HTML’.
Future Updates and Using Your Web Page
As long as your Microsoft Publisher web page is saved to your computer, you will be able to go back to update and change any components if needed at any point in time. If your computer is unreliable, you may want to copy your web page onto a blank CD or DVD for future use and as a backup system. Using these tips on how to create web pages using Microsoft Publisher can aid in the quick and efficient completion of a professional looking web site. Upload your web page to your personal or business web site to see your hard work on the World Wide Web.


