Mouseovers, which are called Rollovers in Dreamweaver CS4, consist of one image that changes to another when the user rolls their mouse over the first image. They can create interesting effects, particularly when you add text to the second image to provide some entertaining comment.
Before you begin working with a Dreamweaver creation, choose two images that ideally are the same size or at least close to the same size. This is not an absolute requirement, but it is a bit more visually pleasing. If you want to modify either of the images, perhaps by adding a comment, do this with photo-editing software first.
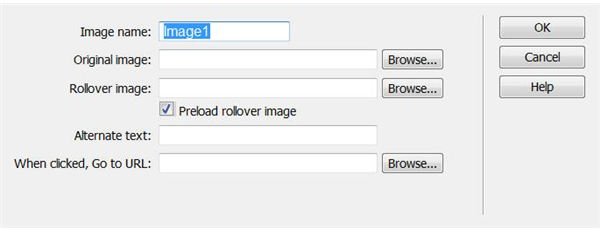
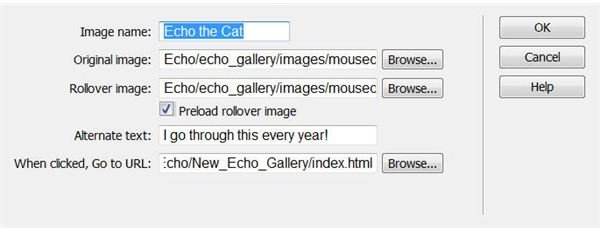
When the image files are ready, open a new HTML file in Dreamweaver CS4. Give the file a name of your choice and save it. Click on “Insert,” “Image Objects” and select “Rollover Image.” This will open an “Insert Rollover Image” edit box with five fill-in-the-blank sections. The first box comes up with a default Image name, which you can change to whatever you like. Next are two sections for the original image and the rollover image. Locate these on your computer using the supplied “Browse” buttons. Leave the box named “Preload rollover image” checked because this speeds up the loading process. Provide some alternate text in the next box. The last box is a place to re-direct the user to another page if you wish. When complete, click “OK.”
Important Advice
Take some time to be sure you get the images exactly right and the information in this edit box correct, because Dreamweaver CS4 does not offer an easy way to go back and edit, in fact, it is easier just to re-do this step.
Check Your Work
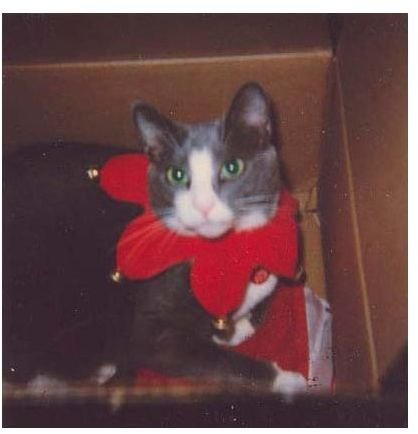
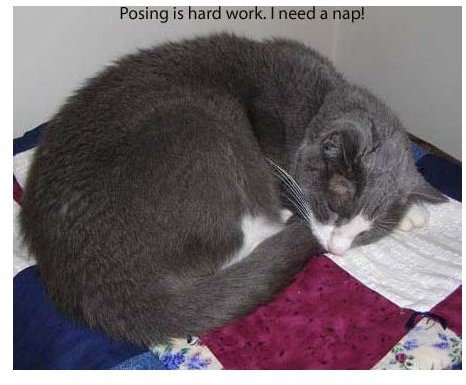
The easiest way at this point to check your work is to save the file again and locate it using Windows Explorer. Right click on the file and select “Open with.” Choose whatever browser you use and then use a mouseover movement over the image to watch it change. The images here show the two original images.
Javascript Code
If you had to do with by writing the associated Javascript code that makes the process work, it would be quite cumbersome. For those interested in analyzing Javascript and tinkering directly, here is what the code looks like:
function MM_preloadImages() { //v3.0
var d=document; if(d.images){ if(!d.MM_p) d.MM_p=new Array();
var i,j=d.MM_p.length,a=MM_preloadImages.arguments; for(i=0; i<a.length; i++)
if (a[i].indexOf("#")!=0){ d.MM_p[j]=new Image; d.MM_p[j++].src=a[i];}}
}
function MM_swapImgRestore() { //v3.0
var i,x,a=document.MM_sr; for(i=0;a&&i<a.length&&(x=a[i])&&x.oSrc;i++) x.src=x.oSrc;
}
function MM_findObj(n, d) { //v4.01
function MM_swapImage() { //v3.0
var i,j=0,x,a=MM_swapImage.arguments; document.MM_sr=new Array; for(i=0;i<(a.length-2);i+=3)
if ((x=MM_findObj(a[i]))!=null){document.MM_sr[j++]=x; if(!x.oSrc) x.oSrc=x.src; x.src=a[i+2];}
}
Finishing Touches
Add some complementary color for a background using the “Page Properties” and whatever additional text you like.
When you upload this to a web server, either upload the images with it, or, if they are already on the server, be sure to modify the location in the rollover HTML file so they point correctly to where the images are stored on the server.


