TinyMCE is a “What You See Is What You Get” (WYSIWYG) editor created in JavaScript and can be easily implemented in virtually any website. Learn more about what TinyMCE is and how you can use it.
Introduction to TinyMCE
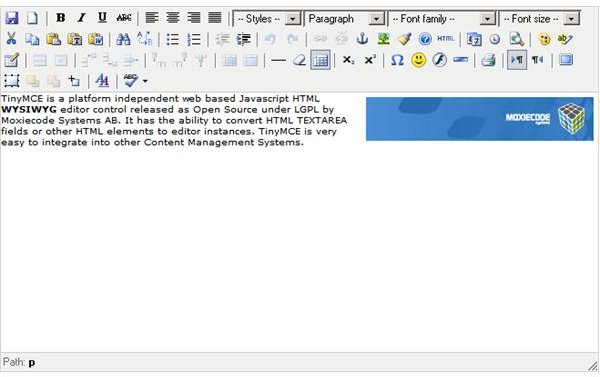
TinyMCE is an open source HTML editor that is very simple to implement. A number of content management systems today use TinyMCE as their editors, since they have seen that it is the most user-friendly for people who do not want to bother so much with HTML. In today’s world, HTML editors like TinyMCE have made it possible for people with no knowledge of HTML and JavaScript to be able to create a great amount of content in a minimal amount of time. TinyMCE is an acronym for Tiny Moxiecode Content Editor.
How to Implement TinyMCE in Webpages
In a small “paragraph” of code, you can implement TinyMCE using PHP. The main thing to keep in mind is the JavaScript implementation. To initialize TinyMCE, you call tinyMCE.Init in your javascript code. There are many variables which govern how the editor will look like. Generally, you want to link the content to a variable which counts as part of your $_POST contents. This variable will be labeled in the “elements” variable of TinyMCE. For example, if your variable is “elem”, then you will initialize TinyMCE including the following phrase: “elements : ’elem’”. Calling tinyMCE.Init() should include an array of variables detailing how you want TinyMCE to behave and look like. For more information, see this page in the TinyMCE Wiki.
Installing TinyMCE
There is not much to say about how to install TinyMCE, since it is so simple. Installing it involves simply extracting its files in a desired directory. However, if you want to avoid confusion, you should extract it into your root web folder. The main file of TinyMCE which governs the rest of the platform is located in your TinyMCE installation in the following path: “../jscripts/tiny_mce/tiny_mce.js”. Begin a script with this file as its source before initializing TinyMCE. You can find more information about installing TinyMCE in this page .


