Tutorial on How to Make Your own Website Header
Before we Get Started
It is important to note that when you are trying to make your own website header there are just a few basic things to keep in mind. However simple or complex the task is at hand, a website header is made up of three basic components. HTML code to mark-up the information, CSS code for styling the HTML mark-up and Images to enhance the website header. There are other components that can further enhance the website header such as embedded JavaScript, Adobe Flash, SilverLight and other rich contents plugins. Website headers usually but not limited to containing one or navigation menus, a logo, authentication menu and ad space. Check out this tutorial on creating a website header Drop down menu using Adobe Flash.
Website Header Design
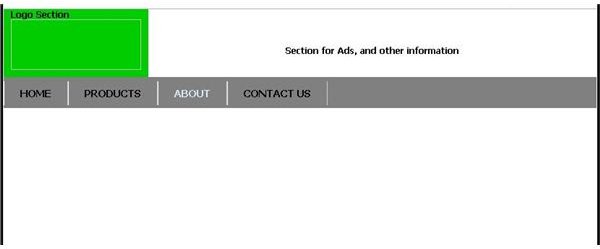
Before you make your own website header you need to have designed how it is going to look. For purposes of this tutorial I will use a simple header with a space for the website logo on the top left, a space for ads right next to it and below all that I will have space for a horizontal menu.
Putting it all Together
Normally you would want each section of you design represented by a
We would then need to place another
- ) which is styled to be in-line. The general lay out of the containers for our basic header looks something like this:
Section for Ads, and other information
Logo Section
Trying to view the above code in any web browser will not give an appealing layout and that is where CSS comes in. In the attached website header source code file you can see the details of the actual complete CSS and HTML code used in this tutorial. Just to explain what the CSS does, is that it takes the
You can download the entire code for this tutorial for a website header here. That way you can see exactly how to make your own website header in a simple and fun way. You can play around with the CSS to see how polished the design can get.
References
Source: author’s own experience.
Screenshots provided by writer