
Thinking about creating the next blockbuster online game and do not know where to start? You will get a head start with tutorial as here you will learn how to make dice roller in Flash. So, let us get started.
Prerequisites
The first thing you need to know before learning how to make dice roller in Flash is how to use the Flash content creation tool from Adobe. In this case I have used Flash CS4 but any other version is just fine. You also need to have an idea of Action Script although the actual action script in this tutorial is kept to a minimum. You will also need to know how to use a graphics editing software such as Adobe Photoshop, Corel Photopaint, the open source GIMP or any other you can get your hands on including Adobe Flash itself. In this case I chose to use Adobe Photoshop.
Getting Started
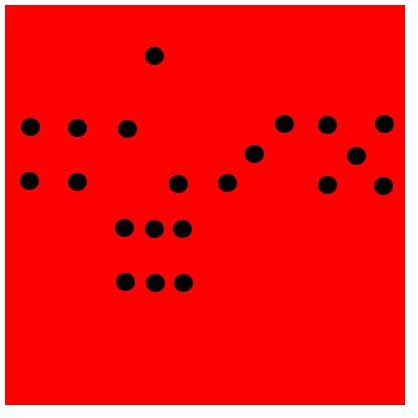
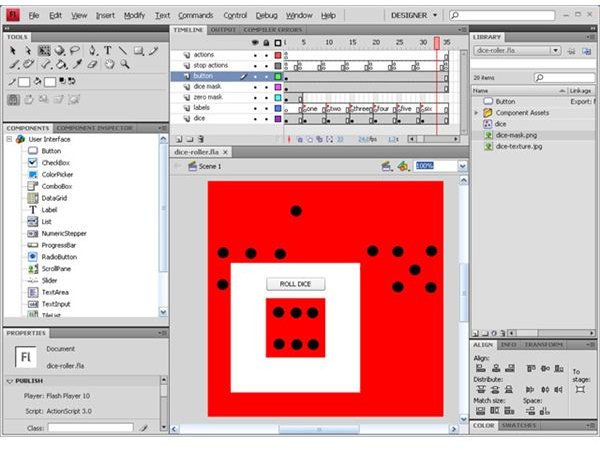
The first thing you need to do before you create the Dice Roller in Flash is to create two images. The first image is similar to the one in the image on the left. It is a texture of a cuboid Dice that can also be used for UV wrapping a 3D dice. In this case our Flash Dice will be in 2D and this texture will work just fine. Next you need to create a Mask which is is simply an image with a square hole in the middle that represents a single face of the dice. This mask will be practically invisible since it is white in color. The entire dice texture is 400 by 400 pixels and the dimensions of a single face is 100 x 100 pixels.
Rolling the Dice
To roll the Dice you need to be able to generate a random number between one and six since that is the range with which the dice is marked. The entire ActionScript source code that controls the dice rolling in this version is this.
function rollDice(event:MouseEvent):void {
var high:Number = 6;
var low:Number = 1;
var rolledNumber:Number = Math.floor(Math.random() * (1 + high - low)) + low;
if(rolledNumber == 1){
gotoAndPlay(“one”);
}
else if(rolledNumber == 2){
gotoAndPlay(“two”);
}
else if(rolledNumber == 3){
gotoAndPlay(“three”);
}
else if(rolledNumber == 4){
gotoAndPlay(“four”);
}
else if(rolledNumber == 5){
gotoAndPlay(“five”);
}
else{
gotoAndPlay(“six”);
}
}
rollButton.addEventListener(MouseEvent.CLICK, rollDice);
This is how the code above works. When the user clicks the button to roll the dice, it triggers the rollDice function which generates a random number between one and six. There are conditional statements that decide which label to jump to based on the number generated. each label represents a face of the dice. The numbers on the dice change because the dice texture is positioned to correspond with the number represented by the label. That is all there is to it.
Conclusion
A dice roller is Flash can also use different images for each face instead of one. I chose this method as it is more efficient. You can try and extend this tutorial and try a script where you can roll more than one dice at a go. You can even use delay code to simulate a second or two when the code is rolling the dice since this process happens in a fraction of a second. Since the texture supports a 3D dice, you can even make an attempt at simulating a 3D dice roller in Flash. All these can improve the experience the user goes through.
I have provided the Source code for the Flash dice roller for reference purposes. Sliding the time-line in the Flash file illustrates what has been described above. So now you know how to create a dice roller in Flash.
You may also be interested in how to create a contact page in Flash CS4 as well as how to create a drop down menu in Flash CS4 .
Download the dice roller source code for this tutorial here .
References
The dice texture image was created by the author while all other images are screen shots taken by the author.


