If you’ve ever wanted to slice a website template, this guide can help you. Filled with tips for slicing in Photoshop CS4, including why zooming in is the best way to lay out your slices, how to save your slices, and why you can easily over-slice a template and risk rendering it useless.
The Slice Tool
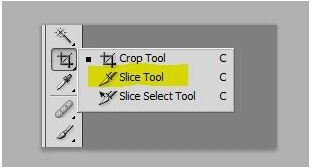
Using the slice tool that Adobe Photoshop (CS4 or any other version for that matter) provides is relatively easy. First and foremost, take a minute to realize what the slice tool does. Located in the same fly-out menu as the crop tool, the Slice Tool is the easiest way to slice a web template or complex image map.
Depending on what you set your save settings to, the slice tool tells Adobe Photoshop either save it as a series of images, or a series of images with accompanying HTML, making it possible to design a website in Photoshop and easily edit it within your favorite HTML editor. It is worth noting that Photoshop works very well with Dreamweaver for this purpose. This article will give you some tips for slicing in Photoshop.
Zoom In
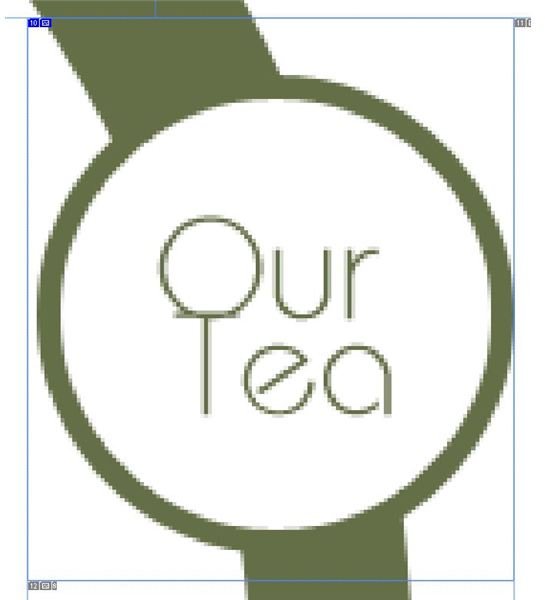
Zooming in allows you to create more exact slices, accurate down to the exact pixel. This is often important when you are trying to select exact areas such as backgrounds of specific text areas and buttons. Here is an example of how you can zoom in to create an accurate layout with little clipping of areas where you do not need to clip.
Use as Few Slices as Possible
Sure, you could slice your entire website into tiny pieces, and it would work. However, remember that this is risky business as you are more likely to misplace an image or they may not sync up perfectly due to user error or different browsers or screen resolutions. Be sure to slice specific areas such as your buttons, content areas, banners, and footers, as well as any logos you may have. Just avoid slicing areas that could easily go unsliced, unless you want to see a broken template.
Saving Your Slices
Saving your slices might sound a bit daunting at first. Don’t worry about having to assemble them later, as Photoshop has a neat feature that will even compile the HTML for you. Here’s how you can easily save your slices.
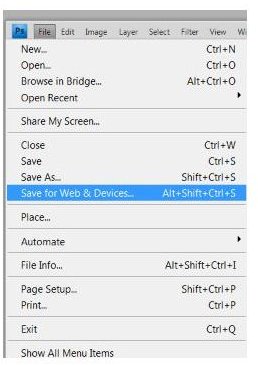
Go to File > Save for Web & Devices
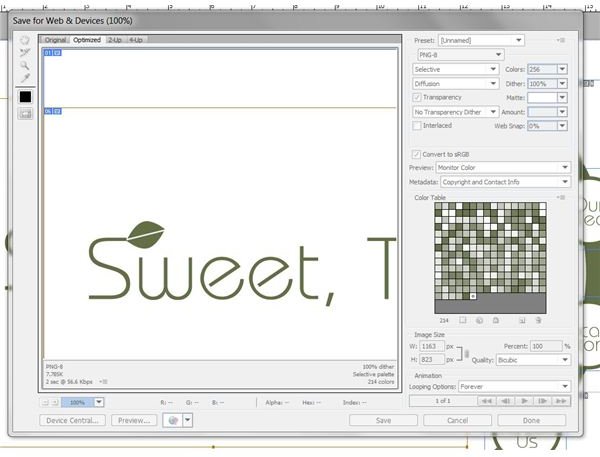
Then, select PNG-8 in the dropdown under “preset” in this window, then hit Save.
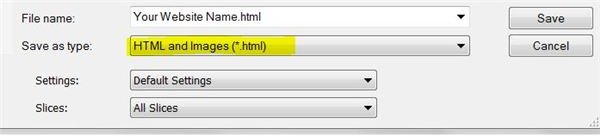
Finally, in the save as type dropdown, select HTML and Images. You’ll most likely name your file something like index.html if you are going to use it as the main page of your website.
Slicing as a Security Measure
While not often employed, you can use slicing your images much like watermarking your images . By slicing up your images and reassembling them on the internet, you prevent most forms of art/work theft, as many people who save pictures from the internet will not spend an incredibly long time trying to piece together even a simply sliced image.


