Google Calendar is a Web-based calendaring application that makes it easy to create and manage your schedule, and it’s accessible from any computer. But before you can begin creating a schedule, you need a Google Calendar account. Keep reading to find out how to get one.
Creating Your Account
In order to use Google Calendar, you first have to sign up. You can do this by pointing your web browser to https://www.google.com/intl/en/googlecalendar/overview.html . Here you will find an overview of Google Calendar service, with a tour and simple instructions on how to sign up and effectively use Google Calendar.
To the left of the screen, there is a blue shaded box with the link, “Want to try it out? Sign in now.” This will take you to another screen with more info on Google Calendar, and another link to the tour.
Under the log in box you’ll find a blue shaded box that reads, “New to Google Calendar? It’s easy to start.” Click on the “Create an account” button.
Fill in the requested information.
- If you don’t have a Gmail account, that’s okay. You can use any valid email account.
- Selecting Remember me on this computer will give Google permission to set a cookie on your computer to store your user name and password.
- If you’re new to Google services, be sure to read the provided information on Web History before you select that option.
- Enter you first and last name. This is not optional. If you have concerns about privacy, you may enter a pseudonym.
- Select your country and time zone from the drop down menus. If you’d like Google Calendar to show all the time zones in your country, check the Display all timezones box.
- In the text box, type the word or letters you see. If you have a visual disability, click on the handicapped symbol to the right of the box, and follow the verbal directions.
- Read the Terms of Service (TOS), and Privacy Policy before clicking “I accept. Create my account.”
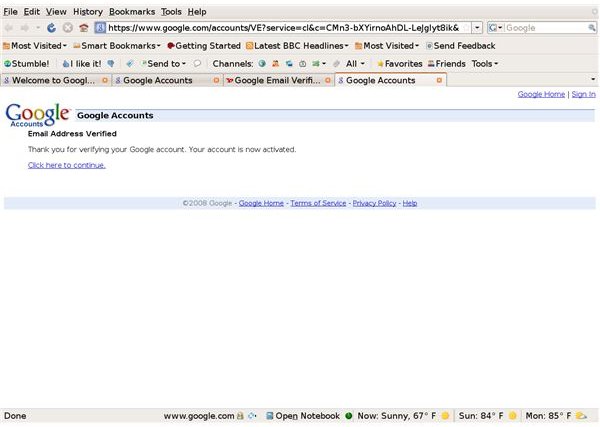
Google sends a verification email to the email address you provided. In order to activate your Google Calendar account, you must open this email, and click on the link in the email. If you are unable to click the link directly from the email, copy the link, and paste it in your browser’s address bar. You will be taken to a screen that tells you your email address has been verified. Click on the words, Click here to continue.
Your account is now created and you are ready to set your your first Google Calendar. You’ll find steps to help you create your first appointment in the articles, “Adding Google Calendar Appointments with Quick Add,” and “Adding Google Calendar Appointments with Create Event.”


