The Xbox 360 can be used as a media center thanks to Windows Media Player 11. Sadly setting up the streaming is a very bad experience for many users. Thanks should go to TVersity for producing an amazing piece of freeware that makes the process seamless. Read on to find out just how easy it is.
TVersity - Easy to Setup
TVersity is probably the number one media streaming solution available for home networks, allowing an unprecedented range of media types to be streamed to a variety of devices, from Sony PSPs and iPhones to set-top games consoles such as the Xbox 360.
Unlike the standard media streaming available to the Xbox 360 via Windows XP Media Center Edition or Windows Media Player 11 , TVersity offers a simple, straightforward and consistent provision of media direct from your PC to your TV via the Xbox 360.
Where Microsoft have failed to get Windows, Media Player and their own Xbox 360 console to communicate reliably, TVersity have succeeded – but just how easy is it to setup?
Download and Install TVersity
Naturally you need to get a copy of TVersity first of all. Available for free from www.tversity.com , the download file is around 12 MB and can be installed on pretty much any current PC. It’s minimum spec is a Pentium III processor, making it ideal for installation on an older PC that you might use as a dedicated media server.
Installation is performed quickly, and the media server console can be accessed from Start > All Programs > TVersity Media Server.
It is from this console that you need to configure TVersity with your PC, home network and media playback device.
Configuring TVersity
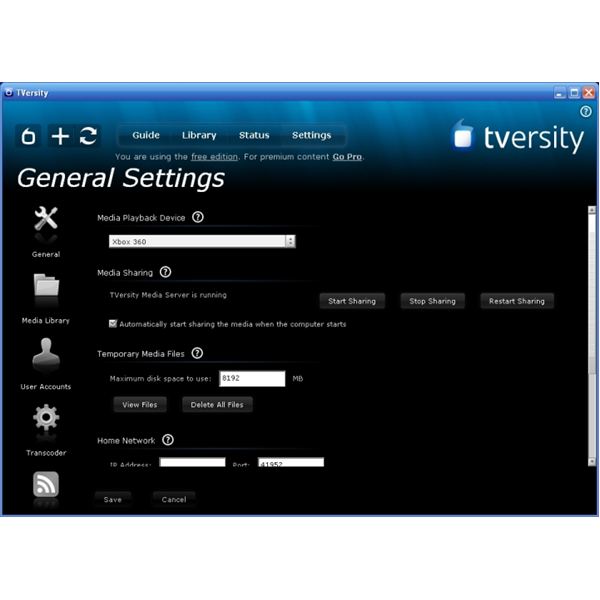
Once you’ve launched the console, go to the Settings button across the top of the window. A vast range of media playback devices are available in the first option – from here choose Xbox 360.
You’ll also need to allocate hard disk space for temporary files in this screen, before clicking the Save button and moving on.
Next go to the Transcoder Settings via the left hand menu. This screen enables you to select the most appropriate transcoding options for your home network and PC hardware. Set the Windows Media Encoder option as per your preference, set Optimization for quality or speed and instruct TVersity what type of home network specification you’re using and the connection speed. You can also set the Compression level – this affects the quality and speed of the media.
Once you’ve finished in the Transcoder Settings screen, scroll to the foot of the window and click Save.
Building Your Library
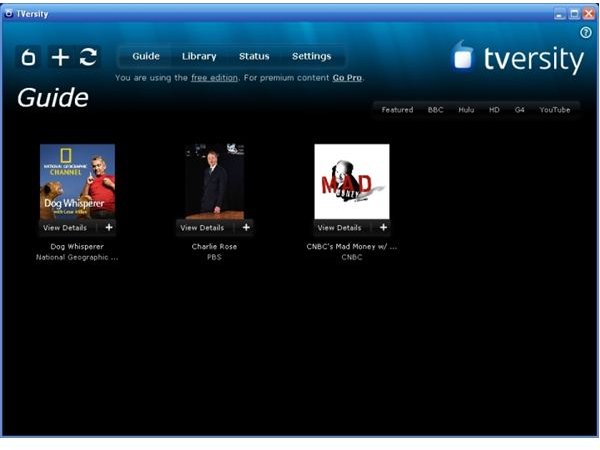
The next step is to build your media library. Via the Library button at the top, you can begin to Add Items.
Items can be files, folders, content from YouTube, Google, or Flickr, RSS content or other internet-based media. TVersity really is very versatile, and each of these different types of media can be streamed straight through your PC to your TV via your Xbox.
Once your library is added – this is done by selecting the folders that you keep your music, videos and photos in – it’s time to let TVersity begin building the database of library items.
This is a good time to check out your Xbox 360. With your console connected to your home network, browse to My Xbox and look in Video Library, Music Library and Picture Library – your library of streamed media should now be available!


