Long revered for its ability to provide perfect disk images for cloning laptop drives, Acronis True Image also includes a powerful and fast backup feature that can provide entire drive backup as well as incremental backups. In this illustrated review, we take True Image Home 2009 through its paces.
Introduction
Acronis True Image is best known for its ability to copy the entire contents of a notebook’s hard drive to a new, larger replacement hard drive. This is not an easy task to do “by hand” because notebook hard drives tend to have more complexity than desktop computer drives. True Image has traditionally had the smarts to know which partitions to grow and which to just copy.
The good news is that this process still works great. More good news is that there really is no bad news, but there are a few considerations. We’ll look at them, too.
Program Appearance (5 out of 5)
This may seem an odd point on which to start the review, but let’s get this out of the way up front. True Image 2009 looks much nicer than True Image 11. In fact, the appearance is very fresh and crisp, particularly in Windows Vista.
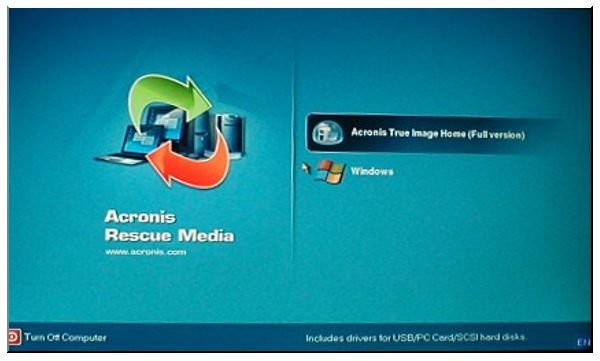
See for yourself. Here are some screen shots from True Image 11:
Images
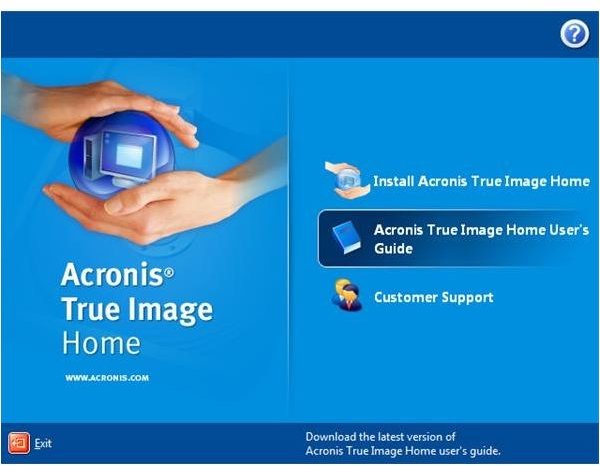
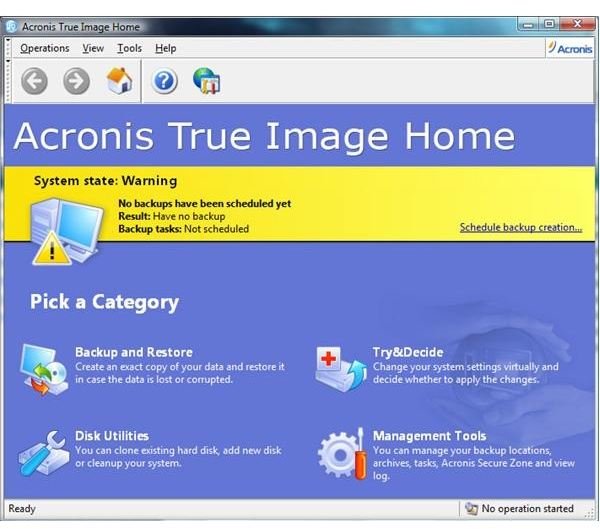
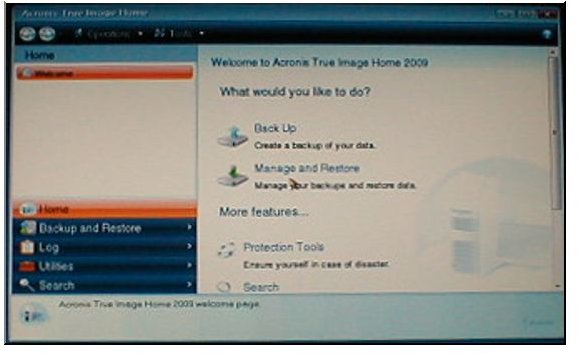
And the equivalent screen shots from True Image Home 2009.
Images
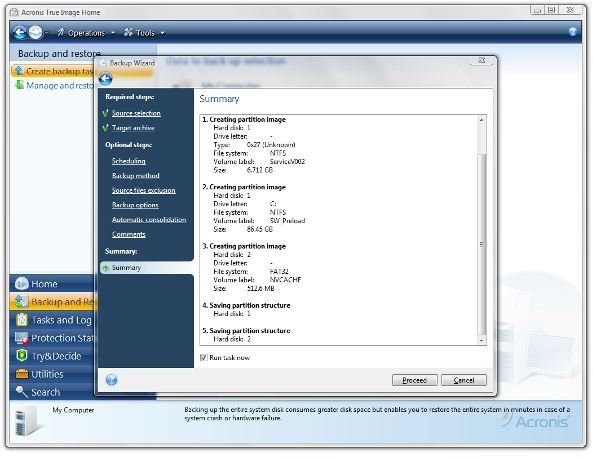
Remember that I mentioned that notebook hard drives tend to be more complex? The third image above shows the three partitions - one active, one service, and one specialized - that have to be backed up to get a true, restorable image of the hard drive on my ThinkPad. Because of the complexity of that layout, there are options in True Image Home 2009 that I’ll elect not to use.
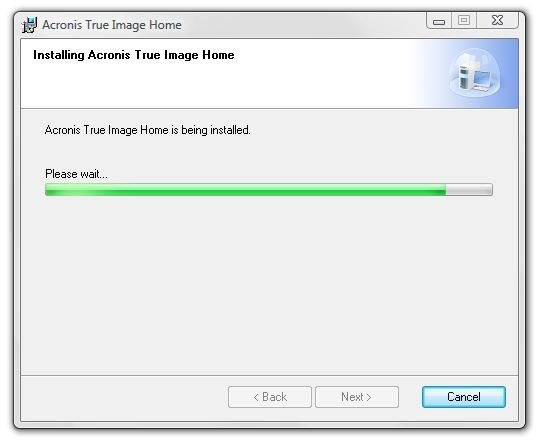
Installation (4 out of 5)
Installation of Acronis True Image Home 2009 is very straight-forward. What prevents me from giving them a perfect score in this area is this.
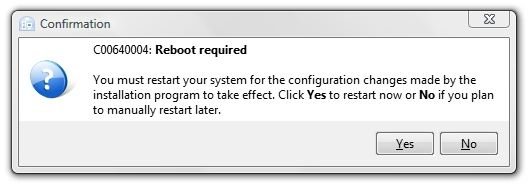
Perhaps because I have a background in OS/2 and Linux, I detest it when a program installs part of itself, requires a reboot, and then finishes installing. Yes, I know that it needed to install drivers and have them running to complete the install process, but this always strikes me as somewhat inelegant.
Other than that, though, the install went smoothly. The download is about 79.75 MB, and the installation, from first click on the executable through reboot and completion, takes less than fifteen minutes.
That the first choice during installation is to check for a newer version may strike one as a bit odd if the program was just downloaded, but since I’ve worked for two software companies that did “silent updates” without changing the program version upon occasion, I understand why this choice is there. It certainly doesn’t hurt or delay the installation much, so it’s worth doing.
True Image is all about wizards. These little helpers abound in the program, and just to get us started right, the installer announces itself as a wizard.

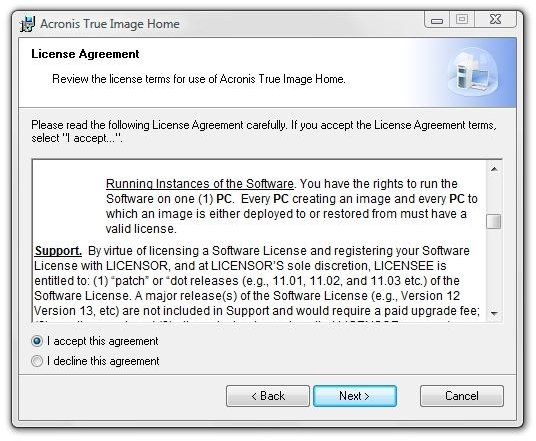
The license agreement is not objectionable. The only stipulation that will affect most of us is that, since it’s a non-corporate license, any disk images created on the PC True Image is licensed to must only be used on that PC. This does not preclude creating an image on an external hard drive that will replace the hard drive in the PC itself, as this is a very major function of True Image. Nor does it limit the number of external devices you can create such hard disk images on, so this does not preclude backing up to multiple destinations or even to a network.
We get to see this True Image screen twice: once during the initial run, and again after the reboot.
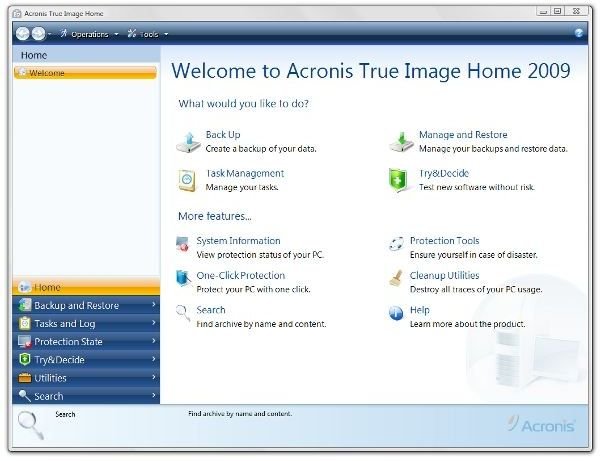
And here’s what it looks like at first run. What would you like to do?
Backing Up (5 out of 5)
Running a back-up of the entire hard drive in True Image Home 2009 is very easy. From the Home screen, click “Backup and Restore.” Then click “My Computer” to start the “Backup Wizard.” The wizard starts out at “Source selection,” showing all the partitions it finds on the hard drive. In the image below, the “Service” partition and the specialty (ThinkPad pre-desktop) partition are selectable.
The service and specialty partitions do not change, so they need only to be backed up when doing a full image of the disk. True Image Home 2009 is here showing more smarts than the default backup program in the Vista professional versions and much more smarts than the limited version provided in the Home and Basic versions of Vista, which is almost useless by comparison.
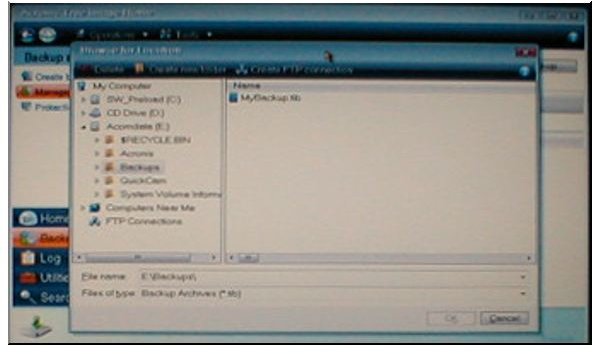
The next step in the wizard is selecting whether you want to create a new backup archive, which you will on the first run, or add to an existing backup archive. Here’s a minor point, but it defaults to creating a new backup on the C: drive under \Users\YourName\Documents even though it detected an almost empty external hard drive at startup. It’s easy enough to click “Browse” and direct it to the external drive.
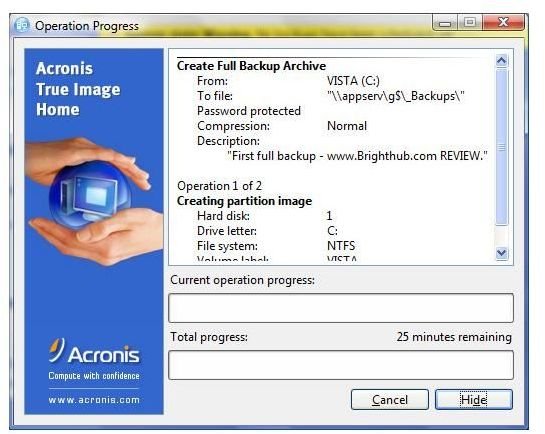
After progressing through the optional settings along the left-hand side of the wizard, the wizard offers a summary screen. Clicking “Proceed” starts the backup.
Here’s what it looked like during the first backup. Although it’s saying 41 minutes here, that actually dwindled down to about 27 minutes a couple of minutes later.
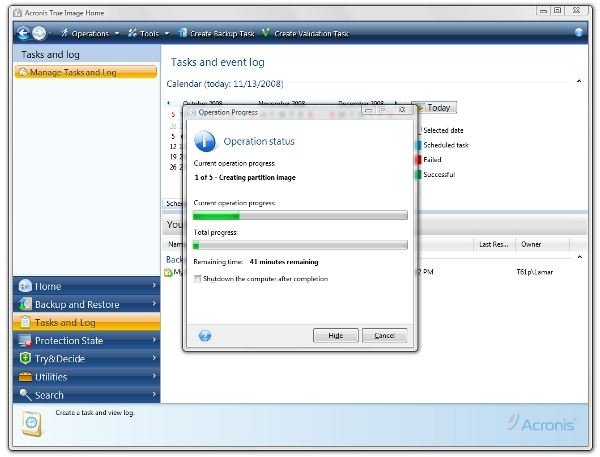
Incremental backups are much faster. After a day’s use browsing, taking some screen shots, composing a little in Word, a bit of email, and some work in the GIMP, the incremental backup ran for only 1 min 48 seconds. That’s pretty impressive.
Next: Disaster Recovery, File and Folder Recovery, Cloning a Hard Drive (Introduction), and our Conclusion
Disaster Recovery (5 out of 5)
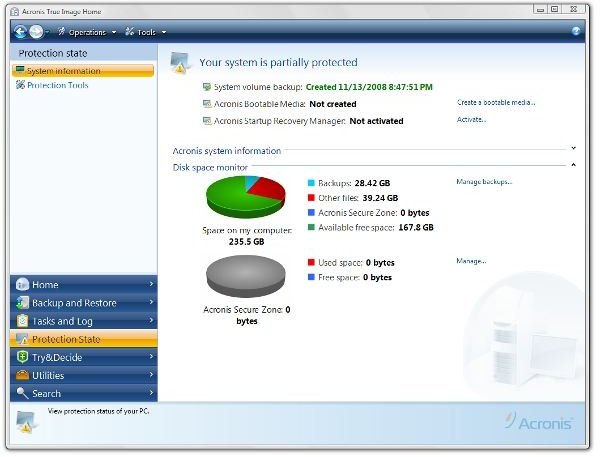
The following image shows the “Protection State” immediately after running the first full backup. It’s showing partial protection because an emergency boot disk has not been created and a “Startup Recovery Manager” has not been activated.
Here I had to get with the Help file and do some reading. My concern was that some of True Image’s recovery features might interfere with the built-in Rescue and Recovery of my ThinkPad. Because of this, I did not allow True Image to install their Recovery Manager. This feature involves writing to the MBR or master boot record of the hard drive. This allows True Image to automate recovery, but I found that it also worked fine by booting from the Acronis boot disk, which I did allow it to create.
More specifically, the Startup Recovery Manager allows starting True Image before Windows starts. It does this by not only rewriting the MBR, but also through creating a “Secure Zone” on the hard drive. This is basically a hidden partition that can be used as a backup location. While I think this could be handy sometimes, it’s not a good fit on my notebook. I don’t want to give up the hard drive space, I don’t want to change the MBR, and I’m using an external backup destination, anyway.
The boot disk starts a Linux loader and runs a Linux version of True Image. It had no problem starting the ThinkPad and it was easily pointed to the location of the backup files on my external pocket drive. Again, I was impressed by how nice it looked.
Images
So recovery from an external drive works fine using the boot disk without the MBR alteration or secure zone.
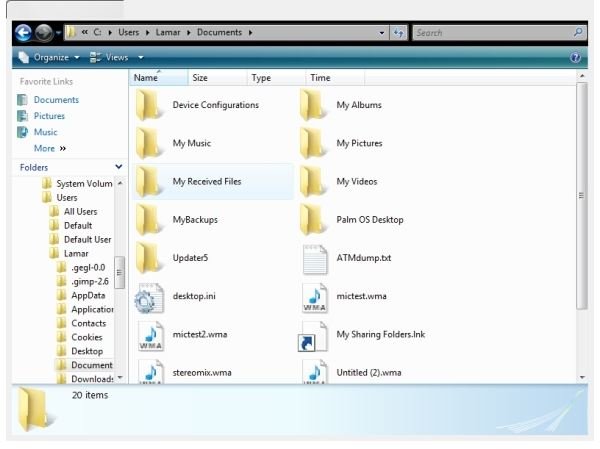
File and Folder Recovery (5 out of 5)
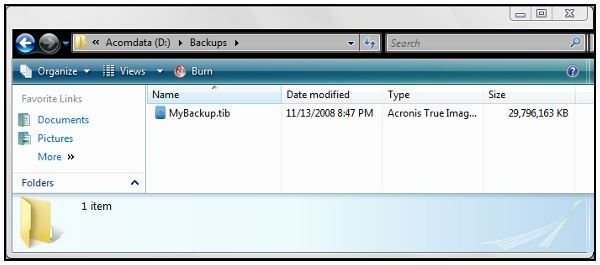
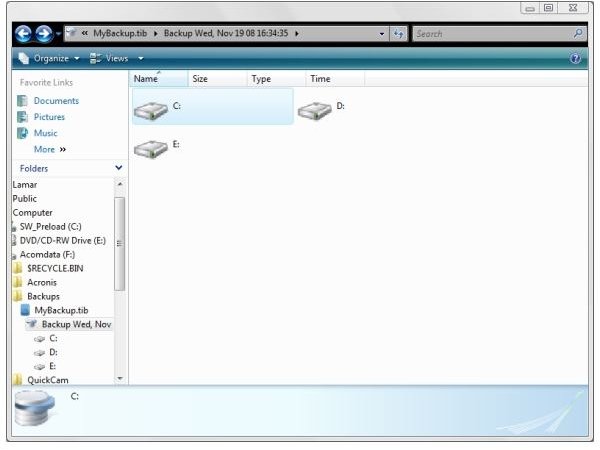
I simply love this feature. A True Image backup file is actually a container. The program integrates seamlessly with Windows Explorer to give access to the backed-up files and folders within.
In the images below, I’ve navigated to F:/Backups and clicked on “MyBackup.tib.” Then I drilled down to my user area and “Documents.” It’s just like following the same steps from C: drive, but I was looking at the files that I backed up yesterday.
Recovering a file or folder from the backup is as easy as dragging it out to the desktop, and this is so well integrated that you can use Vista’s search function to find files within the container.
Images

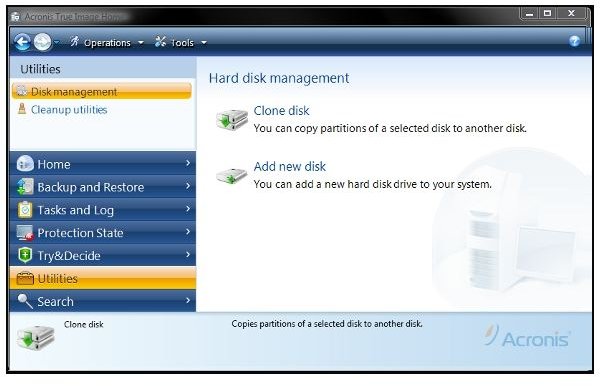
Cloning a Hard Drive (5 out of 5)
For this part of the review, we freshly formatted a 160 GB USB pocket drive to use to simulate cloning the ThinkPad’s hard drive to a larger external drive. I consider this practice, as I plan to upgrade the hard drive in the ThinkPad very soon.
As mentioned previously, only the main C: drive partition needs to grow. The service partition and pre-desktop partition contain the ThinkPad’s backup copy of Vista and the startable files necessary to run Rescue and Recovery.
True Image offers two cloning modes - automatic and manual. Automatic mode involves less clicking, but it grows all the partitions proportionally. Since we want to maximize the user partition only, we used the manual mode.
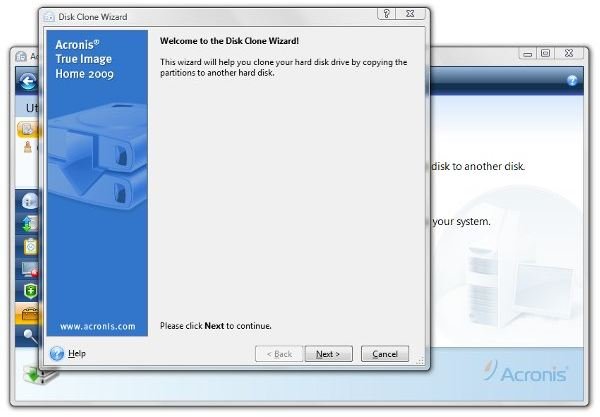
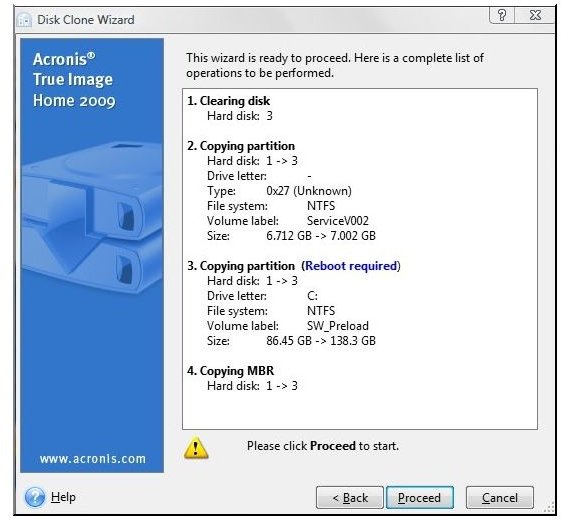
We’ll follow up with a detailed tutorial on how to use True Image Home 2009 to clone a laptop hard drive to a bigger replacement drive. The tutorial is now up. Please see the link at the bottom of this page, but, as a preview, here are some screen shots taken during the cloning session.
Images
Conclusion
Acronis True Image Home is a mature and capable application. In the 2009 version they have improved compatibility with Vista, both visually with the Vista Aero theme and in actual program use.
Also, we have only touched on what we consider the most important parts of the application here. There are other features and settings left for you to investigate.
Does True Image Home 2009 fulfill its promise as being an easy-to-use program for beginners and more experienced users alike?
Yes, I think so. The many wizards in the program organize setting up program tasks in a logical way with frequent and sufficient explanations for each step involved.
After the first backup (the “One-Touch” feature can quickly get you up and running with your first backup), scheduled backups should be set it and forget it. True Image will watch the storage space and rotate the backups as needed.
And they haven’t messed with what the program was already great at - making a disk image for a new hard-drive - which, once again, went off without a hitch.
So, yes, we can recommend Acronis True Image Home 2009 both as a home backup solution, for all versions of Vista, and as a laptop hard drive cloning/copying utility.
Acronis True Image Home 2009 Homepage $49.99
*
And that’s truth before commerce. Thank you for visiting. We hope you are enjoying reading and learning at the new Bright Hub.
Links:
How to Clone a Notebook Hard Drive with Acronis True Image Home 2009 - Hard drive filling up and declining hard drive prices getting your attention? If you’re ready to move up to a bigger hard drive for your laptop, this tutorial will show you step-by-step in pictures how it’s done in Acronis True Image Home 2009.


