Microsoft Word documents can be spruced up with the addition of clip art - this guide looks at how to import and use borders.
Make Documents Stand Out With Clipart Borders
One of the best ways to enhance your work in Microsoft Word is to spend some time playing with the vast library of clip art images available both in the application and via Office Online. While this article focuses on earlier versions of Word (2010 and previous), additional information below will help you find free borders for Word 2013 and newer. Among the options available in the online and offline libraries are free borders. Clip art in Microsoft Word has been one of the greatest features of the word processor over the years, from illuminated headings to suitable accompanying images. Clip art is used at great length in Word and PowerPoint, and can be used to add much needed spacing to a long document as well as simply adding some basic decorative eye candy, as is usually the case with borders. If you can’t find the perfect border to use, check out this article on how to make your own clipart using Microsoft Publisher.
Finding New Microsoft Clipart Borders
[caption id="" align=“aligncenter” width=“600”]
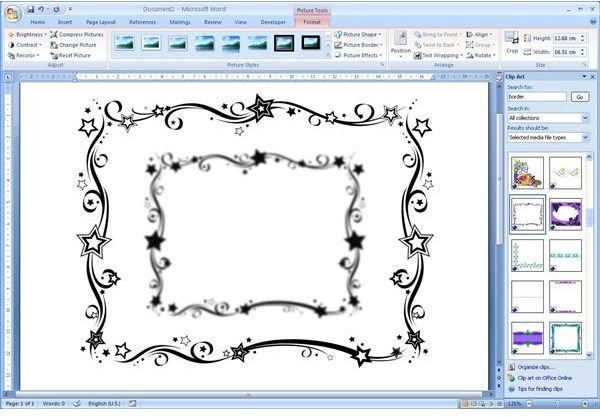
To find clipart borders for use in Microsoft Word, you need to access the Office clip art. In Word 2007, you can do this by going to Insert > Clip Art. A search panel on the right-hand side will then give you some options – begin by searching for “borders.” You will see that a vast selection of new borders are available, from plain, conservative art deco borders to illuminated affairs that could have come straight out of a 17th century bible. There is something for everyone here – you might get a single corner border or an elaborate “storybook” border the leaves just a space in the middle of the page for a short paragraph. To choose the border you want for use in your document, select the drop down menu and choose Insert. Remember also that you do not have to be limited to clip art in Microsoft Office. You can also perform image searches to use in your documents.
Modifying Microsoft Clipart Borders
With your border copied from the clip art repository of choice and imported into your document, you now have the chance to position and manipulate it to suit your needs. Right-click on the clip art and select Format Picture to change options. For instance, the Picture tab lets you change the Brightness and Contrast of the border, while shadows and fills can also be applied. Outside of this menu, you can also adjust the positioning and size of the image using the placeholder tools found in each corner of the clip art image whenever you left-click on the object. The object can be resized by left licking and dragging any of these placeholders, and you can even rotate the image. Clip art images can also be set to appear next to text using the Position options; however, a border would benefit mostly from being set to appear behind text using the Text Wrapping settings. These are all options you can use and adjust to your heart’s content - have a play around and see what gives you the best results!
Free Borders for Word 2013 and Newer
[caption id="" align=“aligncenter” width=“600”]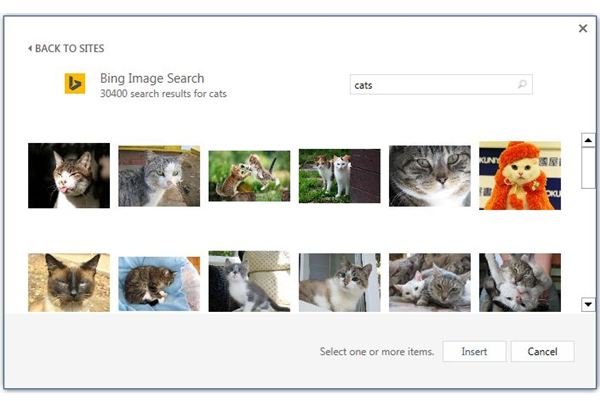 Bing Image Search[/caption]
Editor’s Note: The following update was provided by Ryan Tetzlaff. Word 2013 doesn’t have a specific way to add borders to your documents but there are simple – and some may say – more flexible ways to do so. One great improvement with Word 2013 is that you can now easily browse for clipart without ever leaving Word. To do this, place your cursor in the area you want to add a picture. Click the Insert tab and then click the Online Pictures button. Add your search term and view the results (Figure 2). Once you find an image you like you can click the Insert button. You can also search for borders using this method.
[caption id="" align=“aligncenter” width=“600”]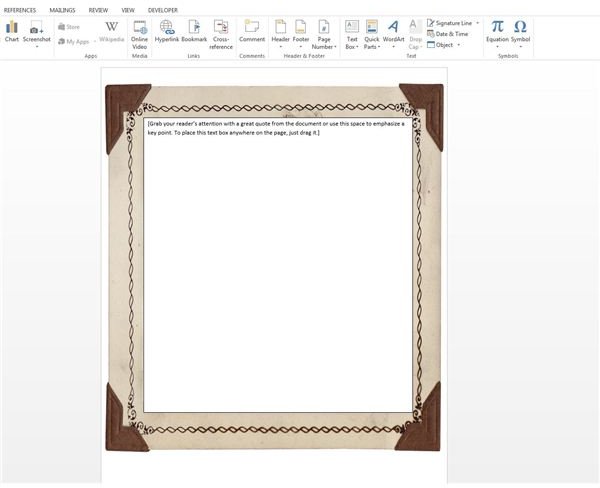 Using a border in Word 2013[/caption]
Once you find a border, insert it into your Word document. Next, we need to add a text box so you can write over your image. Click the Insert tab and then Text Box. Select a Simple Text Box and drag it to fit within your border. Click within the text box and you will be able to start typing (Figure 3). Keep in mind that you can use multiple text boxes in your document to create additional layout options so you can easily create a newsletter or multi-columned design. If you aren’t a fan of using Bing to find free borders for Word, you can always use Google Image search !
Using Templates
[caption id="" align=“aligncenter” width=“600”]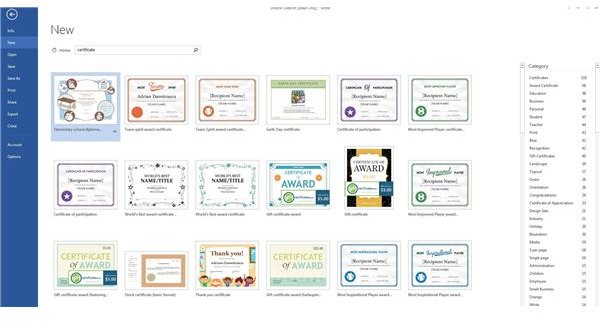 Templates are another alternative to using clipart[/caption]
A second way to spruce up the design of your document is to choose a design when you create a new document. To do this, click File -> New. In the search box, enter the type of document you wish to create. For example, if you want to create a certificate, type “certificate” into the search box and hit Enter. You’ll see several results (Figure 4). To further narrow down the type of certificate we’re searching for we can use the Category filters available on the right side. To use the template, just double click on it. The nice thing with Templates (over using an image) is that the fields are editable. Simply click on the areas you wish to add text and edit it as you see fit. If you are looking specifically for borders try to use the search term “stationary”. This will give you a decent set of results for colorful borders. Although the process is a bit different than earlier versions of Word, it’s no more complicated and in many cases, gives you additional flexibility in creating the perfect document.


