Installing Windows Server 2000 in VirtualBox
Overview
VirtualBox is an Open Source virtualization package developed by Sun Microsystems that allows you to run multiple virtual “machines” on a single physical host. In this article, I’ll discuss installing VirtualBox and setting up a Windows 2000 Server virtual machine.
The first step is to download the VirtualBox installer from the VirtualBox website. Note – although VirtualBox supports multiple host Operating Systems, we’ll be using a Windows XP host in this article.
- Once downloaded, run the installer and click Next.
- Agree to the license terms and click Next.
- On the next page (Figure 1) make sure all options are selected to be installed. Click Next.
- Check or uncheck the options to create a desktop shortcut and shortcut on the quick launch bar as desired. Click Next.
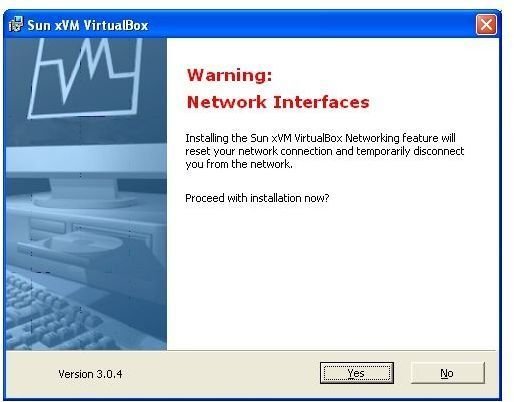
- On the Network Interfaces page (Figure 2), take note that you will lose your network connection momentarily. When you’re ready, click Yes.
- On the final page, click the “Install” button to begin installing.
- When the install is finished, click the Finish button. VirtualBox should now start.
Using VirtualBox and Creating a Virtual Machine
Once VirtualBox is installed, you can create your first Virtual Machine.
-
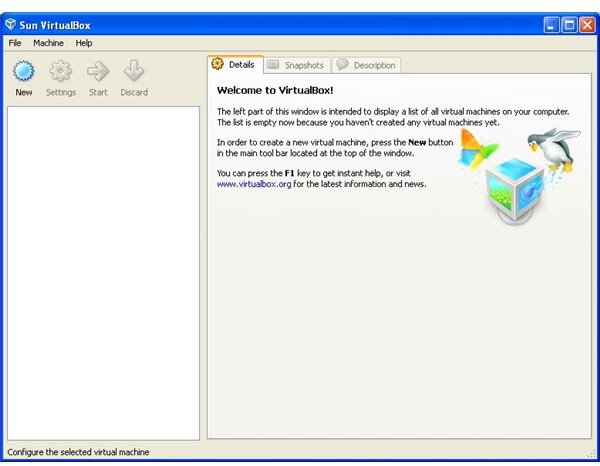
In VirtualBox, click the New button (Figure 3). The New Virtual Machine Wizard will start.
-
Click Next on the Wizard. On the second screen, type in a name for the new machine and select the OS (Windows) and Version (2000 Server in this example). Click Next.
-
Select the amount of memory you want to allocate to the virtual machine. I’d recommend a minimum of 512MB memory.
-
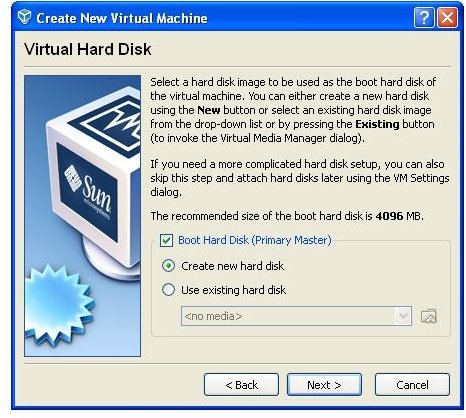
You are now given the option to create a new virtual hard drive (Figure 4). Go ahead and keep the default options and click Next.
-
The New Virtual Disk Wizard will start. Click Next.
-
Keep the default of allowing dynamically expanding storage and click Next.
-
Give a location and size for the new virtual machine. For a basic Windows 2000 server, I’d recommend 8-12GB.
-
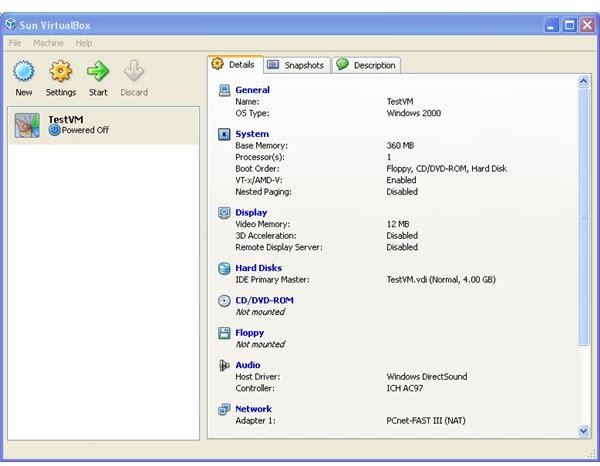
Click Finish on the next two windows. The Virtual Machine will now be displayed in the main VirtualBox interface (Figure 5). You now have a basic “machine” – it still doesn’t have an operating system installed, but the machine is ready for you to install.
-
The first time you run the new machine, you will be asked where you’d like to install the operating system from – either your physical DVD\CD drive or from an ISO image. Pop in a disk or point to an ISO image of your operating system.
-
The standard Windows installer will begin scanning for hardware and the appropriate drivers. After a few moments, you will be shown the main splash screen. Hit ENTER to continue.
-
The next screen shows the license agreement. Scroll through and press F8 when you’re ready to continue.
-
You’ll need to create a new partition on the virtual drive, so hit the “c” button to “create” one.
-
You should then be given the option to determine how big you want the partition to be. Enter in the full size of the disk as set in step 7 above.
-
Next, you’ll be asked to format the partition. For most purposes, you can select the Quick NTFS format. After a few moments, Windows will start installing.
-
The installer will run for a while - up to 30 minutes before the graphical configuration options appear. This wizard will walk you through setting up the computer name, entering your product key, selecting date and time along with network settings.
-
After basic configuration is done, the computer will reboot into Windows.
Using virtual box is a cheap and powerful option for running virtual machines. Additional information can be found on the VirtualBox website: https://www.virtualbox.org/
Images


