LAMP has been a popular web development environment for a long time. Setting up Apache, MySql and Php in Windows can be a tough task for any beginner. But there are easier ways to do things.
Web development in LAMP environment (Linux, Apache, MySql, PHP) has been very popular for a long time. Here, Linux is the operating system, Apache the web server, MySql the database and PHP the server side scripting language. But there are many PHP and MySql programmer out there who are more comfortable with Windows than Linux. And for them, setting up the development environment in Windows is not an easy task. It’s nice that a Windows version of Apache, MySql and PHP is available but installing and setting it up can be a difficult task, especially if you are a beginner. If you try searching for any online help, most of the tutorials you come across cater to the Linux users, not Windows.
But wait, there is something you can do to make your life easier. In fact, it would make setting up your web development environment in Windows using PHP and MySql a simple task. There are some packages available which includes pre-compiled versions of Apache, MySql and PHP. Just install any such package and you are ready to go. It can’t be simpler than that.
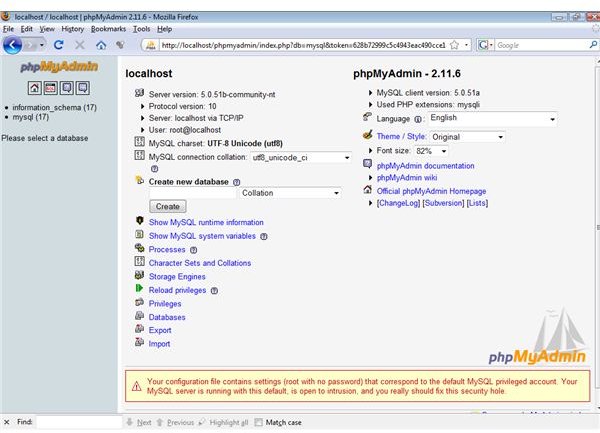
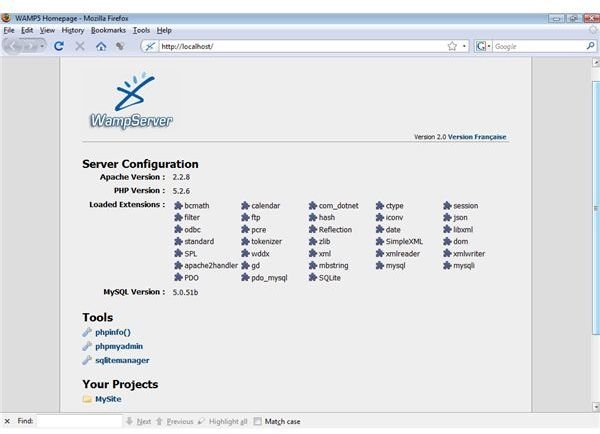
WampServer is one such package. The latest version of WampServer 2.0c includes Apache 2.2.8, MySql 5.0.51b and PHP 5.2.6. That means you don’t need to download Apache, MySql and PHP separately. You can get it here . So, first download WampServer and install it. Installing WampServer is very simple; most of the time you don’t even have to change any installation options from the default. Once installed, you can see the WampServer icon in the system notification area. The icon color shows its status (online/offline). Working in the WampServer environment is very simple. Make sure IIS (Internet Information Services) is not running and start WampServer and direct your browser to https://localhost/ . It will take you to the WampServer homepage, (Image 1) which gives you access to the settings of Apache, MySql and PHP and other tools like ‘phpMyAdmin’ (Image 2), which is the administration tool for MySql databases.
Lets test our WampServer with a simple php file. Open notepad and and enter the following code.
This simple code just displays ‘Hello World !”. Browse to your WampServer installation folder and find the folder ‘www’ inside it. Create a new folder and name it MySite. Save the php file we created as ‘index.php’ in the folder MySite. Now navigate your browser to https://localhost/mysite and you should see ‘Hello World!” appear on your browser. So, you have your web development environment using MySql and PHP for Windows up and running. If you navigate to the WampServer homepage you can see ‘mysite’ under the ‘Your Projects’ category. All the websites you create would be listed under ‘Your Projects’.
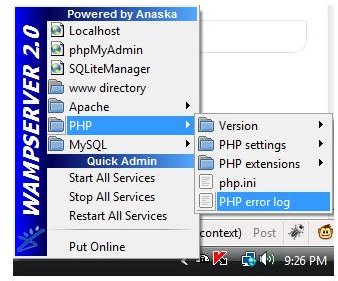
WampServer icon in the notification area gives you quick access to many useful functionalities. The left click menu of the icon (Image 3) lets you manage Apache and MySql services, manage server settings, manage php extensions, provides access to logs etc., while the right click menu lets you change WampServer’s menu language quickly.
Simple and quick to install, easy to use, that’s WampServer in short. So if you are a php and MySql developer but want an user friendly development environment in Windows, there’s WampServer.
Images