Getting infected with spyware can really annoy you to the point that you cannot tolerate it. Before losing your sanity, try a couple of ways to remove spyware from your Windows XP computer.
Introduction
It can take just one simple click to become infected with spyware. It does not matter if you are prudent, alarmed and watching your every click. The spyware may come from a website, can be installed with a freeware/share program or can get into your system in some other way. We will go through the cleaning steps one by one and get rid of all of these annoying things. I have to remind you in advance that we will make extensive use of the Internet and download some large files.
Make sure that you have one USB thumb drive ready. A thumb drive with a 512 Megabyte/1 Gigabyte capacity will be enough. We will download the programs directly to the USB Stick and run from there, because we want to bypass any risk that the malware will block us from running the programs. (If you have the opportunity, it is better to download files from a computer that is not infected.) Assuming that no such second PC exists, these steps include the use of a USB thumb drive. When you click on the program to download, select the USB stick as your download location.
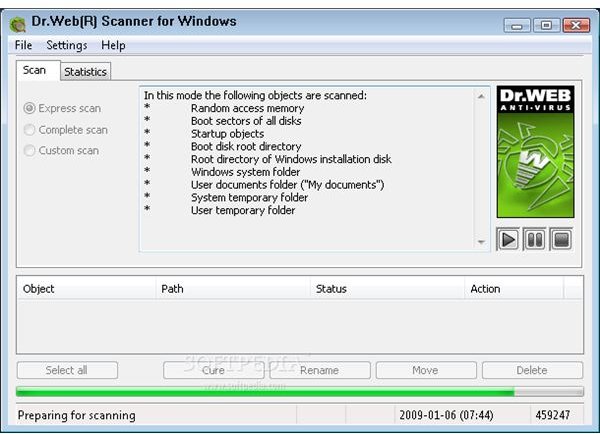
Step 1: Check Spyware and Other Possible Malware with Portable Applications
Many malware programs do not let you install malware removal tools, or if you have one installed, do not let you update them. This is why we are using USB Sticks and going with portable applications. We will not let the malware recognize that we are taking countermeasures against it. However, I must also say that if you are heavily infested or if it is a stubborn malware, it will not even let you visit malware protection websites. In this case, it will be better to go through a proxy server like KTunnel/VTunnel. If this also fails, use a different PC. If at any point you are redirected to an antivirus site that says that you have to purchase the software to remove viruses NEVER do that. These sites’ only aim is to own your credit card information.
Download and install the following software to your USB Stick (all links are direct download links)
2.CW Shredder (this application is only for CoolWebSearch spyware family)
3.HiJack Free : when you run the executable file, you download, double click and set the USB Stick as your installation path. Check the “Do not create a Start Menu item” and uncheck the “Create a desktop icon” and “Create a quick launch icon” boxes. Then install.
4.MultiVirus Cleaner : Open the zip file, run the setup.exe and install the program to your computer. When installation is finished, copy the C:\Program Files\AxBx\Multi Virus Cleaner 2009 folder to your USB Stick. To run the program, click the MVC.exe file.
6.McAfee Stinger: Download the latest release from the website and follow the instructions to install and run.
Check your computer with all these programs. Do not run all of them at the same time! Run them one by one. As you may have noticed, I did not list ClamAV Portable because its malware definitions are old.
Step 2: Run Online Malware Scan
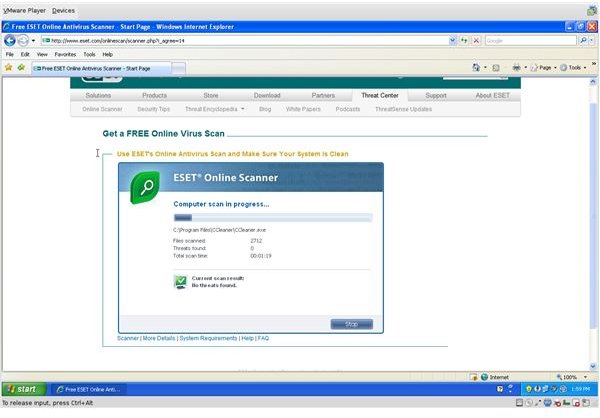
When you are done with the scans from the USB and removed anything that it finds, there is a second step, which is to perform an online malware scan.
The known antivirus manufacturers have online system scanners. However, you have to take note that while online system scanners check your system and remove malware infection as well as they are able, they do not add any protection. We will come back to that in the next section.
Here is my list of online malware scanners:
-
Advertisement
-
Panda (Be careful, disinfection is only possible after purchase)
-
Advertisement
-
Advertisement
When you visit any of these sites, you will be asked to install an ActiveX control. After the installation, a large file of malware definitions will be downloaded and your system will be scanned. You do not need to download anything; everything will be done inside your browser. Just be patient and wait for the scanner to do its job. I advise you to try at least two websites, just in case.
Step 3: Download and Install a Spyware Removal Tool
After taking the steps 1 and 2, your computer should be ready for antimalware product installation. Go to the Computer Security Channel , look at the antivirus product reviews, and choose one that you want.
Although the antimalware programs offer reasonable protection, it is good to have a spyware detection and removal tool on your computer in addition to your current security software. There are two top programs for that: SpyBot Search & Destroy and AdAware . Choose one, install and update.
How to Avoid Spyware Infection?
There are a couple of basic steps that you can take to avoid spyware infection:
-
Before you download a program from the Internet, such as from Download.com, watch for the downloads that are labeled “tested spyware free”
-
Be careful when you are installing a program. During the installation, check for what the installer is trying to install. Remove all additional programs -such as “cute” toolbars- from the installation. If the program says it will not function without those additions, cancel the installation.
Advertisement -
Be careful with the sites that you visit. Some websites are just watching innocent users to inject malicious code to their computer. Never forget that you are visiting a website and the website should be interactive as much as you want it to be. If it is trying to force you into something or trying to make you accept anything, deny it and leave the website immediately.
-
Make sure that your spyware detection software is running all the time and it is updated.
-
Use a secure browser. By this I mean not Internet Explorer. Go with Firefox , Opera or Chrome .
- For an additional protection, consider using Sandboxie . This program will create an isolated environment so what comes from the Internet cannot infect your computer.
For more helpful information, check out the Bright Hub article The Differences Between Adware, Spyware and Malware .


