Formerly known as MSN Spaces, Windows Live Spaces is the social networking piece of Microsoft’s Windows Live platform. Learn how to create a space so you can start blogging and networking.
Find Your Space
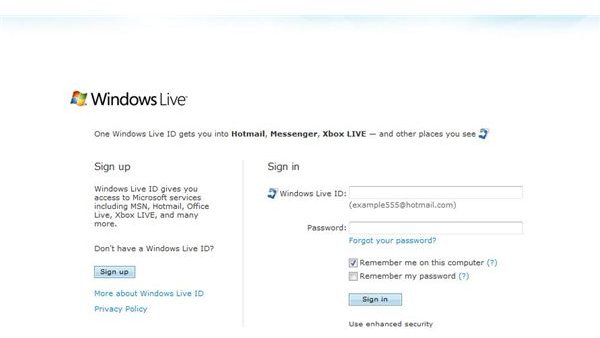
To begin creating a Windows Live Space, head to the Windows Live Spaces site and click Go To Your Space. If you already have a Windows Live ID, you will be prompted to sign in and then taken to your Space template. If you do not have a Windows Live ID, click the Sign Up button.
Customize Your Space
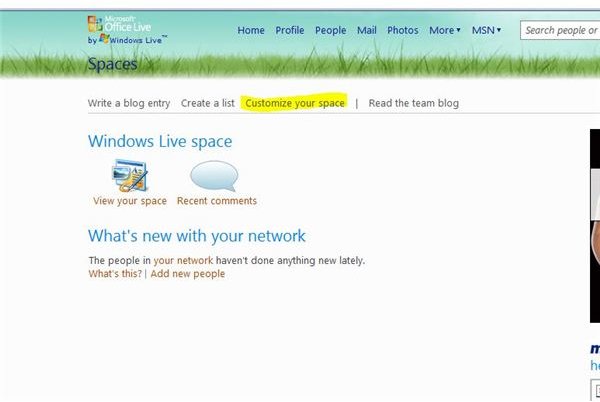
Click Customize Your Space on the Windows Live Space toolbar.
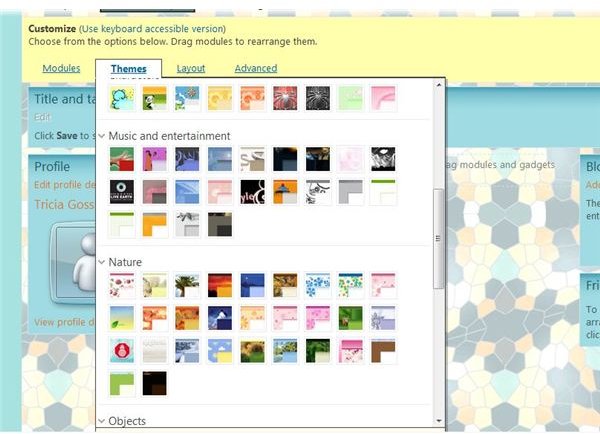
If the Themes menu does not open automatically, click to open the list of themes. Select a theme for your Space, and click on it to apply the theme. Click Close Tab to close the Themes menu.
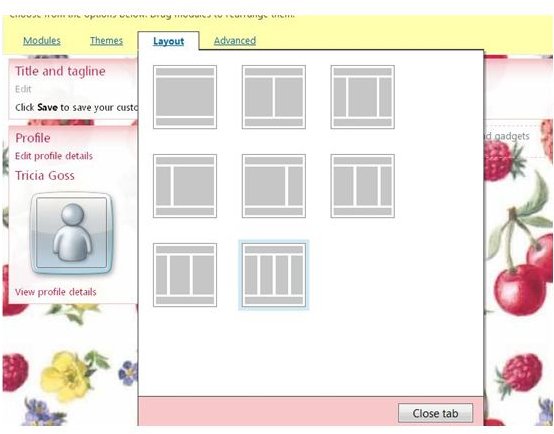
Click the Layout menu on the toolbar and select the layout you want to apply to your Space. The layout defines how many columns your Windows Live Space will have, as well as how those columns appear on the page.
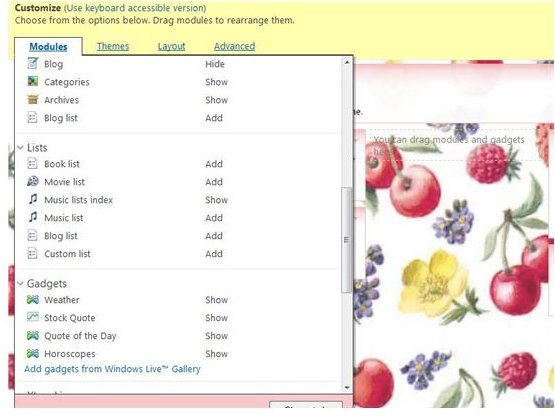
Click the Modules menu to choose from an abundance of features and apps to add to your Windows Live Space. There are social modules, such as a friends list and guestbook, blog modules, a radio station creator, gadgets and more. Select as many or as few modules as you want on your Space. Click to Show or Add module into your Space. Later, if you decide you no longer want a module on your Space, go to the Modules menu and click the module to select Hide.
Once you have selected modules for your Space, you can drag and drop them around your Space in the order and position you choose.
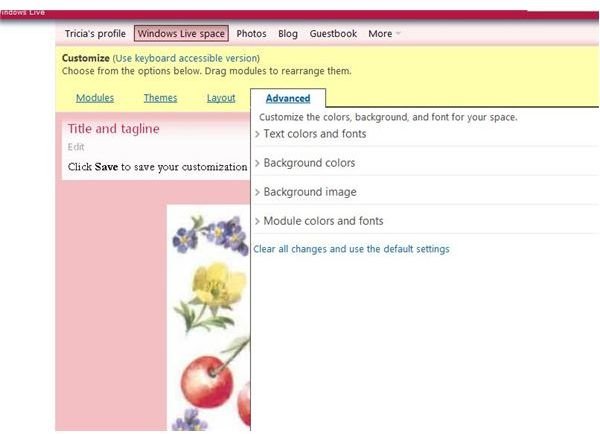
Go to the Advanced menu for even more ways to customize your Space. On the Advanced tab, you can change the font, as well as the font size and color. To select a picture from a file on your computer to use as the background for your Space, expand Background Image. Select Use a Custom Image for the Page and then click Browse to locate the picture to use as the background.
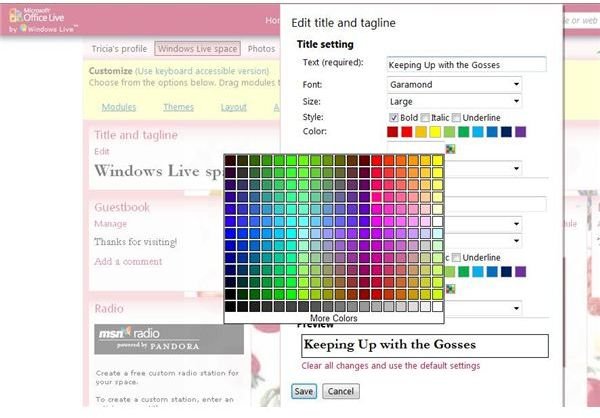
Click Save to apply the changes to your Space. Once you have made customizations to your Windows Live Space, you can begin to edit and use it. Click the Edit button on any module to further customize your Space. For example, click Edit on the Title and Tagline module allows you to enter a personalized title and tagline, and make changes to the font and color.
Options
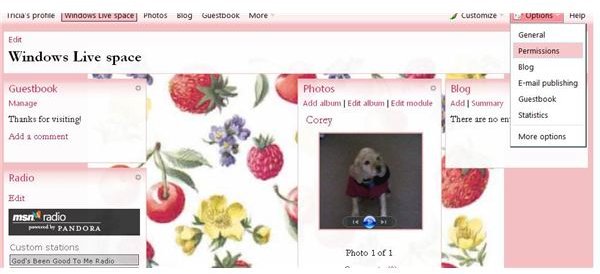
After editing the modules on your Space, go to the Options menu on the Spaces toolbar. Click General to make changes to the time and date format, personalize your Windows Live Spaces web address and more. Select Permissions from the Options toolbar to determine who can view your Space. The Blog feature allows you to choose options for your Windows Live Spaces blog, if you choose to create one, you can view statistics about your page, and more.
You can update your blog as frequently as you like; Windows Live Writer makes it easy to pen and post directly to your Space. Incorporate your Windows Live Calendar and Windows Live Photo Gallery, too. Your family and friends will be able to stay in touch even easier than before.
Get even more out of the Windows Live platform. Check out the Bright Hub series Windows Live Review for a terrific overview of all Windows Live has to offer.


