How to Add Multiple Domains to Windows Server DNS
Windows 2008 DNS Service
“Domain Name System (DNS) is a system that is used in TCP/IP networks for naming computers and network services that is organized into a hierarchy of domains. DNS naming locates computers and services through user-friendly names. When a user enters a DNS name in an application, DNS services can resolve the name to other information that is associated with the name, such as an IP address. Windows Server® 2008 provides a number of enhancements to the DNS Server service that improve how DNS performs.” - from Microsoft.com
Windows 2008 DNS Service is not that different from the previous versions of Windows DNS service present in Windows 2000 or Windows 2003. However we have a few new things introduced: IP version 6 (IPv6) support, Global single names, Global query block list, Support for read-only domain controllers (RODCs).
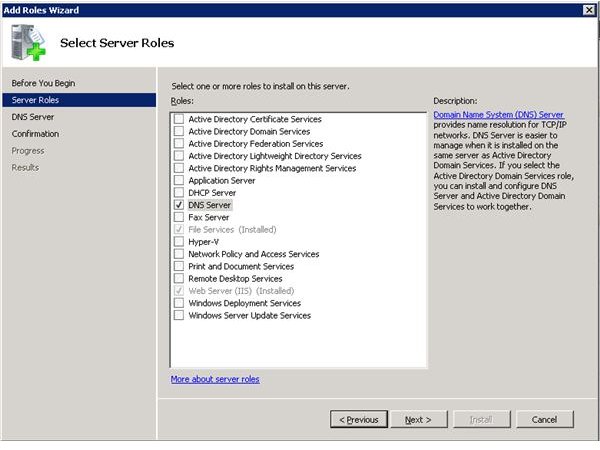
Now, before we can actually use the DNS service, we must add/install this Role to the Windows 2008 Server. We can do this from the Control Panel, or from the Server Management Interface.
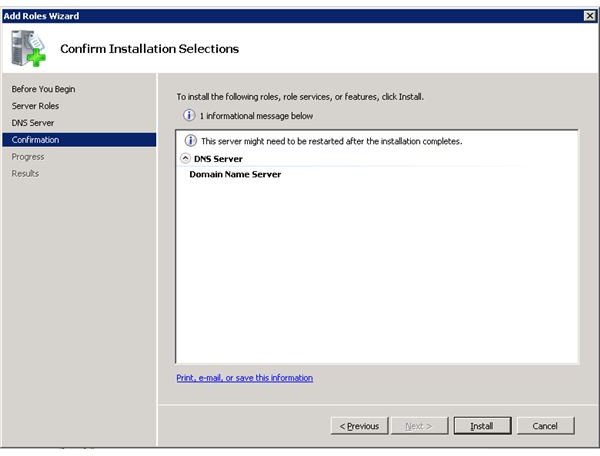
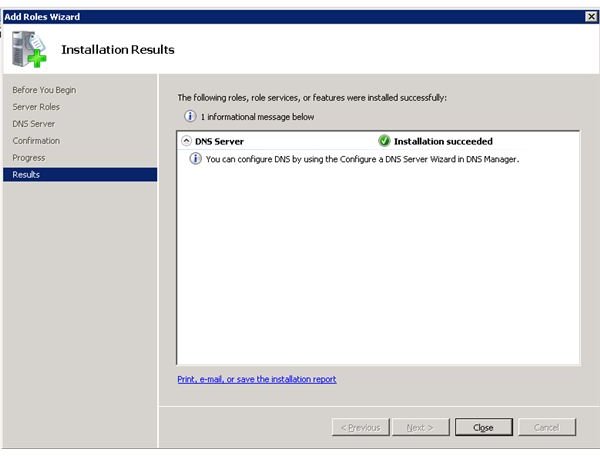
From the Start menu, select “Control Panel” > “Administrative Tools” > “Server Manager”. Click “Roles”, choose “Add Roles” and select the DNS role. When the installation is finished you can start configuring your DNS service. You can find your new DNS management console in Control Panel / Administrative Tools.
DNS Server Installation
Configuring Multiple Domains to Windows DNS Server
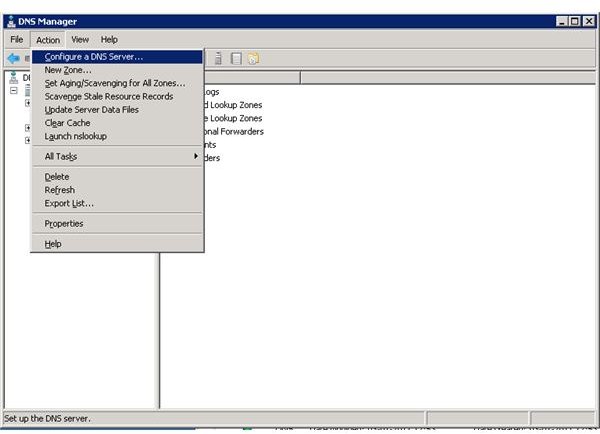
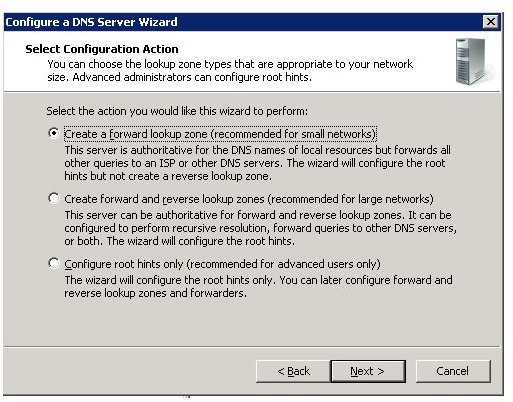
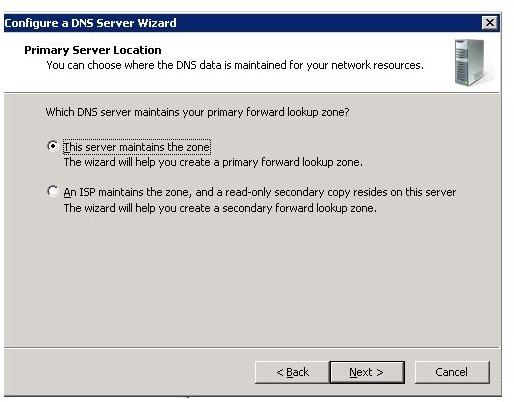
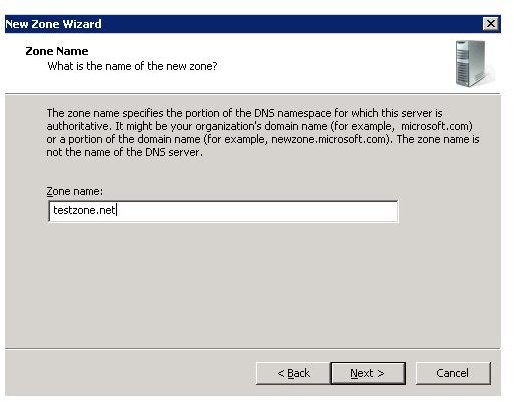
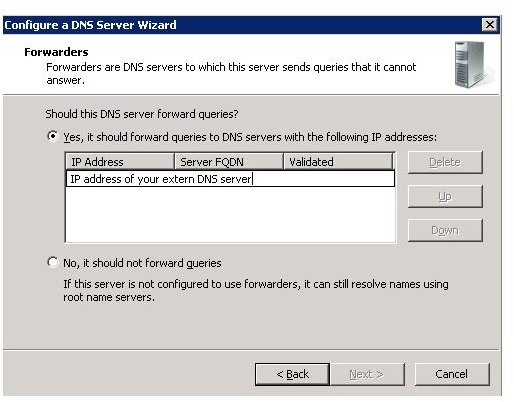
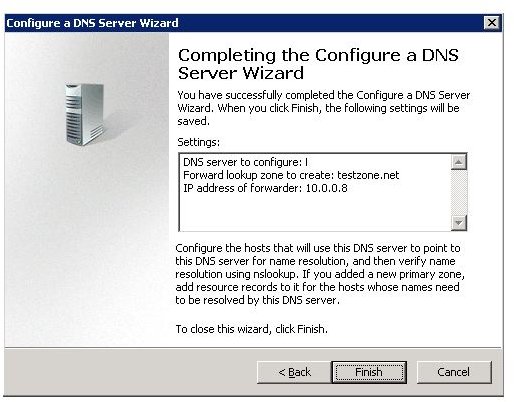
When you start the DNS management you can use the wizard to configure the DNS service. You will have to configure the primary “Forward Lookup Zone” and optionally you can also configure the “Reverse Lookup Zone” for your network. Also you will need to know an IP address of an external DNS server which will be able to resolve all the DNS requests that your local DNS service can not resolve, also called a “Forwarder DNS server”. You can configure your server by selecting “Action” from the top menu and then select “Configure a DNS server”. Follow the steps in the wizard in order to configure your DNS server with a new Forward Lookup Zone for the “testzone.net” domain. Now that you have configured your primary DNS zone, you can proceed and add multiple domains to your DNS server.
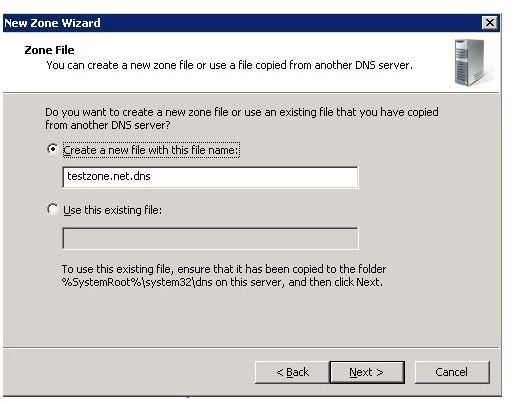
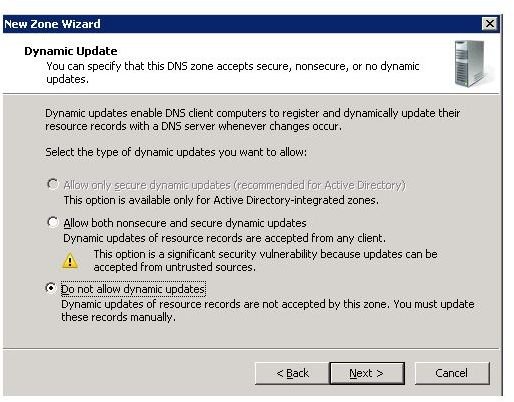
Let’s say your primary domain it is “testzone.net” and it has been configured by the Server Configuration Wizard. We will now add a new domain as a new zone as a forwarding lookup zone. Select “Forward Lookup Zones”, right click and select “New Zone”. Choose “Primary Zone” and type the name in the Zone Name field: brighthub.com, click “Next”, select “Create a new file with this file name” > “brighthub.com.dns”, “Next” again and then select the “Do not allow dynamic updates”. Next and then Finish. You have now created a new forward lookup zone that represents your second domain name managed by this DNS server.
When this server receives any requests regarding the “testzone.net” or “brighthub.com” domain name, it will first try to resolve the request using the local records. For example, if another machine in the network will request an IP address for a host called “test1.testzone.net”, the server will first look trough the local records and if it will find a record matching the request it will return the IP address of the desired host using the local records. If the host name is not found in the local database, the request will be forwarded to the external DNS server that you have configured as a forwarder DNS server.
DNS Configuration
Configuring Additional Domains to Windows DNS Server
You may ask yourself: Why do I need to add multiple domains windows server DNS? There can be multiple reasons to do this. One of them would be to block access to some external domains or web pages, or to point your users to specific IP addresses when they try to access a specific domain name. You can add multiple domains by adding more than one “Forward Lookup Zones” to the DNS server.
We can create as many forwarding lookup zones as we want. You can try to add some more zones and play around with them. Now in order to make use of the multiple zones we added we will also need to create some A records. Presuming that all the users on your network are using your newly installed server as DNS server and you want to limit the access to a few specific pages on the internet, you can take advantage of using the windows DNS server in order to do this.
Let’s presume you want to block users access to a specific resource page on Brighthub.com located at ressource1.brighthub.com. In order to do this, you can just redirect all the users trying to access this page to a local server. Using the DNS server management console, go to the “Forward Lookup Zones”, select the “brighthub.com” zone that you have just created, right click it and select “New host (A or AAAA)…”. Type “ressource1” into the Name field and the internal IP address of the server that should accept the redirects into the “IP_address:” field, then click “Add Host”. Now we have just created a new A record called “ressource1.brighthub.com”. Any client machine on your network (using your DNS server) that will try to access the “ressource1.brighthub.com” will be redirected to the local IP address you supplied instead of accessing it on the Brighthub server.
In this way, you can block the access to multiple domain names or resources on the internet. Multiple domains on the Windows DNS server can also be used in more complex organizations that are actually managing and maintaining multiple DNS zones.
Using Windows DNS to Block Facebook
More and more companies are blocking access to social networking websites like Facebook.com or Tagged.com. If the DNS server you have just configured is used by all the machines on your network, you can also use the DNS server and block access to specific domains. If for example you want to block facebook.com access you can simply do that by configuring facebook.com as an extra domain on your DNS server and point it to a blank page or some other internal server.
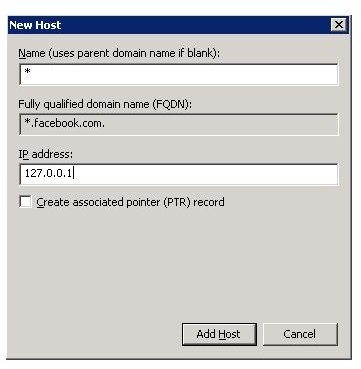
Go to “DNS Manager” console, select “Forward Lookup Zones”, right click it and select “New Zone”. Add “facebook.com” as primary zone. Then create a new host with the wildcard name " * " and point it for example to the local host IP address.
Now, whenever someone on your network wants to access a webpage like www.facebook.com, the DNS server will tell them that “www.facebook.com” has the IP address of “127.0.0.1” (which is the localhost IP address) and try to access the page on the local machine. The web browser will not be able to display the page and will simply return an error.
This is not the most secure way to block the access to a web page or domain, but if you do not have any additional resources, this is the most simple way to do it in a small environment. This can be one of the multiple reasons to add multiple domains windows server DNS.