AVG isn’t just a free anti-virus product. It’s also a top spyware removal tool. The free AVG spyware remover should be a nice tool for anyone that has picked up a bit of spyware on their computer. I’ll cover how to run the free spyware remover and clean up your computer.
Introduction - Free AVG Spyware Remover
Note that installing AVG is an entirely different process and it has it’s own article. I’ll assume for this guide that you already have AVG Free installed.
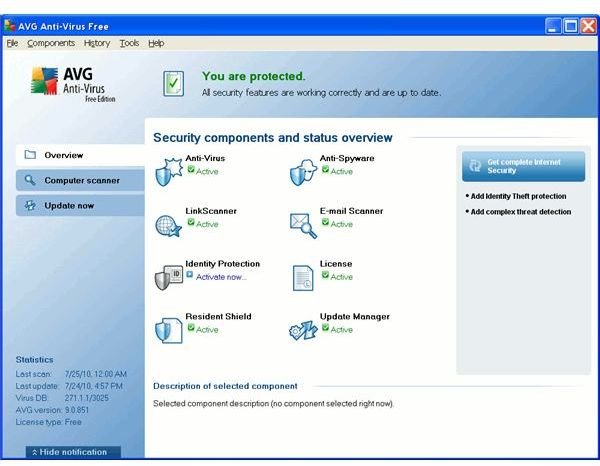
AVG doesn’t just offer antivirus protection. AVG also offers spyware removal as a part of its free antivirus suite. In order to use AVG spyware removal, then you can just run a scan as normal. It will search for spyware during the antivirus scan. You can ensure that your antispyware definitions are up-to-date by selecting the icon label “spyware protection” in the main components view. If they haven’t been updated recently, then click the “update now” tab and let it update your spyware and virus signatures.
Once AVG is fully updated, then you’re ready to go.
Running the Free AVG Spyware Remover
To start the scan, click on the “Computer Scanner” tab and click on the button for “Scan Whole Computer.” If you don’t plan to use the computer while it scans, then you can move the slider over and have it do a “Fast Scan.” This will use up more resources but it will finish the scan faster. Only use it when you’re not doing anything else though, since it will cause slowdowns for all other programs.
If you want the scan to run in the background, you can also set it to a “Slow Scan.” This will only have it use spare resources. It will take much longer, but it shouldn’t interfere much with your computing.
There’s nothing else you really have to do. Just let it all run in the background. Once it’s done, you can read the final report. It will list any threats to your system ranging from slightly malicious tracking cookies to full viruses. You should be able to just press a button to have it remove the selected threats. This should do a good job of removing spyware from your computer, although you will want to check again after restarting to see if it reinstalled itself.
In that case, you will have to boot the computer in safe mode and try it again. Spyware that nasty should have its own spyware removal guide on Brighthub though. If you have trouble with removing it, then check around for a relevant guide.
Note that once you’ve run your scan, you will probably want to set it up to run in a fairly automated process. I suggest that you ensure that automatic updates are turned on for your AVG spyware protection. I have a separate guide for setting up AVG automatic updates at an optimal time. You can also use scheduled scans to regularly check your system for new infections.
To set up a scheduled anti-spyware scan, click on the tab for “Computer Scanner” and click on the button on the bottom labeled “Manage Scheduled Scans.” You can choose to have a daily scan or set it up to scan on select days of the week. Automatic scans during low use hours should help keep your computer safe from spyware with very little effort.
Hopefully your AVG spyware removal went well.
Image Credit: Screenshot by Authory - Copyright of AVG


