When two or more people need access to a file or folder, you can create a workgroup share and put the data in it. Anyone with the correct permissions can “check out” the file and work on it. Once they’re done, they can resave the file, and future users have access to the latest version of it.
What is a Workgroup?
Workgroups are a great way to share files and other data when multiple users need access to it. With a workgroup share, only one person at a time can edit or change a document (or any other data in the share). When that person is finished, the document is resaved and the new version can then be edited or changed by others.
Create a Workgroup
You’ll first need to create a workgroup. To create a Workgroup, first create a new folder on your hard drive or on a network drive. You may want to name it “Workgroup Share”. With the folder created, right-click it and choose Security and Sharing, Sharing, or something similar. What you’ll see depends on what operating system you’re using and how your hard drive is formatted (FAT or NTFS ).
In Windows XP, on hard drive formatted with NTFS, you’ll see two tabs: Sharing and Security. From the Sharing tab, select Share This Folder. Choose the number of users who can access this folder at the same time (the default is usually 10). Select the Security tab. Review the settings. You may need to make changes here to allow your users complete access to the data inside the folder.
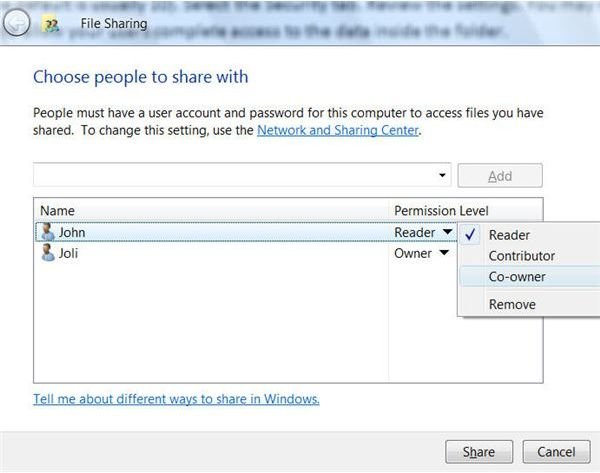
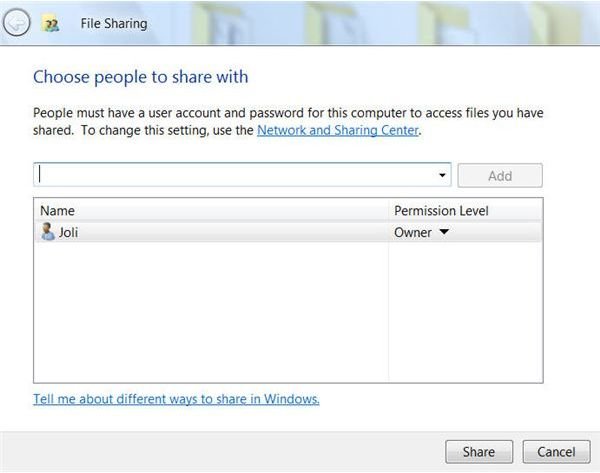
In Windows Vista, you’ll see the window here. [See Image 1] You type the names of the users you want to allow access, and then click Add. Once the user(s) are added, you can choose their permissions. As you can see here, they can be a reader, contributor, or co-owner. [See Image 2]
Now, when users access data in this folder, the last person to save the file is the “winner”. It’s those changes that are defined as the latest edition of the file and those changes that will appear the next time it’s opened.
Testing Access for Your Workgroup
After setting up the workgroup share you need to test it. First, take a look at the shared folder, it should have a shared icon. It looks like hand is holding the file. If you see that, you can now send your comrades a link to the folder. If the file is on a network share, it will look something like \\computername\sharename, if it’s on a server share it will look like \\servername\sharename. Make sure all users open the files to verify they have the proper permissions, and have them email you a confirmation.
Images