A visual guide to installing OpenSUSE Linux alongside Microsoft Windows XP.
Before We Get Started …
Installing a second OS (Operating System) alongside Windows XP may seem like a complicated process to users who have no experience dual-booting. In truth, the process is quite simple involving very little risk. That being said, we do want to take steps to make sure we don’t lose any data should we encounter problems.
In this how-to I will make extensive use of screenshots to further simplify the process of installing OpenSUSE Linux alongside Windows XP. I apologize in advance to those users with a slow Internet connection. I will make sure the images are optimized as much as possible while still providing a good visual guide to the entire process. A picture may not be worth a thousand words, but in this case I feel they have merit.
This scenario will involve the installation of OpenSUSE Linux on a system that already has Windows XP installed. I will start by showing you how to make room for OpenSUSE Linux from within Windows XP; this will be followed by the downloading, burning, and booting of your OpenSUSE Linux LiveCD; and finally I will walk you through the entire OpenSUSE Linux install including post-install maintenance.
Making Room for OpenSUSE Linux
Before you are able to install OpenSUSE Linux on your PC (Personal Computer) you will need free up space for the install. I recommend a minimum of 10GB for your OpenSUSE Linux install, with no upper limit, depending on your personal needs. At a bare minimum I do like to see 8GB for a combined root (/) and home (/home) partition as well as a 2GB swap partition . Ideally, if you can spare the room, I’d like to see 3 partitions; a 6-8GB root (/), 2GB swap (this is overkill on most systems and will generally end up being less if you use the partitions suggested by the installer.), with home (/home) taking up the remaining space. One thing to keep in mind is that the OpenSUSE Linux installer will use the 3 partition setup if you accept the default partitioning scheme so the more space you can spare, within reason, the better!
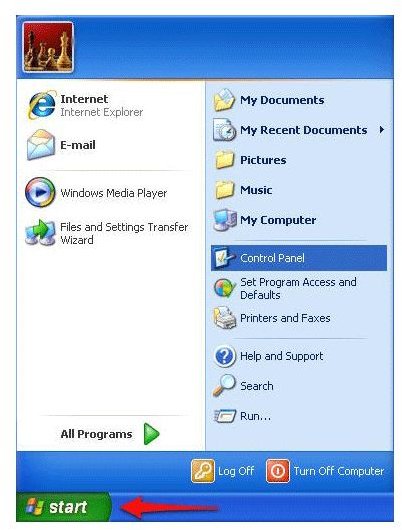
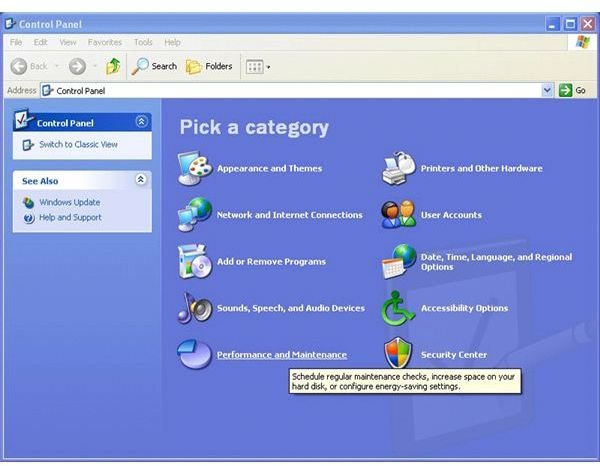
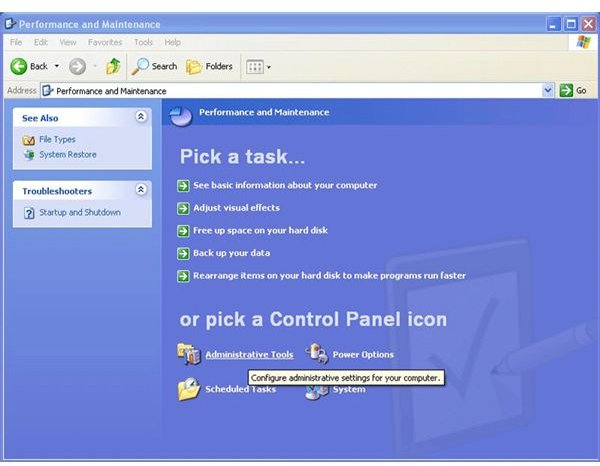
To access the disk management system on your Windows XP system:
_>
>
>
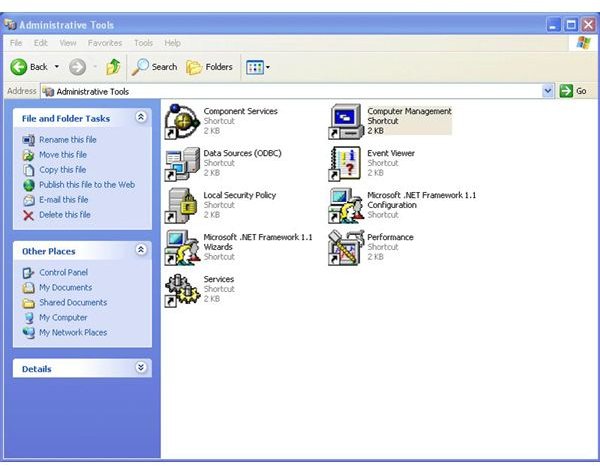
>
>
_
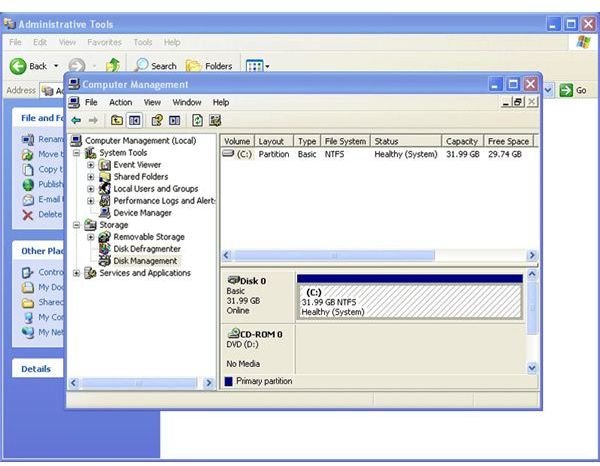
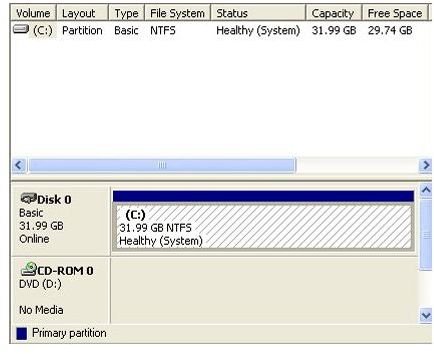
At this point you will have to create a new partition to hold your OpenSUSE Linux partitions. You may need to resize, delete or move partitions to free up the space you will need depending on your current hard drive setup. Whichever scenario is applicable the end result must be a solid block of free space in which you will create your OpenSUSE Linux partitions once you have booted the OpenSUSE Linux LiveCD.
Pre-Installation Checklist
- Back up data.
- Free up space for OpenSUSE Linux.
- Download the OpenSUSE Linux LiveCD .
- Burn the OpenSUSE Linux LiveCD.
- Boot the OpenSUSE Linux LiveCD.
Installing OpenSUSE Linux
Once you have booted your OpenSUSE Linux LiveCD you will want to use your arrow keys to select
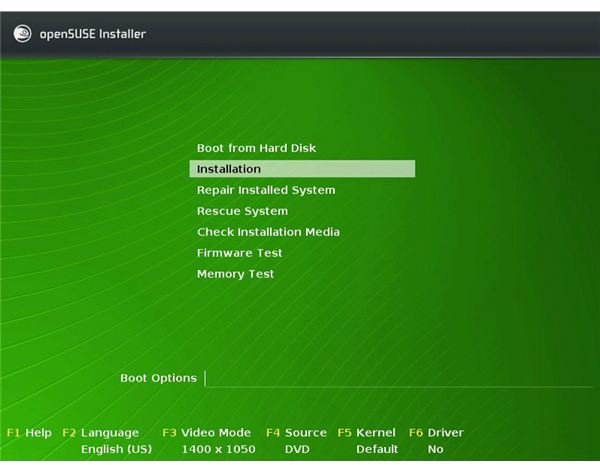
. The system will then
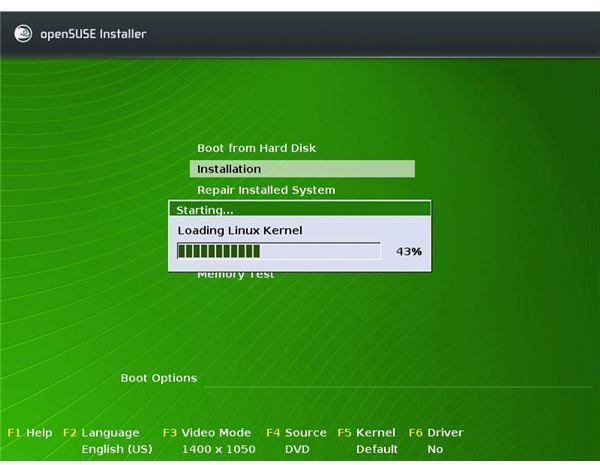
greeting you with the
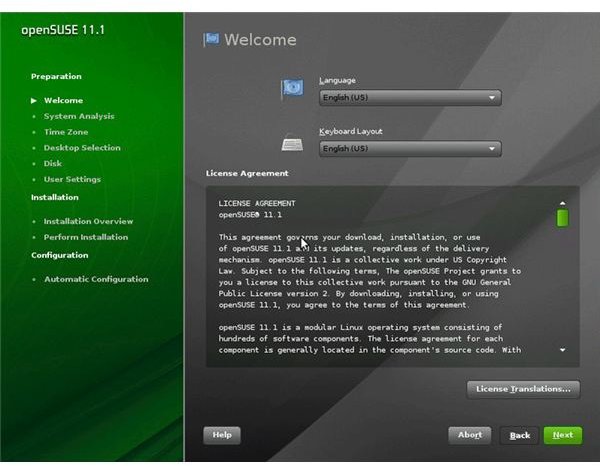
. Verify your language and keyboard layout and click next. OpenSUSE will
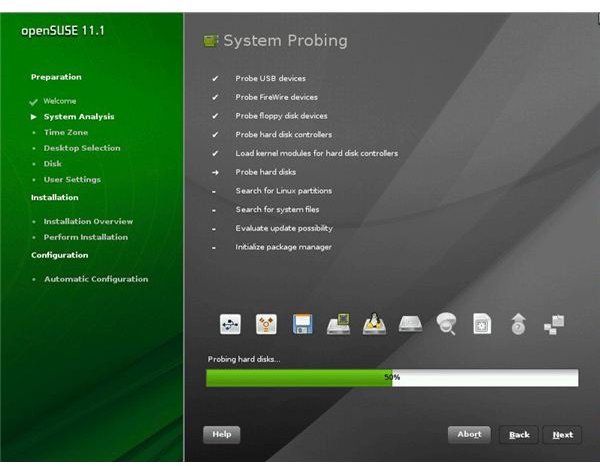
your system detecting your hardware and then initialize the package manager.
With the package manager initialized you will need to choose your
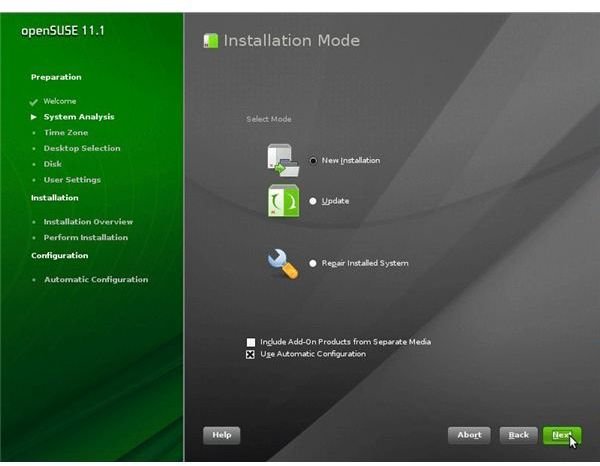
, in this case we want a new installation. Next you will be asked to select your
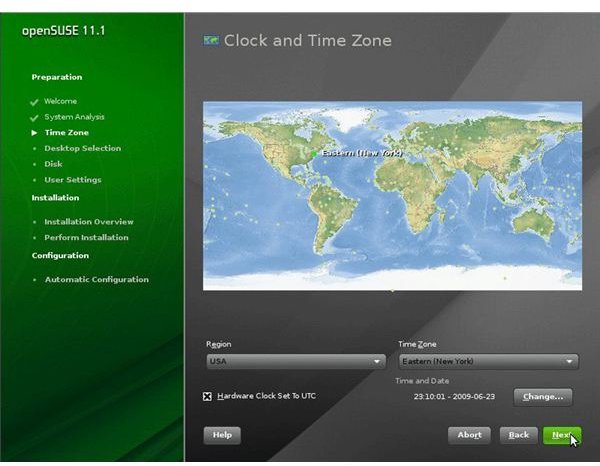
, followed by one of the more significant personal choices, your
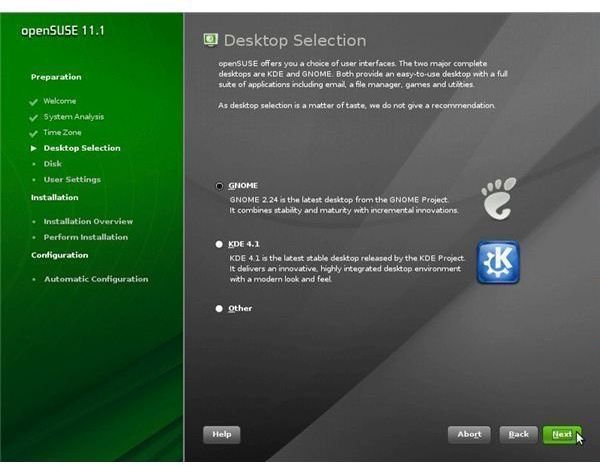
. If you are a new Linux user I encourage you to try any and all desktop environments, you will however have to choose one here to begin your Linux journey.

After choosing your installation mode, clock and time zone, and desktop environment it is time to setup your OpenSUSE Linux partitions. OpenSUSE Linux will present you with a
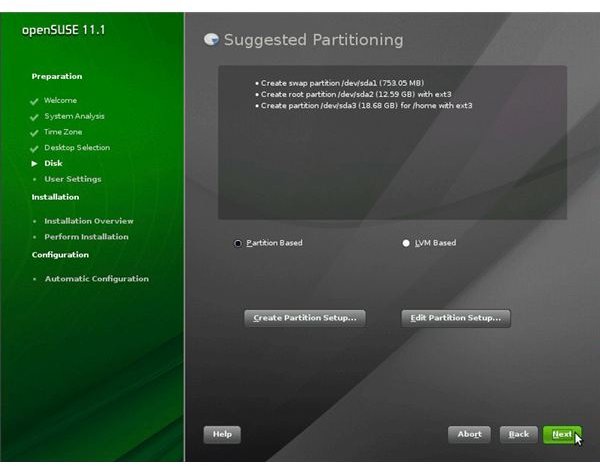
scheme based on the information it collected earlier while probing your system. The OpenSUSE Linux installer generally does a good job of setting up partitions for you, and as a new user, I would encourage you to leave the suggested partitioning scheme untouched. Should you be comfortable with making modifications you are provided with the create partition setup and edit partition setup buttons. These buttons will give you more control over the partitions created, but exercise caution when making changes if you are unsure of what you are doing.
Now that you have chosen the partition scheme you would like it is time to

. This is a fairly straightforward process; the only thing I would recommend here is to make your password as secure as possible should you leave the default option ticked which sets your user password to the administrator password as well.
On the next page we will finalize your installation and proceed with the install.
Installing OpenSUSE Linux, Continued
We’re almost there! All that is left to do is take a look at the
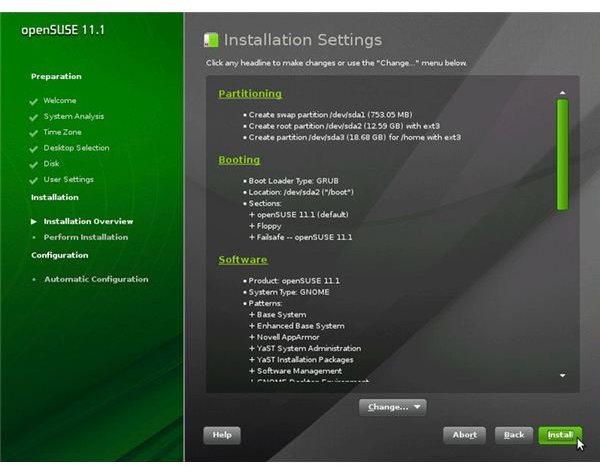
and confirm that all the settings meet your needs. If you followed this guide then all settings should be fine. Clicking next on this screen will take you to a prompt giving you

to make any changes. Once you are ready click install to start the
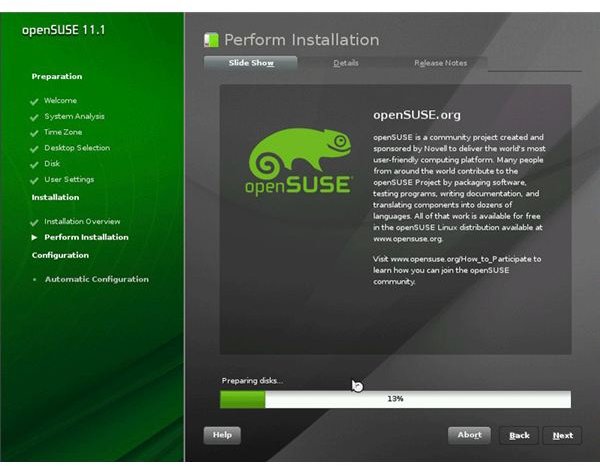
.
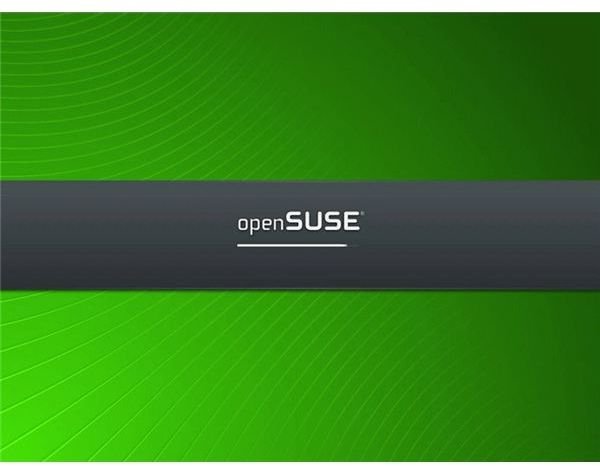
When this stage of the install has completed your system will reboot and you will be greeted by the OpenSUSE Linux
, followed by the
and finally

will begin. Once automatic configuration has completed your OpenSUSE Linux configuration will be
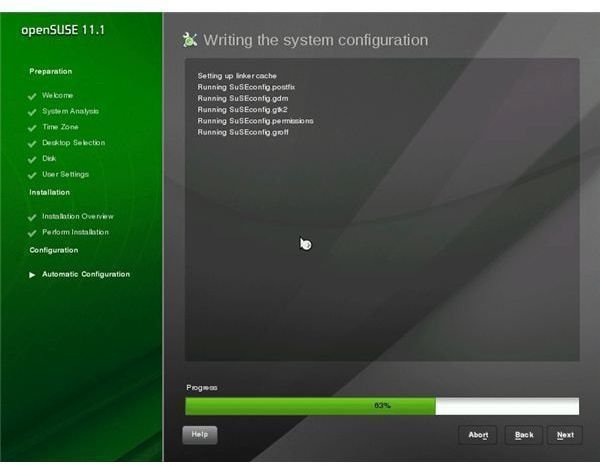
.
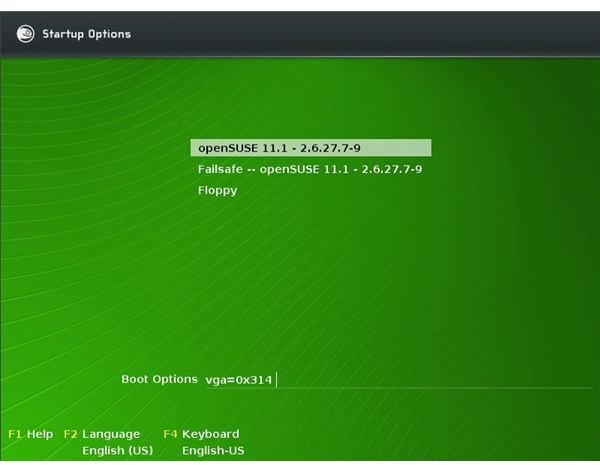
That’s it! OpenSUSE Linux is now installed along side Windows XP in a dual-boot configuration. The Grub boot loader will now have an entry for both Windows XP and OpenSUSE Linux and booting one or the other is as simple as highlighting it using your arrow keys and hitting enter.
To conclude this article we will take a quick look at the default OpenSUSE Linux desktop and what you should do next.
OpenSUSE Linux Post-Install
Now that you are at your
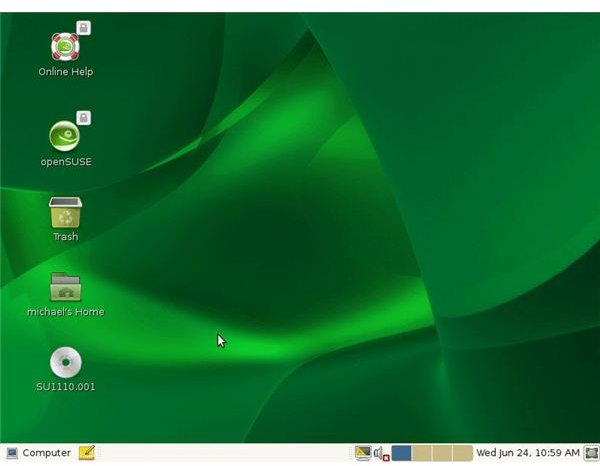
what do you do now? The first thing I would recommend would be to spend some time familiarizing yourself with OpenSUSE Linux by visiting the links provided on the
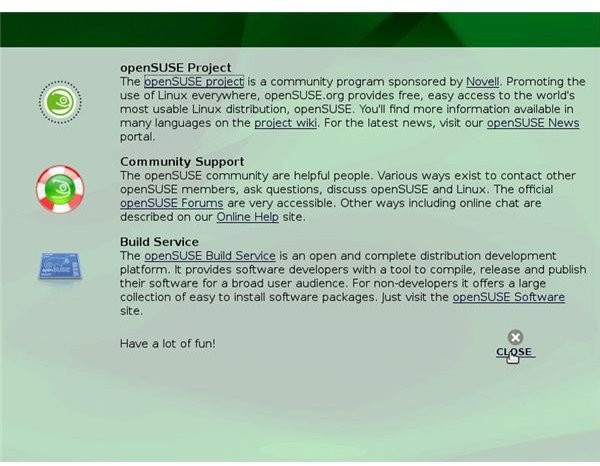
. The OpenSUSE Linux Wiki is an excellent source of all that is OpenSUSE and the OpenSUSE Linux forums are an invaluable resource should you have questions or encounter problems with your new OpenSUSE Linux system.
Installing new applications, connecting to your friends on IM (Instant Messenger), or simply browsing the web are just a few of the things you can do next on your OpenSUSE Linux system. You are only limited by your imagination. Until next time, keep it Open Source!


