
There are many ways you can partition an Ubuntu hard drive and most are adequate depending on your specific needs. Lets take a look at the more popular ways to setup your drive…
Partitions Confuse Me
In recent years, the need to know what a partition is (let alone understand how to setup one) has become less and less a requirement of running a Linux-based operating system. Years ago, deciding on a partitioning scheme, making the changes to the partitions and writing them to disk was a vital step in setting up a Linux system (often done from the command line), but those days are now gone. The only reason to mess with partitions on your Ubuntu system is if you have a specific need for distinct partitions or are running multiple operating systems…
(Image: stock.xchng )
Ubuntu Rocks My PC
If Ubuntu is the only operating system you plan to install on your PC and you have no personal requirements for a non-standard partitioning scheme, you can simply let the Ubuntu installer partition your hard drive automatically. To do this, you will boot the Ubuntu LiveCD and choose to “install Ubuntu”. When you reach the partitioning screen simply select “Use All Space” and you’re off to the races.
Note: This will erase all data on your hard drive. Backup all data before installing Ubuntu using this option.
I’m a Man of Many Operating Systems
One of the most common reasons these days to use a non-standard partitioning scheme is if you run multiple operating systems on a single PC (personal computer). Whether this is a Mac, Windows desktop PC or a laptop the idea is the same… to design a partition scheme that allows all operating systems to “play-nice” with each other. If you have already installed Windows on your PC using the entire capacity of your hard drive, you will need to shrink the Windows partition to make room for Ubuntu. To do this you simply boot your Windows operating system, open disk utility, right-click the Windows partition and select “shrink”. Windows will then query your hard drive and let you know the maximum amount you can shrink your Windows partition, allowing you to make room for your Ubuntu install.
With your Windows partition shrunk and a section of “unallocated space” available the Ubuntu installer will allow you to “use the free space” for your Ubuntu install. Ubuntu will then automatically use this space to create a root (/) and swap partition before moving on to the Ubuntu install. Ubuntu, in this scenario, will also install the grub bootloader to the MBR of the hard drive by default, overwriting the Windows bootloader. Don’t worry though, Grub is smart enough to detect your Windows install and add it to the boot options presented to you when you boot your computer.
Multimedia Junkie Weighing In!
I’m a multimedia junkie, I admit it! I’m also what many people call a “distro jumper” in the Linux community. I tend to use Ubuntu for a month or two, install Fedora and use it for a while, then OpenSUSE and so-on. I do a lot of testing of Linux operating systems for articles and reviews and use this as an excuse to sample each and every Linux operating system on a regular basis. In truth, I tend to get bored and want to wipe my operating system and use something new for a while.
In my case an external drive would do the job to store all my multimedia files however, I use a laptop for my Linux installs and am on-the-go a lot. I don’t want to carry an extra piece of equipment with me in order to access my files and my internal hard drive is large (1TB) so it has plenty of space for storage. What I do is allocate 100GB (extreme overkill, you can get away with 15GB or less) for my Ubuntu partitions and then create a third partition called “laptop-data” (call yours what you like) for all my multimedia file storage needs. This partition for me, is static and never gets formatted, even during a new Linux install. Any Linux install I do uses the 100GB partition to create its root and swap partitions and then auto-mounts my “laptop-data” partition on boot. This setup works for me, adjust it as you see fit for your specific needs.
Gparted, Let Me Count the Ways I Love You
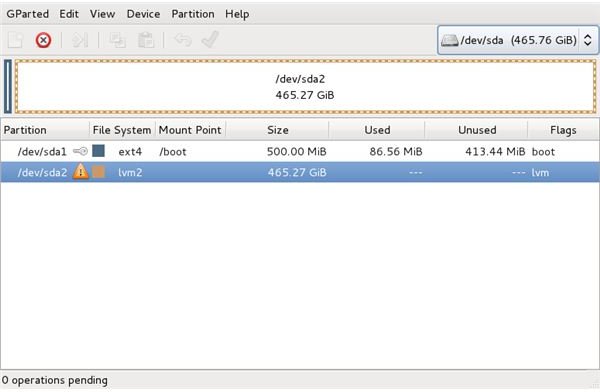
Gparted is an open-source program that allows you to create hard drive partitions of all kinds. It’s one of the simplest yet powerful programs on the Linux platform. A basic GUI (graphical user environment) combined with an easy to understand menu system make this a fantastic piece of software. Gparted is included on the Ubuntu LiveCD and can be installed from within Ubuntu as well using the command: sudo apt-get install gparted.
To create a partition using gparted, hY load the program and take a moment to inspect your current partition scheme. If you your drive contains unallocated space this will be the area you want to highlight using your mouse. Once highlighted right-click the partition and select “New” and fill out the required information. It’s as simple as that. Again, exercise caution when creating, deleting or modifying partitions on a hard drive that contains data you want to keep.
In the end the key point to keep in mind when creating Ubuntu partitions is that you will need a root (/) and swap (swap) partition at the bare minimum. The root partition is where the operating system will be installed while the swap partition is used in the event that you become low on physical memory. In most cases this basic Ubuntu partitioning scheme (which is also the default) is more than adequate for most users. As always, please remember to backup all data on your hard drive before making any changes to partitions. Many of these partition functions are destructive and not reversible. Exercise extreme caution when modifying partitions on a system that contains any type of data you do not want to lose.
References
- Author’s own experience.
- Screenshots provided by the author.
- Gparted
- Ubuntu Community Documentation, HowToPartition


