Notebook hard drive price drops finally got you interested in a larger hard drive? What do you do with the old drive? Continue to use it by putting it in an external enclosure. This article shows in some detail how.
Introduction
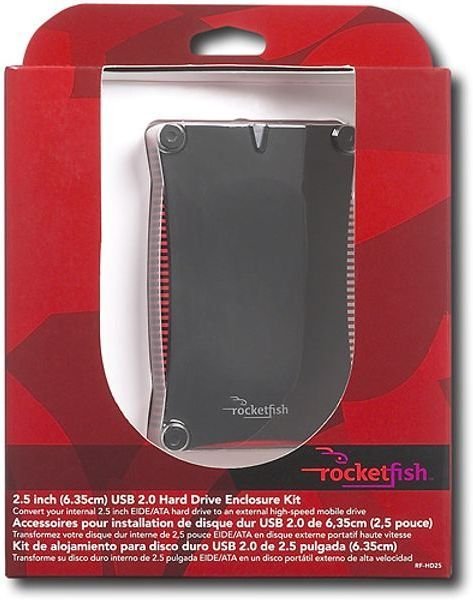
This article is a review of the RocketFish RF-HD 2.5-inch hard drive external adapter. Since this review began, RocketFish has introduced a newer model with some minor variations. We’ll be covering the changes for the new RF-HD-25 in this review as well, but the major change was in the packaging. The product is now provided in a blister package instead of a box.

Packaging and Unboxing (5 out of 5)
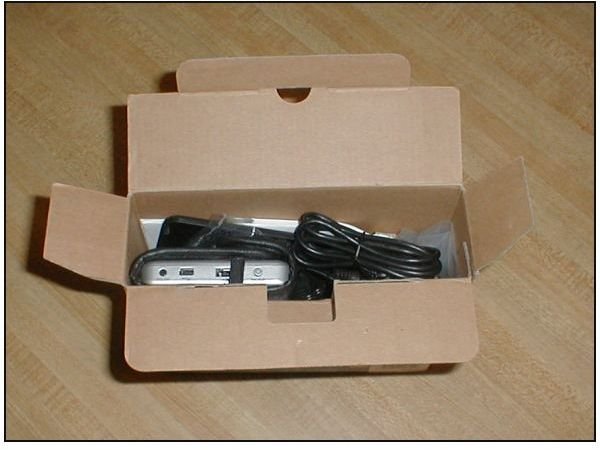
The enclosure was delivered in a shiny black cardboard box with red and white text. The box was sturdy and undamaged in transit. Inside, the biggest component was the enclosure itself, and it was protectively sleeved in the included case. No items were missing and no items were damaged.
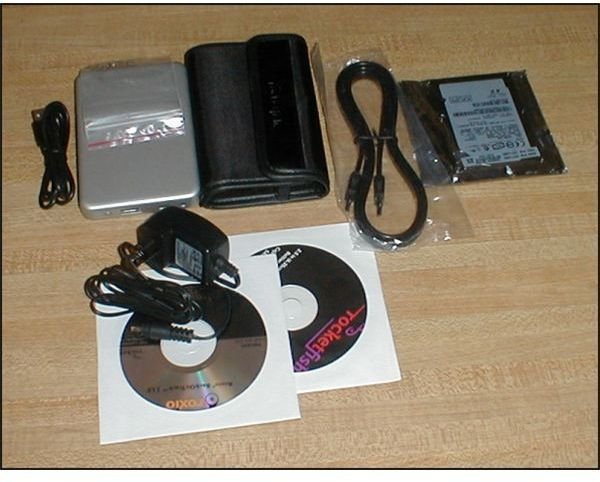
Components included the two-piece enclosure with two covers (one silver and one black), the carrying case, USB and eSATA cables, driver and backup program CDs (neither of which I used or needed), an AC “wall-wart” power adapter, eight cross-point screws, and a Phillips screwdriver. Also shown in the image below is the 100 GB hard drive I plan to install in the enclosure.
There are some differences between the reviewed product and the new model. For one thing, it now comes with a USB y-cable for powering the device without the wall adapter, which is no longer included. The style of the case has changed. It now looks more industrial and less sleek, and the corner attachments are small allen-headed screws instead of phillips style screws. An allen wrench is now included.
Internally the products appear to be identical.
Installation (5 out of 5)
Four pages of the user’s guide are devoted to opening the enclosure and installing the hard drive. This was very easy to do, and the instructions were excellent.
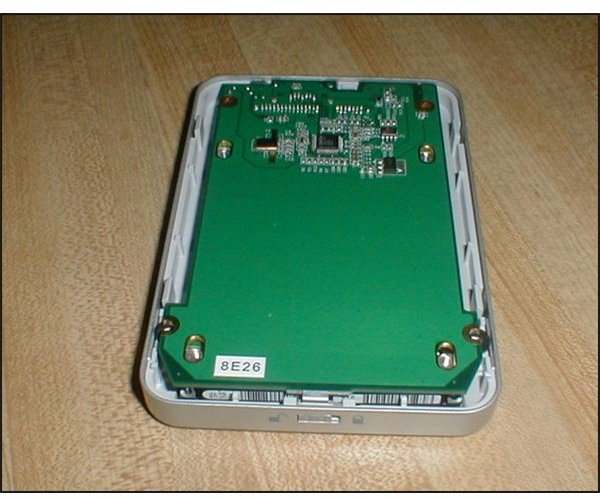
A small latch on the back of the unit opens the halves of the casing.
This exposes the circuit board, which can be gently lifted out of the lower casing.
Once the circuit board is removed, gently place it upside-down on a smooth surface. Softly place your hard drive on the circuit board, align it with the onboard connectors, and push it in until it seats. Then place it back in the lower half of the case.
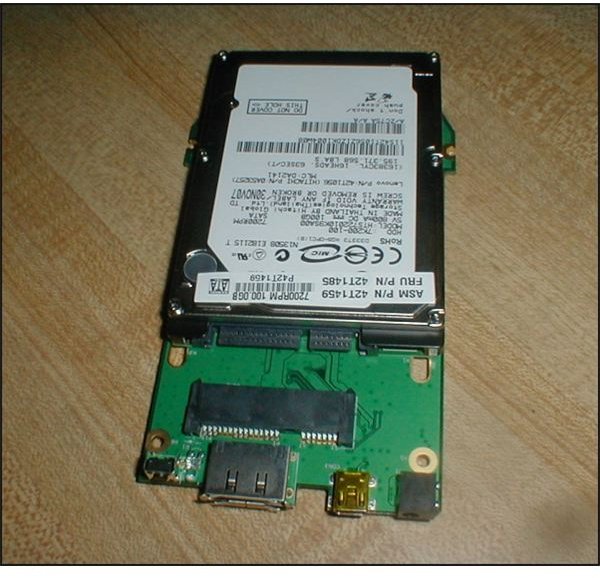
There are two types of screws. The ones with pan heads go from the circuit board to the case. The flat-head screws secure the hard drive to the circuit board. Use only about two-fingers worth of torque when installing these.
Then place the cover - silver or black, your choice - on the bottom half. The RocketFish logo goes on the opposite end from the connectors. It takes a bit of a push, but the rear corners will snap into place and pick up the latch. Slide the latch to the left, and you’re done.
The only remaining task is to select the USB or eSATA cable, plug it in, and attach it to your laptop.
Design and Usability (4 out of 5)
The top case half on the reviewed unit was made of plastic. On the newer model, it only offers one top, and the case is all aluminum, which will conduct heat away better. The plastic case is sturdy enough, but it does not feel that it is securely attached. I would suggest that one be careful about only handling the unit from the sturdier bottom half.
The documentation was in conventional English and accurate. Having a paper manual is almost a luxury these days, so cheers to RocketFish for that.
I also tried starting the drive up via USB on two ThinkPad notebooks and a tower multimedia PC. Reads and writes were fine, and the cables and connectors did not appear to heat up. Nor did performance seem to change when I plugged in the wall adapter.
I think it’s likely that they switched to the USB y-cable because some laptops have low-powered USB ports. Having two USB ports in use allows the device to go mobile without worrying about the power adapter. Fortunately, both my laptops seem to power the unit fine with the single-ended cable.
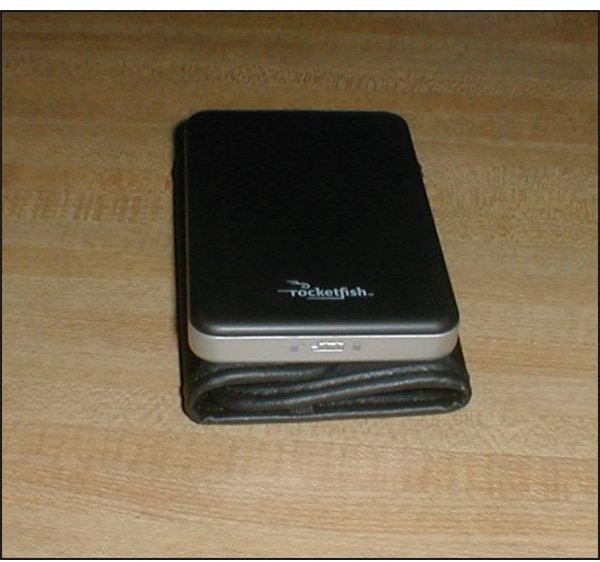
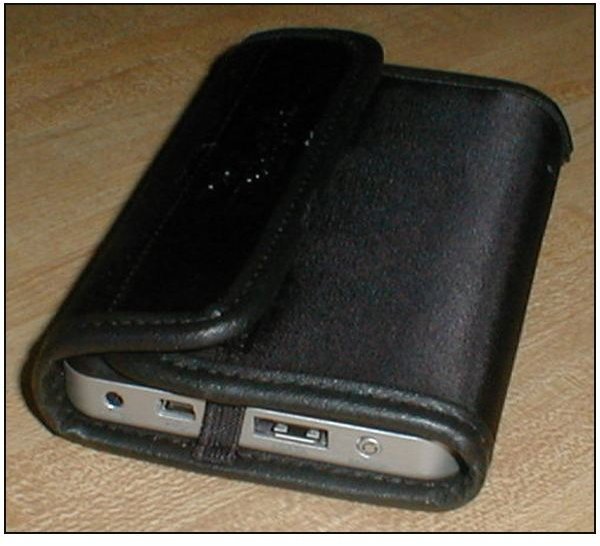
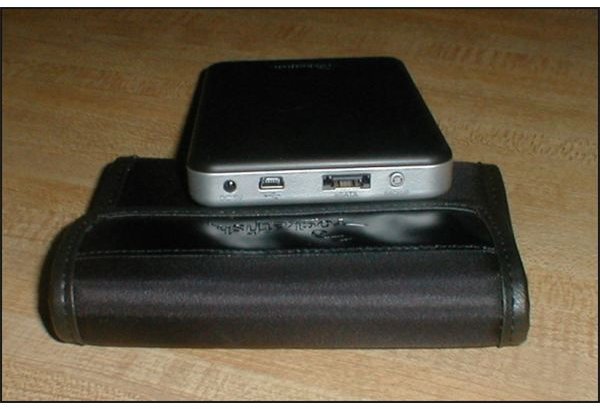
Here’s what the device looks like assembled.
Price to Value (2 out of 5)
Although this device is a solid, well-made unit, it retails for $99.99 at Amazon. We found other merchants selling it for almost exactly half that. Though useful, this is an item I would shop around for rather than paying full price.
At $99.99, it’s coming close to the price of enclosures that already have a hard drive in them.
Conclusion
Well, that’s it. There’s the Bright Hub review of RocketFish’s RF-HD25 external SATA hard drive adapter and enclosure. Yes, I would recommend this device if you’re in need of a drive enclosure for the hard drive from your laptop. It’s attractive, well made, and easy to install and use.
I would certainly shop around some before purchasing, though, and I’d look for the all-aluminum model rather than the aluminum and plastic model reviewed here.


