Step by Step Guide to Installing a New Hard Drive in a Fujitsu Lifebook
There are many possible reasons for replacing the hard drive in a Fujitsu Lifebook notebook computer. The hard drive could be dead and in need of data recovery, in which case the operating system will normally have to be installed from scratch. The drive could be low on available space and in need of an upgrade, where there is a possibility to clone the existing drive and no need to reinstall the operating system. There are even cases where the drive will be removed for data recovery or computer forensics, where it will be replaced with a temporary drive to allow use of the computer during the operation. In any case, the removal and installation process is fairly straightforward and can be accomplished using the steps outlined below.
Back up any important files prior to removing the existing hard drive, if possible, using an external hard drive, optical drive, or USB flash drive as a storage location. One useful method of performing a full system backup is by downloading and installing hard drive cloning software that allows a bootable partition to be created on the new drive, which contains all of the operating system, application software, data files and email of the original drive. This is normally done using a USB hard drive adapter cable with an external power supply.
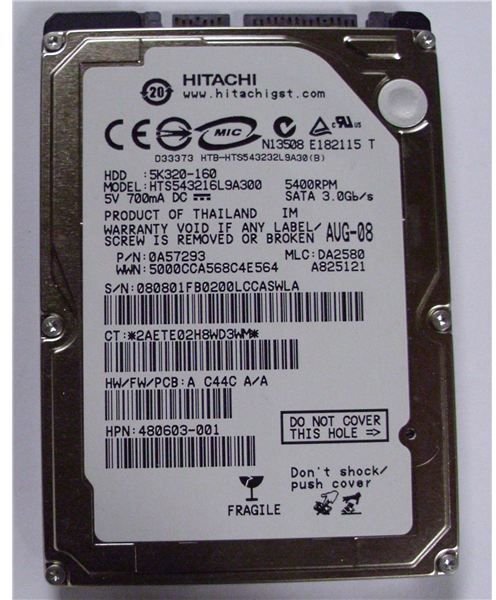
Laptop Hard Drive
Download and install a drive cloning software package if the drive is to be upgraded to a new drive. Software is available free from Western Digital and Seagate for the purpose of cloning or backing up hard drives. Simply install the software, connect the new drive to the Lifebook using a USB hard drive adapter cable and clone the drive by selecting the original drive as the source drive and the new drive as the destination. Swap the drives out as outlined below when the copy process completes.
Power down the computer and close the cover. Remove the main battery and flip the computer onto its lid on a soft cloth laid out on a table or bench. Remove the single screw holding the hard drive cover in place and remove the hard drive cover by sliding it to the right and lifting it out of the case. Remove the two screws holding the hard drive in place within the case and slide the hard drive and the attached caddy to the right, removing it from the system.
Swap the caddy onto the new drive using the same screws and screw holes, making sure to keep the drive in the same orientation that the other drive was in. Set the assembled drive and caddy into the hard drive compartment and slide it gently toward the connector on the left, pushing firmly until the drive seats into the socket. Replace the two screws that hold the hard drive in the laptop and replace the hard drive compartment cover.
Photo by Norm Dickinson
