Installing a motherboard is an easy process when care and time is taken. Being one of the most important parts of a computer system, this article will give you an overview on how to install a motherboard.
The Upgrading Process
A motherboard installation is an important factor when finally getting a custom built (or even replacement) computer up and running. While in itself the process is easy, there are several things that need to be done before you get to the point of placing the new board within your system.
You of course need to have made sure that you’ve taken stock of your current system, taking note of the types of components you have and what will work with what motherboard. You also should have made a back up of your current documents, files, and pictures, so that when you finish the initial set up, you can begin the process of getting your system back. Here is an article on how to back up your system.
This article goes on the assumption that the steps above have taken place.
Taking Down the PC
The first thing for motherboard installation is to make sure that you have everything you need at hand before getting started. This means having the installation manual nearby, having the tools you need close at hand, and any materials. It may be a good idea to enlist a friend (or two) so that if you need something, you don’t have to constantly get up to get it.
You are going to need a screwdriver, so if you have a set, have them near so you don’t have to go searching for one. If possible, make sure to have anti-static bags to place components in, baggies for any screws, and if you can a grounded wrist strap.
Once you have everything you need, start to tear down the computer you will be working on. Make sure to shut the system down and unplug everything from the back and front of the computer. It is better to do the installation on a hard surface, so make sure you have something flat and solid underneath the case.
Discover how the case opens and remove the side panel or enclosure, then gently lay the case on its side, with the current motherboard and its components facing up. You will need to carefully remove these and place them either in the anti-static bags or somewhere they will be safe and untouched. The most important thing now is to make sure you are grounded. This usually means placing a hand or foot on the case itself to ensure that you aren’t causing electrostatic discharge. Here’s an article that explains it more.
Motherboard Installation
When you are properly grounded, have removed component cards and hard drive from the system, and disconnected the power supply, it’s now time to remove the current motherboard. Be very careful and take your time at removing the screws and make sure that you have indeed removed all of them before trying to remove the motherboard. The screws are very small, so make sure when you’ve removed on, you place it in a baggie or container.
When all screws have been removed, carefully and gently remove the motherboard from the computer case. If you have an anti-static bag (usually if you retained the box), place it in there; otherwise place it carefully in your area (make sure to clear space around it). Now it’s time to place the new board in. Make sure you have read the instruction manual before hand, as it will usually describe how to place the motherboard within the case and what some of the onboard stuff is and does.
Place the new motherboard within the case, making sure you are grounded (either physically touching the case or with a wrist strap); line up the holes on the board with the screw markers. Make sure it’s lined up correctly and then begin to place the motherboard screws. It may be a good idea to just place all screws within the motherboard and then screw them in.
Once you’ve gotten the motherboard in, make sure that it’s secure and unable to move. You will be able to reinstall the components.
Here’s a video tutorial for a visual.
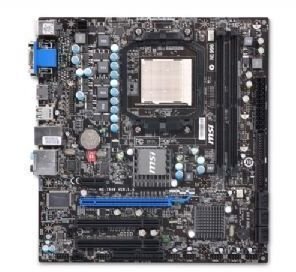
Image credit: MSI motherboard @ Tiger Direct.com


