How Do I Hook Up My Webcam to My Computer?
Things You Need
Before you start make sure you have easy access to your webcam along with the driver CD that it came with it. If it does not have a driver CD, you may need to download the drivers from the manufacturer’s web page. Some webcams do not require a special driver.
Installing the Webcam
**
Step 1: Insert the driver CD into your computer and install the driver software. Do not connect your webcam yet. The CD should autorun and install the drivers.
In some cases, your webcam will not require a driver and therefore may not have a CD. In that case, you can just plug the webcam into a USB port on your computer. Windows should recognize it and attempt to install default webcam drivers. Usually this is what you can expect if your webcam doesn’t come with a CD.
Step 2: Connect the webcam to a USB port. The installed software should start, or you can start the webcam software from the Start menu. Most instant messaging software, such as Skype, will recognize the connected webcam as the default device and automatically configure it.
Placement
Some webcams come with a clip, so you can easily place it on top of your LCD monitor. If it does not, make sure you place the webcam on a flat surface.
Keep the webcam in a well-lit place, with the light source directly behind the webcam. Don’t put your webcam on an unstable surface, as it could fall and break. If your webcam doesn’t come with a clip for placement on a monitor, don’t place it on top of the monitor, because even a fall from the top of the monitor could break the webcam.
Adjust the Webcam
Sometimes a webcam will look great when it is first installed, but in other situations you may need to tweak it a bit to obtain the best video quality. You can adjust your Webcam’s image settings using the Webcam software. You may need to change the image settings for every application in which your Webcam is used.
The most common settings include:
- Brightness - This is used for compensating for the lighting of the Image based on your environment’s lighting. Increasing brightness can make your video more usable in a dark enviornment, but going too far can give video an unnatural, washed-out apperance.
- Hue - This adjusts the color spectrum, which is useful to compensate for unusual lighting conditions. For example, some lights have a yellow hue, which can compromise video quality.
- Contrast - This setting is used to change the difference in brightness between bright and dim areas. Increasing contrast can result in a more vivid image, but over-compensation can cause an increase in video noise.
- Saturation - To control the amount of color in the image. Increasing saturation can improve video quality, but over-saturation will give video an unrealistic, overly vivid apperance.
- Sharpness - To adjust the Image clarity. This can reduce video quality that seems blurry, but over-compensating with sharpness can cause an image to be grainy and place too much emphasis on fine details.
Uses for Your Webcam
Once you have your webcam set up, you can use it for video conferencing, surveillance, webcam games and video blogging.
Check out this article for some more cool ideas on how you can use your webcam.
References
Author Experience
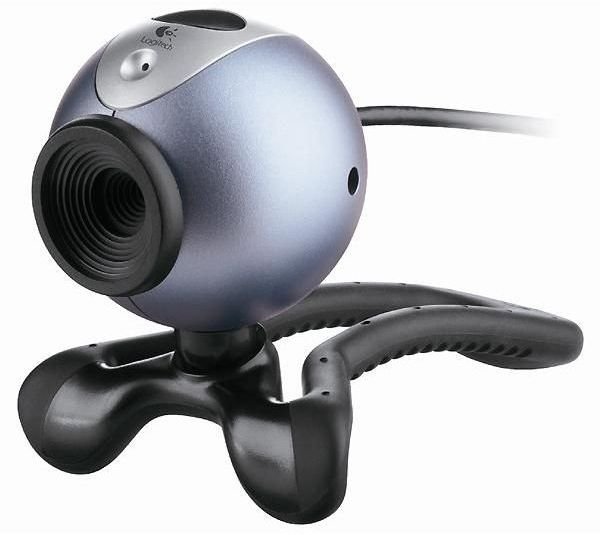
Image is from Logitech press materials
