
If you lost all of your data on an external hard drive as the result of a system crash or corrupted disk, you need to know how to get it back. Here’s how to do just that on a Windows computer.
Why Is This Happening to Me?
If you just lost all of your personal data and information due to a system failure on an external hard drive, you’re probably asking yourself a slew of questions like “Is this real life?”, and “Why is this happening to me?”. Fear not; all hope is far from lost! There is actually quite a bit you can do to get that information back, but first we need to understand what exactly happened in the first place.
When a hard drive crashes or becomes corrupt, it can mean a number of things. First and foremost, we know that your data has been seemingly erased from existence, never to be seen or heard from again. This, thankfully, is not the case. Hard drives aren’t truly “erased” (even if you format them) until more data is written onto them after the format takes place. The same, essentially, applies to corruption and accidental crashes. Sure, it’s a bit more complex than this description, but you should have a decent idea of how the whole thing works.
So how do you get this “ghost data ” back? Is Seagate external hard drive data recovery even possible?
Step 1) Stop Everything and Don’t Touch It
If you’re reading this while simultaneously tinkering with your Seagate external hard drive, attempting to fix something or search for your files, you need to stop, drop it, and back away from the computer. Except don’t actually drop it, and if you already did, I can’t be held responsible for damages.
All kidding aside, seriously stop messing with it – remember what I said in the first paragraph about how the data could still be on your hard drive as long as you haven’t written anything over it or ruined it in another way? That’s why you should stop – if you accidentally hit the wrong switch or click the wrong button, you could ruin the entire process!
If you fear you already ruined something, I’d still recommend following this guide. You could always surprise yourself!
Step 2) Disconnect and Reconnect
After you’ve gently set your Seagate hard drive down on a stable surface, you’ll want to properly disconnect it from the computer you were using it on (just in case the issue was with that computer specifically) and then reconnect it to another computer as a slave drive, granted most external hard drives can’t be used as primary drives without sufficient computer knowledge/workarounds. I’d also recommend running a check on the original computer using Ad-Aware or Malwarebytes to ensure that a bug didn’t find its way into your computer and cause the hard drive to fail in the first place!
Step 3) Run a File Recovery Program
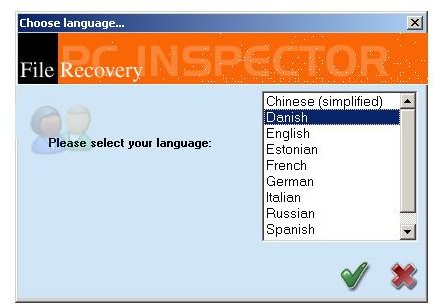
This is where things can go off in a lot of directions. You see, the next step requires you to use a file recovery program like REMO Recover in order to get those files back, but many of you probably have different file recovery programs already installed. Unfortunately, I can only cover how to use one of them, so I’ll stick with the free program “PC Inspector” and guide you based on that. The steps shouldn’t be too different for different programs though.
- Download PC Inspector (link in the references at the end of this guide).
- Run the installer and start up the program.
- With PC Inspector, you’ll need to select the type of recovery you want to do. If you accidentally deleted some files, select the “Recover Deleted Files” option. If you can’t access files on a drive because it became corrupted, select “Find Lost Files.” If you can’t even access the drive itself, select “Find Lost Drive”. Between these three recovery options you should be able to get back any files you lost in any way.
- Select the drive that you want to recover data from, or the partition that you want to recover data from, and click the green check mark to begin the scan. Note that if you are recovering files, you’ll need to select a place to save them on the internal hard drive of the computer you’re using to run the scan.
- After the recovery process is complete, if it succeeded, you may be able to re-copy the files onto the external hard drive. It’s recommended that (assuming you got everything you need) you format the drive first to eliminate corrupted data, and then proceed with the re-installation of files.
After you complete all of this, if things went well, you are totally and completely done with your Seagate external hard drive data recovery! You’ve got your files back, you hopefully didn’t lose anything, and you can be back on track to get all of those computer-related tasks completed with ease and peace of mind. If the scan and recovery process did not work, post a comment on the exact situation and I’ll see if I can help. Chances are you’re out of luck, but it can’t hurt to try!
References/Helpful Links
- [Helpful Link] PC Inspector Website, https://www.pcinspector.de/default.htm?language=1
- [Information] RecoverFiles, Recover files from external hard drive, https://www.recoverfiles.org/windows-file-recovery/recover-files-from-external-hard-drive
- [Image] Product Page, Seagate 2 TB External Hard Drive
- [Image] PC Inspector Website, https://www.pcinspector.de/FileRecovery/instructions.htm?po=2&language=1


