If your motherboard is damaged you have little chance of resolving the issue - however the problem might be misdiagnosed.
Is Motherboard Repair Possible?
Repairing a motherboard isn’t easy. Generally speaking it can’t be done, and certainly shouldn’t be attempted; in most cases a faulty motherboard should be discarded.
Without a working motherboard, a computer cannot work. As the main component of a computer, the motherboard – more than anything else – requires fully working CPU, RAM, expansion cards and power supply unit to work effectively.
Sadly if your motherboard is failing to respond then there is little that you can do about it; but that doesn’t mean that there is nothing you can do. All hope should not be lost until the moment of realisation comes and you place the device in the bin.
Consider Other Hardware Faults
Before discarding the motherboard, you should be absolutely certain that it is this component and not any of the others that are faulty. While a successful motherboard repair is unlikely, success in resolving this problem by determining that another component is to blame could save you from making an expensive mistake.
A quick way to check whether the motherboard is working – whether the PC is booting or not – is to look for a green LED lighting up when the power supply unit (PSU) is connected and switched on. If this is not visible, then the problem can be attributed either to the power supply cable, the PSU or the motherboard.
It should be an easy matter to swap the PSU and cable and try again.
Note also that incorrectly seated CPUs, RAM modules and PCI expansion cards can cause a motherboard fault.
Resetting the CMOS
A common cause of apparently faulty motherboards is a problem with the CMOS . This chip controls what resources the computer has access to when booting up, and in some cases it may need resetting if a device or optional component that has been previously been used is removed without first configuring this in the BIOS.
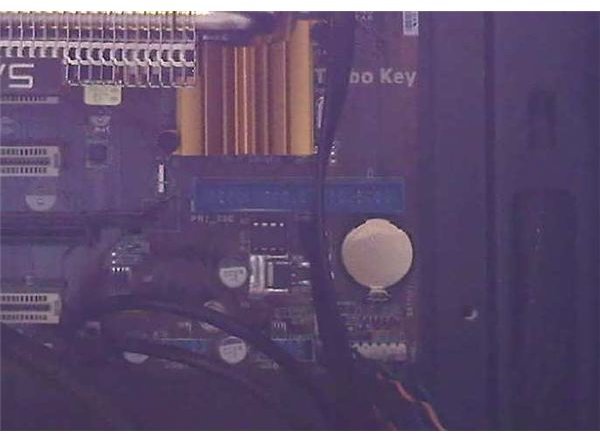
Resetting the CMOS can be achieved in several ways; the most common is to remove the CMOS battery, positioned on the motherboard next to the chip. With the battery removed, wait around 20 minutes and then attempt to restart the PC. If successful, shutdown and then replace the battery; the PC should now boot.
Get a Closer Look
The first thing you should do if you suspect a damaged or faulty motherboard is to get a closer look. Motherboard repair is virtually impossible if performed while the component is still housed within the PC case.
As such you will need to remove the motherboard and all other components and set it up on a safe surface; a suitably sized motherboard box would be useful, or a suitably sized section of cardboard with a piece of anti-static packaging for the motherboard to sit on.
With the motherboard exposed you will be able to slowly rebuild the PC, testing that the device switches on after adding each new component, in order to determine which one might be causing the problem.
Check for Circuit Shorting
Dust or small fragments or metal can act as conductors and can cause a short circuit on your motherboard. This can be remedied in some cases with a good blast of compressed air – the problem is determining where to spray!
Generally speaking, any gap big enough to be clogged by dust should get a blast of air – so your USB ports and other back-panel connectors, the PCI and RAM module slots and your CPU seat should all be targets.
Additionally, direct a good few blasts of air (available in a can from all good PC component suppliers) across the back of the motherboard in case there is any conductive dust causing a problem there.
If you have tried all of these steps, the chances are that your motherboard is truly kaput – as such, remember to dispose of it responsibly.
References
Source:
- Author experience
Image:
- Image by author


