In order to link an image in Dreamweaver, you’ll have to use a process known as mapping. Learn how in this tutorial.
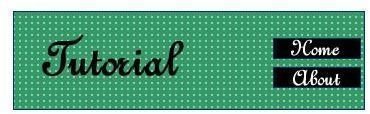
Have you ever seen an image on a website that can be clicked? When you click the image, you are carried to another page. This is a linked image and can be quickly and easily linked in Dreamweaver. I will show you how to link your images in Dreamweaver. When linking an image in Dreamweaver, you will need to use a tool called mapping. You can also link certain parts of an image by using the mapping tool. I am going to provide an image that you can use for this tutorial. Please save the image below to your computer.
Opening an Image in Dreamweaver
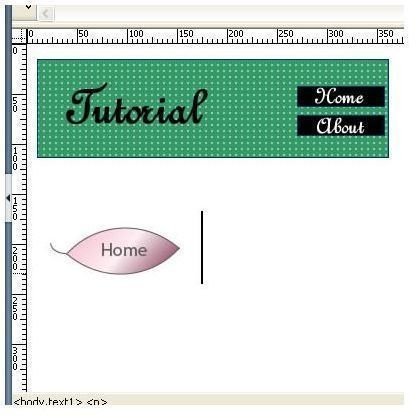
Go ahead and create a new HTML document to work on. Then go to the top of your window and click Insert > Image. When the box opens, locate the image you saved from above. Click the image and click Open. You should see the above image in your Dreamweaver window. Press Enter on your keyboard a couple of times. Go back to the top of your window and click Insert > Image and open an image of your choice. You should now have two images in your Dreamweaver window. The point of the two images is we are going to map one and straight out link the other.
Linking an Image in Dreamweaver
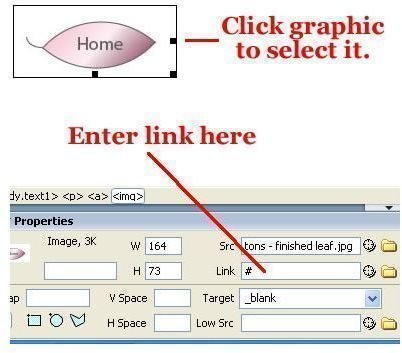
First, I will show you how to link an entire image in Dreamweaver. We will link the second image that you inserted into the document. Click that image to select it. In the bottom panel you will need to look for the Link field. In the link field you will need to enter the link for the graphic. You can select the target for the graphic in the Target field below the link field. Your graphic is now linked. That’s how easy it is to link a graphic.
Mapping an Image and Linking It in Dreamweaver
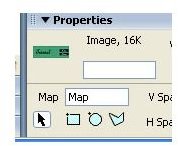
Now I am going to show you how to map an image and then link it. Let’s take a look at the mapping tools. Click the image that I provided for you. In the bottom of your Dreamweaver window, you will see the properties panel. In the properties panel you will see the Map section and three blue tools. These are your mapping tools. The first tool is the Rectangular Tool, this tool allows you to map rectangular sections. The next tool is the Oval Tool, it allows you to map circular items. The last tool is the Polygon Tool, you probably will never use that one. So, we won’t worry about that tool.
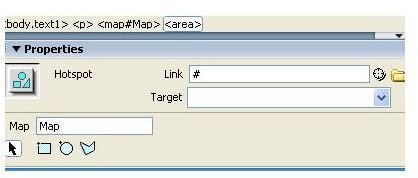
Click the Rectangular Tool. Draw a rectangle around the word Tutorial. When you draw the rectangle around Tutorial, you will notice the properties panel changed. Enter the link in the Link field for the part of the image that you have mapped. Draw a box over the buttons and link them the same way. That’s how you map an image to link it.
This post is part of the series: Dreamweaver Tutorials
This collection of articles is aimed at providing education about the software program Dreamweaver.
- Beginner’s Guide to Creating and Saving an HTML Document in Dreamweaver
- Dreamweaver Tutorial: Tips for Link Management
- Creating a New CSS Text Style in Dreamweaver
- Creating a Jump Menu in Dreamweaver
- Create a Photo Album for Your Website in Dreamweaver
- Dreamweaver Tutorial: Mapping and Linking Images
- Use CSS Styles to Create Solid Color Rollover Buttons in Dreamweaver
- Incorporating Flash Buttons Into Your Dreamweaver Designs
- Creating a Rollover Button in Dreamweaver Without Using CSS
- Dreamweaver Tutorial: Creating and Inserting Flash Text into Your Document
- Dreamweaver Tutorial: Inserting and Editing a Horizontal Line
- How to Modify Your Page Properties in Dreamweaver
- Adding Guestbook to Your Site Using Dreamweaver
- Applying Pop Up Messages to Links In Dreamweaver
- A Guide to Understanding the Properties Panel in Dreamweaver
- Create a Tab Menu in Dreamweaver
- Creating a List Menu in Dreamweaver
- How to Create HTML Email with Dreamweaver


