Google Page Creator offers a variety of different, pre-designed layouts to choose from. In this excerpt from “Google Powered” Productivity with Online Tools," learn how to choose the right layout for the web site that you have in mind.
If you don’t like the default layout that is generated for your new Web site in Google Page Creator, changing it is as simple as clicking a few buttons.
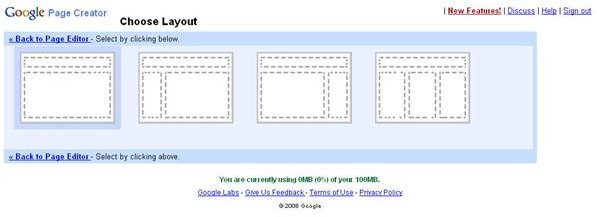
From inside the page that you want to create, click the Change Layout link on the right side of the page. Your existing page will save, and then you’re taken to the Choose Layout screen, shown in Figure 1.
Don’t get worried about the page saving before you’re ready to save. You’ll have the option to change the design of the page, even after it has been saved. For now, select the layout you would like to use. You’ll see that the page saves again, and then you are returned to your work in progress with the new layout in place.
Another part of page layout is the design of the page that you’re creating and everyone has different design tastes. Google’s Page Creator includes page layout options for most tastes. And all you have to do is choose the one you like.
To change the design of your page, click the Change Look link. It’s located on the right side of the page, next to the Change Layout link. Again, you’ll see that your page saves, and then you’re take to the Change Look screen, shown in Figure 2.
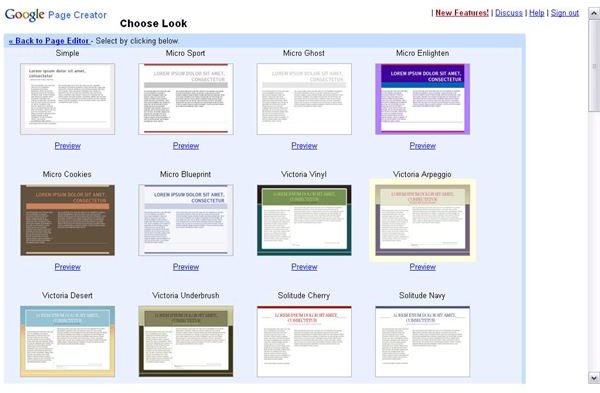
You can preview any of the designs shown by clicking the Preview link below the thumbnail of the page. This will take you to another tab or window where you can see what the site looks like.
When you find a desing you like, click directly on the thumbnail. You go through the page saving again, and then you are taken to the new site that has both the layout and the look you selected.
One nice feature of Google Page Creator is the ability to edit some elements of the HTML on your own. If you happen to know HTML, then you can change your page in any way that can be manipulated by HTML. If you don’t know HTML, there are many great tutorials on the web that will tell you just about everything you need to know in a few minutes.
To edit the HTML for your Web site, you first have to choose a section in which you want the edits to appear. Place your cursor inside any of the boxes on the page, and then click the Edit HTML link in the lower-right corner of the page.
The Edit HTML pages appears. In the text box on the Edit HTML page, enter, change, or add HTML code to design that section as desired.
When you’re finished, you can preview the results of your work by clicking the Preview tab. When you’re satisfied, click Save Changes and your HTML will be saved to the final page. If you decide you don’t want to make changes to the HTM for that section, click Cancel and you are returned to the design view for your web site.
[This article is excerpted from Google Powered: Productivity with Online Tools by Jerri L. Ledford (ISBN: 978-0470109656, Wiley , Jan. 2007).]
This post is part of the series: Create Your Own Web Page Using Google Page Creator
Google Page Creator is an easy to use, web-based web page creation and editing software. Pages created using Google Page Creator can then be published in the Google Pages Community. Learn how to use Google Page Creator to start building your own web pages in no time with this article series.
- Navigating Google Page Creator
- Google Page Creator: Creating a Web Site
- Google Page Creator: Choosing a Layout
- Google Page Creator: Adding Pages
- Google Page Creator: Changing and Editing Links
- Google Page Creator: Working with Text
- Google Page Creator: Adding Color and Effects
- Google Page Creator: Adding Graphics to Your Web Site
- Google Page Creator: Publishing Your Site
- Google Page Creator: Unpublishing Your Web Site


