This article describes how to use the Lightroom presets available within Adobe Lightroom to simplify and enhance post-processing. This helps the photographer achieve stunning results with ease and free-up time for more photography.
Introduction to Adobe Lightroom Presets
Lightroom presets are useful to instantaneously transform an image into something totally different. There are about 15 presets within Adobe Lightroom which are available by default with Adobe Lightroom and many more are available for free online.
The default presets include options such as Aged Photo, Antique Grayscale, B&W High & Low Contrast, Cold Tone, Cyanotype, Sepia, Selenium, Direct Positive, Grayscale, Portrait, and Landscape .
Making Best Use of Available Lightroom Presets
Many times, when you take some photographs and view them later on the computer, you get the feeling that some photos would look better in black and white or in sepia. And while post-processing a handful of images manually may be possible, if it includes several hundred images, then it can be a very daunting task.
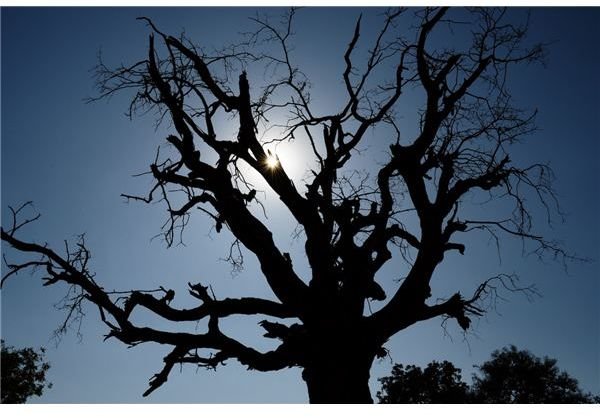
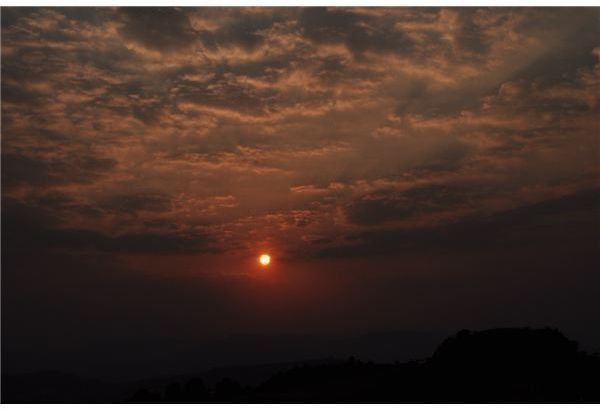
Lightroom helps to instantaneously transform some images into Black & White, Sepia, Aged Photo, etc. based on the presets and can provide certain dramatic results. Some examples are shown below

The photograph above was edited using the Direct Positive preset.
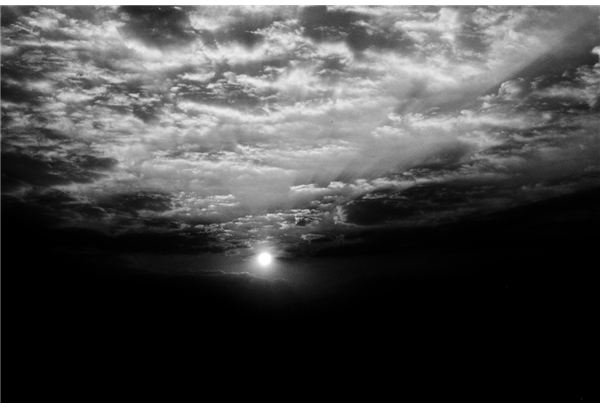
The photograph below was edited using the B&W High Contrast preset.
Download and Install Lightroom Presets
Adobe Lightroom presets are available online from various websites. Some good sources of Lightroom presets are listed here:
- Presets Heaven
- Lightroom Presets
- Ultimate List of Lightroom Presets
- Lightroom Develop Presets on Adobe Exchange
After downloading Lightroom presets from the internet, they can be installed by using either of the below methods:
Method 1
The first method is from within Lightroom and is easier to use. It is recommended for the novice users.
- Open the Develop Module within Adobe Lightroom
- Right-click on the User Presets in the Left Panel
- Navigate to the folder containing the preset
- Click on Import
Method 2
This method is more complicated and is recommended for more advanced users.
- Navigate to Lightroom Preferences and open the presets tab. Click on Show Lightroom Presets Folder.
- Paste the downloaded preset files from the net over here.
- This method helps you to organize the presets into a suitable folder structure for quick access during post-processing.
- Make sure you install presets into their correct folder, i.e. Develop Presets, Print Presets, etc.
- Aside from renaming presets (which must be done from within Lightroom) everything else can be done here.
- When you restart Adobe Lightroom the next time, these changes will have taken effect.
Note: When you have amassed a huge collection of Lightroom presets, it makes sense to copy the entire presets directory to your backup disk in order to protect against any accidental data loss. Doing so will help you restore all the presets in a jiffy, in the event of a system crash.
Creating your own Lightroom Presets
Creating your own Lightroom presets is a very simple process.
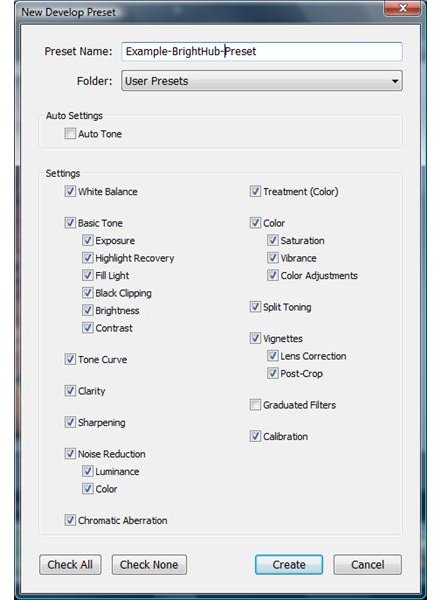
The various settings need to be modified as required and a suitable name needs to be chosen. Then click on Create and it will be saved as a user-defined Lightroom preset.
The settings which are captured in a user-defined Lightroom preset are White Balance, Exposure, Highlights , Blacks, Brightness, Contrast, Tone, Vignettes , Color Saturation, Vibrance, Noise Reduction , etc.
The complete list of options available are shown in the screenshot.


