Here is an easy tutorial on how to make standard definition video into widescreen using Final Cut Pro filters.
From Standard Def to Widescreen
For the last ten to fifteen years there has been a gradual shift in the expectations of home video viewing. For many decades, televisions came only in the standard definition aspect ratio of 4:3, while films were shown theatrically at a widescreen aspect ratio of 16:9. This meant that either a pan and scan editing technique had to chop off the sides of the film to show it in standard definition, or you had to have it in letterbox that appeared as black bars on the top and bottom. This letterbox widescreen quickly became the expectation, and now HD televisions and broadcasts already come in this 16:9 aspect ratio. Things that are shot in 4:3 often look archaic and out of place, and even if you did shoot something in a native 4:3 you may be looking for a simple way to switch it over to widescreen when you are in your post-production process. Final Cut Pro is an editing program that gives you a complete set of image controls and it also includes a feature that allows you to transfer your video footage to widescreen by using a video effects feature instead of difficult image processing. Follow this quick and easy Final Cut Pro tutorial on how to convert standard definition video to widescreen.
Using Effects
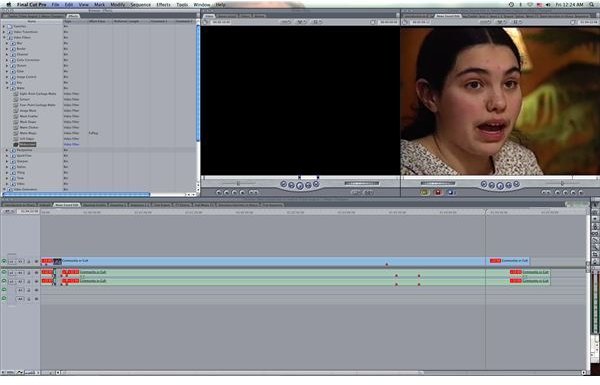
Start off by selecting the video you want to alter in the Timeline. It is better to alter all videos with video effects after they are in the Final Cut Pro Timeline instead of anywhere else as the base video clips should always stay as they originally were. When you are going to change the video to widescreen in Final Cut Pro you may want to change all necessary clips in one swoop, so you can essentially highlight all of them and transfer the widescreen video effect onto all or do it onto a single clip and then copy and paste assets to each of the other ones afterwards.
Go to the Browser and select the Effects tab. Select Video Filters and then go down to Matte. In the Matte
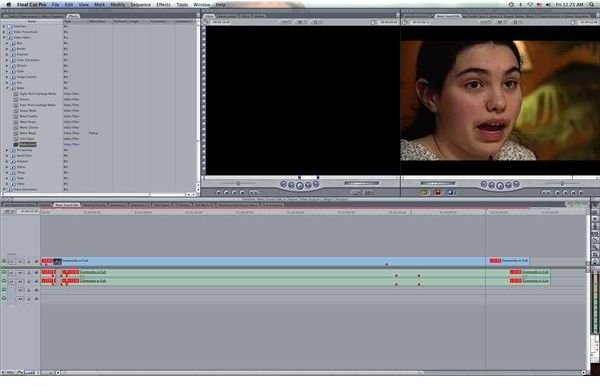
options select Widescreen, which is at the bottom of the list under Soft Edges. Go ahead and drag and drop Widescreen onto your video clip in the Final Cut Pro Timelines. This will cut off the top and bottom of the video clip in the standard letterbox alteration, putting it into the standard 16:9 aspect ratio. It will then fit in line with other video clips that are already shot or presented in the widescreen aspect ratio.
If you select the Filter tab in the Viewer you can make alterations to the widescreen video effect that you applied
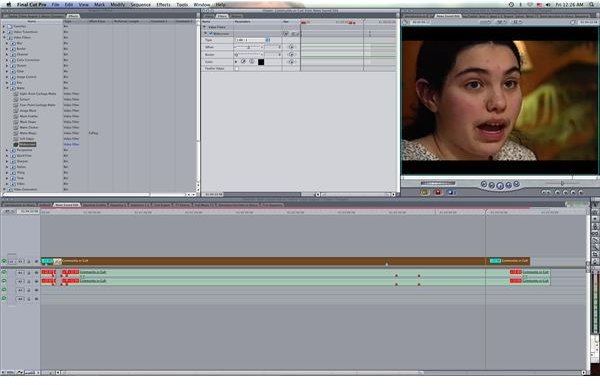
to the clip in your Final Cut Pro Timeline. The Offset will allow you to raise or lower the video clip so that you do not end up cutting off anything that you wanted in the frame. With Border you can increase or shrink the size of the bars, but you can only do this in a small way and if you want more than that then you should try actually cropping the video clip .
This post is part of the series: Final Cut Pro Video Effects
Here are different articles that deal with Final Cut Pro video effects.


