Here is a basic Final Cut Pro tutorial on how to add fonts to your text options.
Adding to the Project
Final Cut Pro is not just for cutting up larger clips and arranging them, but actually finishing your entire video project. When you look at a final video that has already gone through the post-production process you will notice that it includes a lot more elements than simply the video captured. It will usually also include video effects, video transitions, outside music and sound effects , and even animations or motion graphics. One element that is almost always in a fully produced video is text, which can be used in titles , credits, lower thirds, and as many other ways as can be chosen by the editor and director. There are only a limited number of fonts for the text you want to use in Final Cut Pro, but it is an easy process to add new fonts. Here is Final Cut Pro tutorial explaining how to add fonts to your Final Cut Pro repertoire.
Downloading Free Fonts
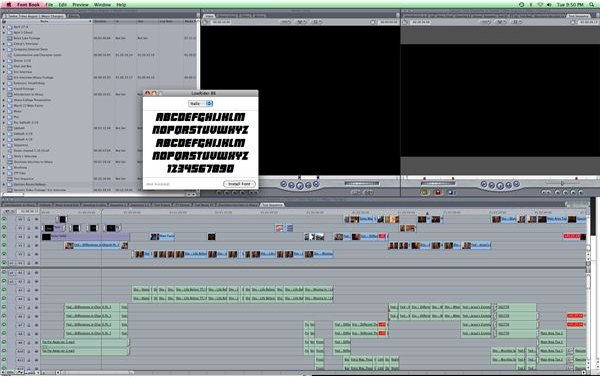
You will start out by locating a new font file, often time finding a free font download source online. There are a number of different websites that specialize in free fonts for download, such as UrbanFonts.com. Once you download your free font go ahead and open up the file that was downloaded. This file will likely show up first as a .Zip file, and then once unzipped it will usually be a .TTF file. Open it up and you will find that the alphabet will be listed in that font and you can then hit the Install Font button in the lower right hand corner. This will quickly add the selected font to your computer’s general font list.
Selecting the Font
From here you can open up a Final Cut Pro , which should be closed after the installation, go ahead and go to Video Generator and select a

text generator such as Lower Third or Outline Text. In the Controls tab for the text generator you should go and select the Fonts pull down menu. On this list you will find that your new font listed, and you can select it to make your text appear in the chosen font.
Installation
The font installation process actually occurs on the computer itself and not in Final Cut Pro. What this means is that if you move from computer to computer while working on a portable hard drive , which is common for video editing, your text is going to go back to a default font when on a computer that it is not installed. What you should do in this situation is to keep the file for the font you downloaded on your hard drive and install it each time you go onto a new computer. Installing the font is such an easy process that you can usually do this on any computer, but some computers may require an admin password before installation.
This post is part of the series: Final Cut Pro Software
Here are some tutorials on how to use the Final Cut Pro software as a whole.


