So you’ve been learning how to use Photoshop, but you’re not sure how to combine all the things you’ve learned? Easy! Why not try to follow this Vintage Sign tutorial? Photoshop can be used to easily create an awesome retro sign in a few steps, and I’ll walk you through the process in no time flat.
If you’ve been following through the other lessons I’ve posted on Bright Hub about Photoshop, this is a great time to put them to use! In this walk through, you’ll be able to see how it is incredibly easy to create a vintage or retro sign in Photoshop! This is a very basic process that can yield amazing results. So go ahead, read on, and lets get started. The lessons below are the ones that will help you the most if you need a reference.
Photoshop Basics: The Pen Tool
Photoshop Basics: Changing Color in Photoshop
Photoshop Basics: Changing Text Color in Photoshop
Photoshop Basics: The Move Tool
Search for Inspiration
If you’re looking to create a retro or vintage sign in Photoshop, it might help if you do a little research first. A quick Google image search of vintage signs, old gas signs, and old diner signs can help give you the inspiration you need. You can see that there are easily thousands of different types of signs from different eras.
Making a Vintage Sign in Photoshop
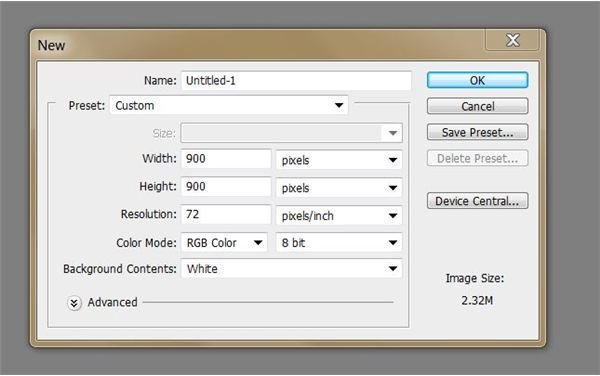
Open up Photoshop and start with a pretty decent sized canvas. Anything 900x900 pixels and above is pretty good to start with if you’re planning on leaving it on the computer, but if you’re planning to print, you may want to bump it up to 1500px1500px or even larger. I’m going to leave it at 900x900px as I don’t plan on printing it.
Think about your color pallet. Back in the 50s, 60s, and 70s, it was cool for your diners signs to look “futuristic” so often the colors were fairly gaudy by today’s standards. Reds, greens, yellows, pinks, and blues were standard! Also, black and red seemed to play a very prominent role as well! Here I’ll be using yellow, green, red, and possibly black. I’m going to just lay a few of the colors out on the canvas so I don’t constantly have to go searching for them. I’m also taking care to tone down the saturation of my colors a little, as it was pretty common for signs to appear almost pastel-like.

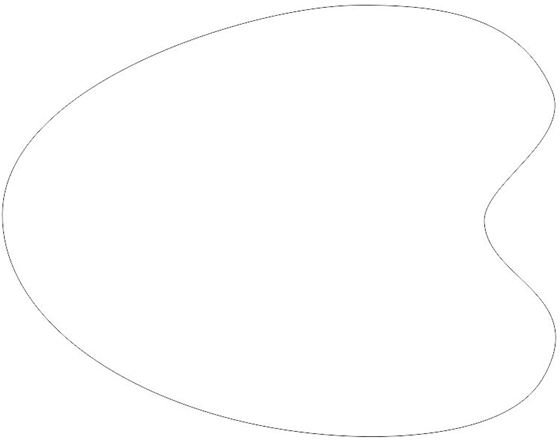
I’m going to lay down a shape for my sign. Signs come in all different shapes and sizes, from circles to rectangles to star-bursts and even combination of different shapes. My inspiration is those weird asymmetrical blob-shapes that classic diner signs are known for! Taking my pen tool, I’ll make shape that looks kind of like a painters pallet.
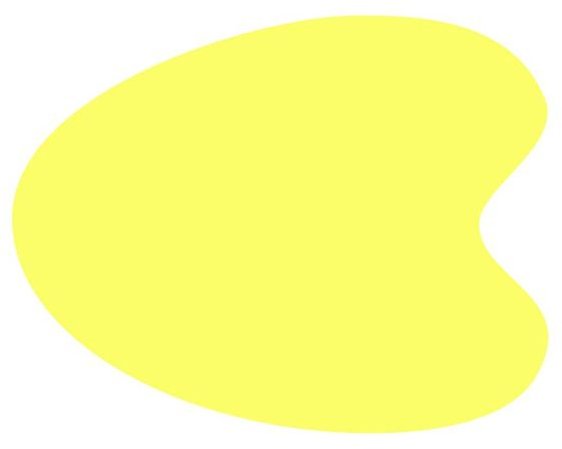
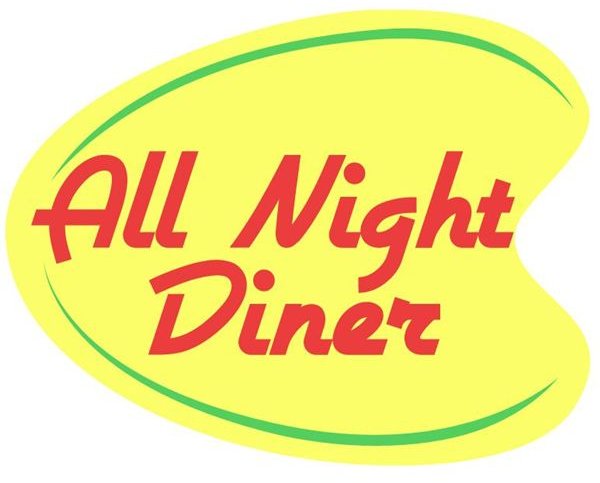
I’m going to fill my shape in with this butter cream yellow I picked.
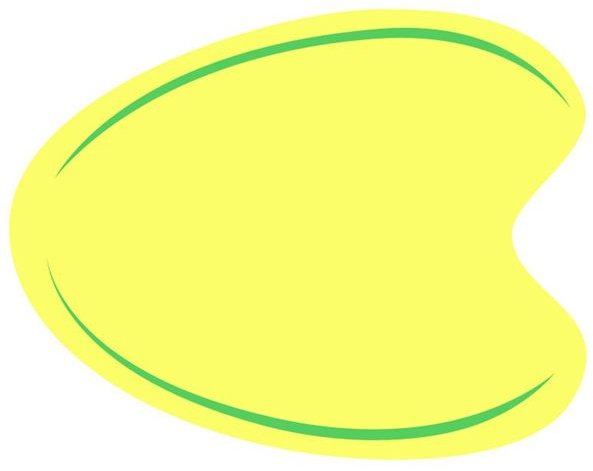
On a new layer, I’ll add a few accents to the sign. These will be something like piping around the edge in certain places. Once again I’ll use the pen tool, and fill them in with my green color.
Now, the next thing you can do is either create your text by hand or you can go look for a retro font yourself! Bright Hub has an article on Retro Fonts that you should check out: Free Retro Fonts. Here, I’m using the font Airstream to create my “All Night Diner” text! I’m making sure to keep the words very large, as this is a sign after all!
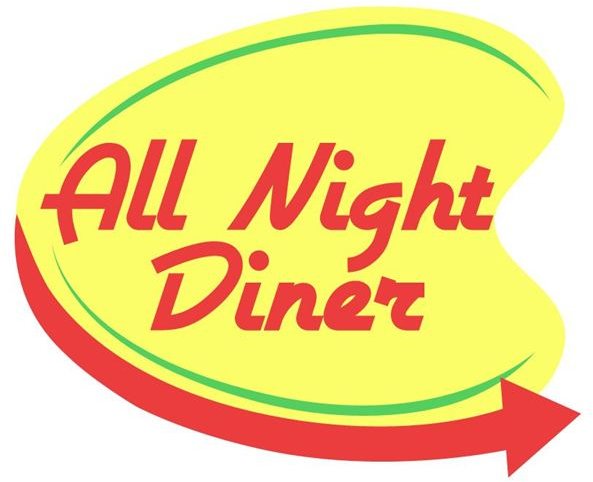
Another common theme for vintage signs was to have an arrow pointing toward the place of business. So, once again, using the pen tool, I’ll create an arrow that curves around the sign!
And for a final touch, I’ve added a bit of text that says “Open 24 Hours” on the arrow. (This font is called bumblebee, by the way, I thought it had a nice retro feel to it.) And there you have it, a finished vintage diner sign.
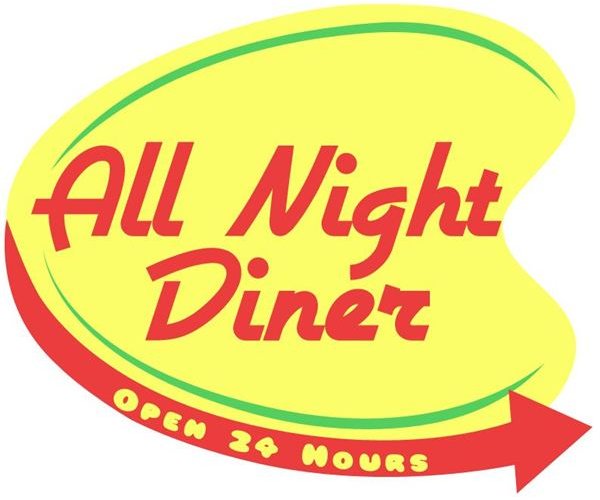
Image Credits
All images were created by Amber Neely and are intended for educational use only.


