Publisher 2010 master pages allow designers to place content on every page of a publication, eliminating the need for repetitive formatting. Changing master pages can speed the revision process because by changing it you can change all the pages in the publication at once.
Getting Started with Publisher 2010 Master Pages
To use Publisher 2010 , you will need to have a computer that meets the minimum system requirements of the software running on a supported version of Windows. If you need to obtain the software, you can download it from the Microsoft Office Web site on a trial basis.
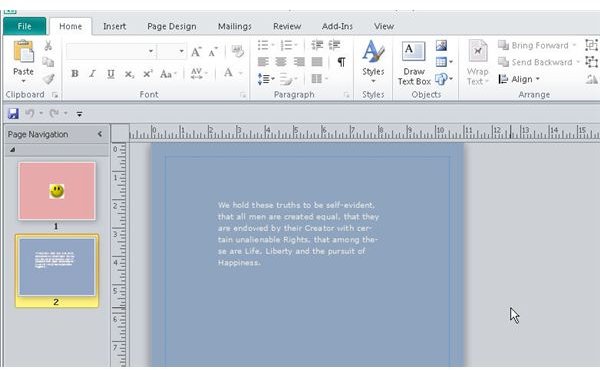
When you have Publisher 2010 installed, start the program and create a blank publication. You don’t have to be too concerned about the dimensions of your pages right now since this is just a tutorial.
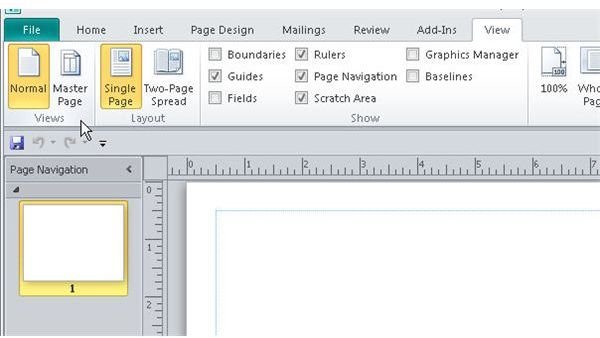
Once you have your new document open, click the “View” tab and then look to the left where you will see the “Views” cluster on the ribbon.
Once you are there, you will see a button labeled “Master Page.” Click the icon and you will see where Publisher master pages are created and updated.
Creating Publisher 2010 Master Pages
Starting a new master page.
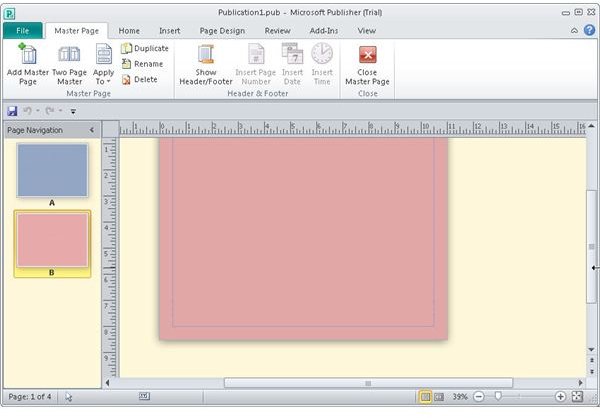
Creating Publisher 2010 master pages is easy. Just click on the “Add Master Page” and you will get the “New Master Page” dialog.

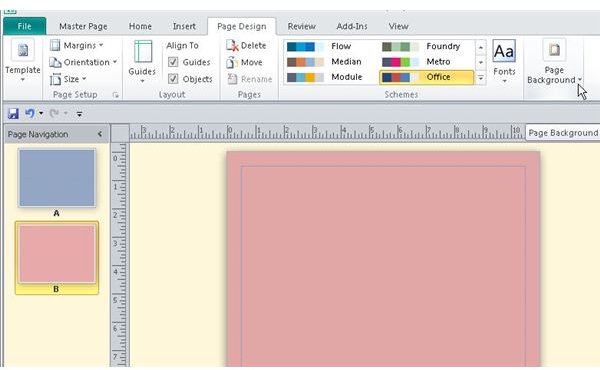
You will notice the default “Page ID” is “B” and the “Description” is “Master Page B.” This is because Publisher counts your first document as the first master page and has labeled it as “A.” In other words, every publication has one master page, so when you add one, your document will have two. This can become very convenient if you have one desired look for the cover of your publication, but the inserts need to be of a different layout, but have that layout common among them.
Adding to the master page
Now that you have your master pages in view, you can change the page size, alter the margins, insert guides, add backgrounds, create headers and footers, add images, and a host of other actions.
For the sake of this tutorial, let’s create two different master pages with different backgrounds. For master page “A,” set the background to 50% tint of Accent 1. For master page “B,” set the background to 50% tint of Accent 2.
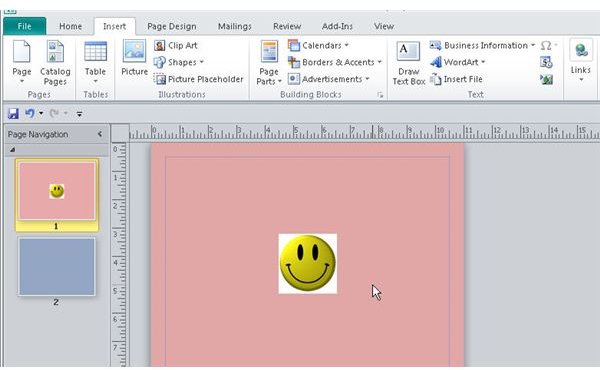
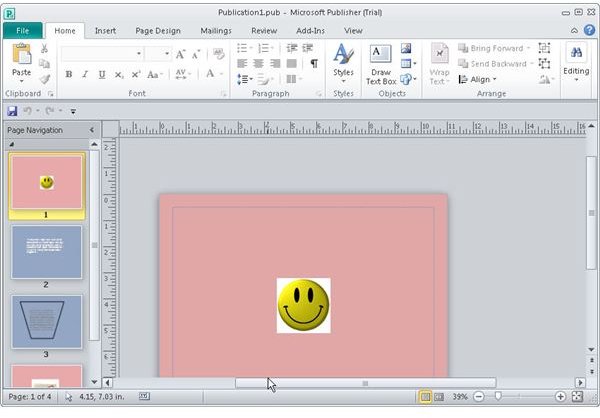
Click on the “View” tab again and choose “Normal.” Your first page now has the form of your second master page (B). Add an object as you would if your were making an actual publication.
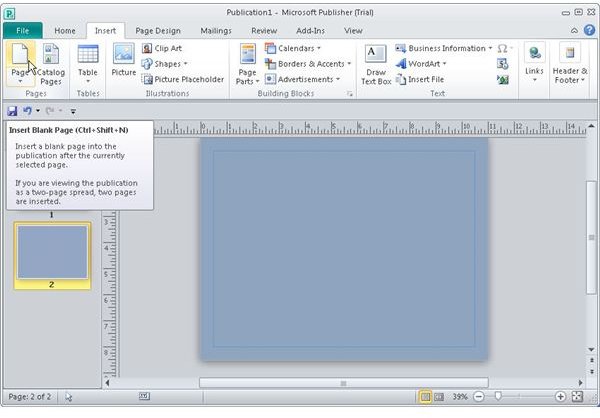
Click “Insert” and click the “Page” icon. You see that the new page takes the form of master page (A).
Now, let’s add something to this page so we can tell that it is a normal page and not a master page.
We have now created and applied Publisher 2010 master pages to an actual document.
Updating Master Pages
Suppose we have a few pages in our publication.
We can change all the pages that are based on the same master page by editing the master page. Open master page “B” by clicking the “View” tab and then “Master Page.” You now see the place where we earlier created our master pages.
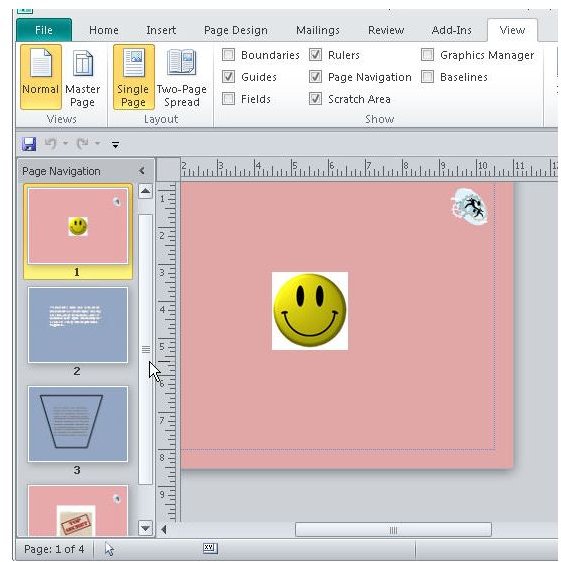
Let’s update master page “B” to have a small logo on it. We’ll use a piece of clip art that installed with Publisher. Now save your work.

Look at how that affected the two pages based on master document “B.” To do this, click “View” on the main menu and then click the “Normal” icon all the way to the left of the ribbon.
Here is the first page. It looks like the change took hold.
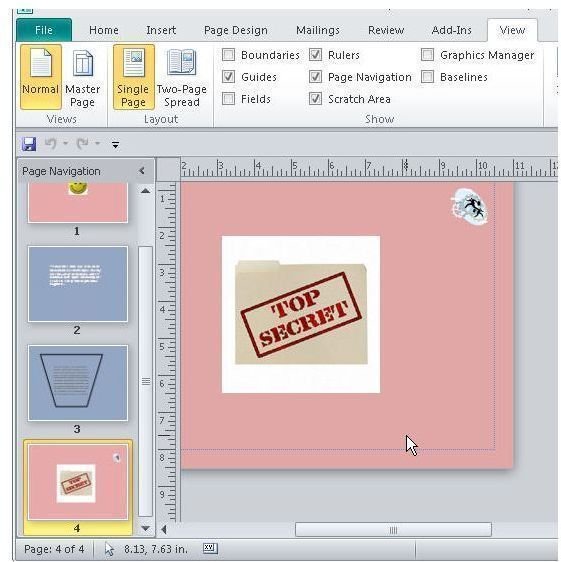
Look at the last page of the document. It looks good too.
Wrapping it All Up
You have now finished this tutorial that describes Microsoft Publisher master pages. You can use these to format documents with similar themes in your publication to avoid repetitive formatting. Once you have created pages using your master documents you can update them all at once by updating the master page.


