If you need to add a map to the back of your business card, this article is here to teach you how. Not only is this a great way to fill up blank space and make your card stand out from others, it’s a fantastic tool to help potential customers reach your storefront.
Adding Maps to the Back of Business Cards
If you haven’t already read it, you’re going to want to check out Printing Your Own Business Cards with Adobe Photoshop . This tutorial is going to assume that you know how to make your own sheets of business cards with Photoshop. If you want a quick refresher, here are a few things you should remember to make note of.
-
The average business card is three and one half inch wide by two inches tall. You can deviate from this if you’re not using precut business card paper, but remember that people are likely going to be storing these in wallets and on their desks, so nothing too big or small.
Advertisement -
DPI is important, so remember the rules of printer settings: If you want it to look nice, keep it between 150-300 DPI for the best results.
-
It’s much easier to print on a sheet of business cards, rather than an individual business card, so don’t cut them before you add the map to the back.
Advertisement
Open Adobe Photoshop or any other image editing program you’re comfortable with. I know I’m using Adobe Photoshop CS4 for this tutorial, but it can easily be done with Paintshop Pro and Gimp as well. Use whatever program is most comfortable for you and fits your budget.
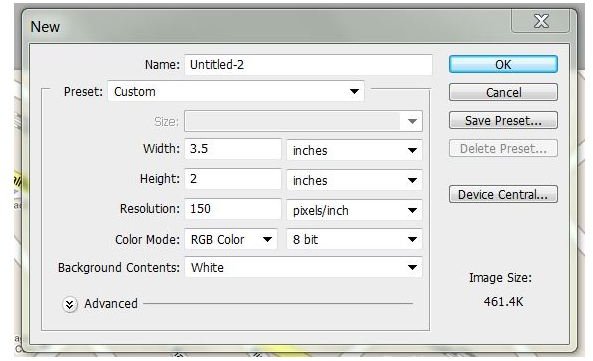
Open the same file you used to design your sheets of business cards with. If you just want to see how it looks before committing to a whole sheet of cards with maps on the back, you can go ahead and create a document that is 3.5in x 2in and at 150 DPI like I’m doing.
Grab Your Map
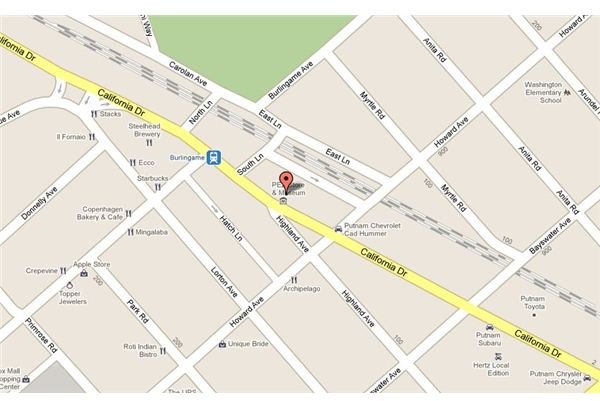
Now, open the browser of your choice and head over to a website like Mapquest or Google Maps. For this tutorial, I’ll be using Google Maps. Once again, it really boils down to whatever you like the best. Type in your location. Seeing as I don’t have a personal storefront location, I’ll just use something interesting, like a PEZ store and Museum in California.
Now zoom in to an appropriate level - and again, this is a personal preference. Obviously, you don’t want to include a picture of your entire country, state, or city. Aim to get it to a zoom level where people can see various roads and road names around your store, giving them a sense of location.
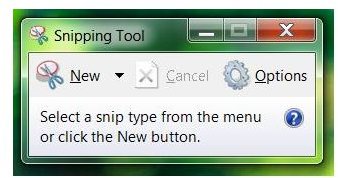
Now that you have it to where you feel appropriate you’re going to want to take a screen shot. There are several ways to do this from using the print screen button on your keyboard to a third party program. If you want to learn more about this, check out Choosing a Screen Capture Program , which is sure to get you sorted out in no time. I’ll be using the Snipping Tool that comes with Windows Vista/7. All you have to do is click and drag.
Now open your image in Photoshop and drag it into your business card template. Don’t worry if it’s too big right now, we’ll fix that in a second!
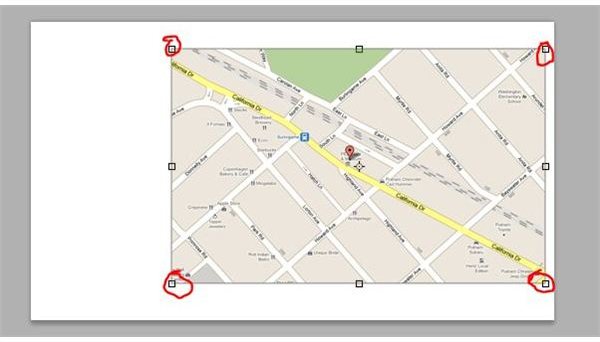
Press CTRL+T (Mac users can use CMD+T) to bring up the free transform tool. At the toolbar at the top of the program, click down the small chain link which constrains proportions of your map image.

Now, you can simply click on the bounding box and drag the little boxes on the corner to resize your image from too big to just right! The image below shows you which boxes to click and drag.
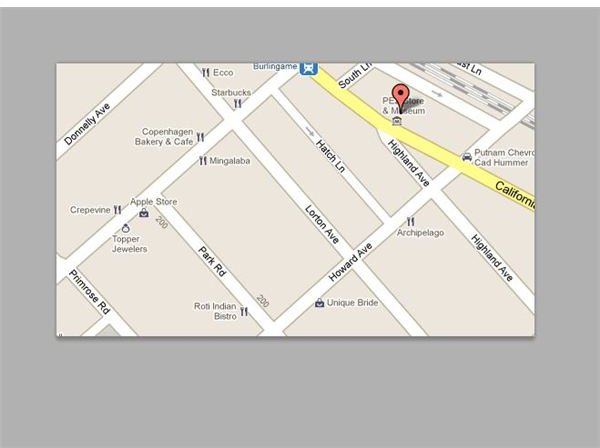
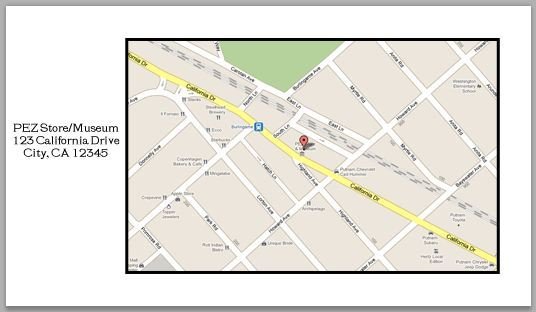
As far as looks go, this is up to you entirely! Here are a couple of ideas of how you can place your map on the back of your card. The first example is a map that does not take up the entire back of the card so it can also have the address listed next to it. This is a great idea as maps this small might be a little hard to read. Using layer styles to create a a border around the map gives it a nice effect as well!
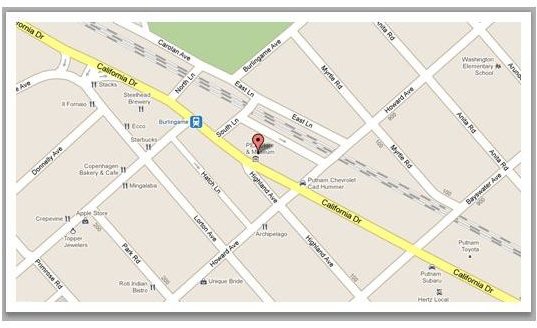
Or, if you simply want to place the map and nothing else on the back of the card, it can also make for a great effect.
Images & Resources
References: Author’s six years experience in graphic design.
Images: All images were created by the author.


