Want to eliminate a few steps? Then, just batch your settings in Lightroom. You will be able to make changes to a filmstrip or collection of photos with just the click of a button.
Presets versus Actions
If you have a bunch of images, and you want to make the same changes to them, it’s easier to just batch the settings and then just run one process. Adobe Lightroom allows you to easily do this with presets, which can usually be downloaded for free from many third-party sights.
Lightroom’s batch process settings are comparable to Adobe Photoshop ’s action settings. This process eliminates the need to manually change one photo at a time. If you want to make the same changes to a group of photographs, you simply run the preset, and all the photos within a certain set will be changed.
What makes presets different than actions is that they do not need to be created manually. With Photoshop actions , you basically have to “record” the steps in the process. Lightroom presets come with all the steps already set up; all you have to do is download the one that you want to use.
Test Your Presets
Lightroom batch presets can be downloaded from many third-party websites. While many are free, some will have to be purchased.
Even with the purchased presets, you can manipulate them even further if you have to. For example, some pictures will look better with some presets while others will not. It may be best to run the preset on a single photograph before running it on all the photos.
Presets should only be run on photographs taken at the same time of day and of similar items. If not, the preset will look different on each photo. This is really the case when you are trying to change the white balance.
If you are thinking about changing presets when you get back to the studio, always take a test photo. Use some generic object to signal the start of the set, and then use this photo to run the preset. If it looks good on this photo, then you can probably just run it on the rest since they were taken at the same time.
How to Run Batch Settings
While all presets will work slightly differently, generally, you can follow the below procedures to run a batch setting.
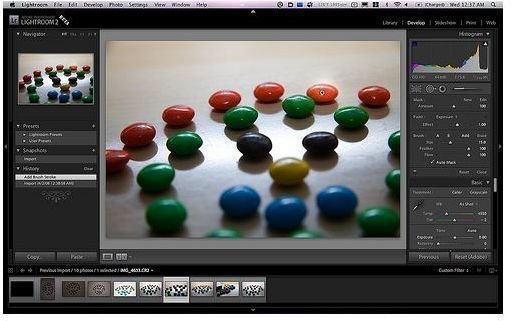
- Open up the photo in the Develop Module , which is where all photos are edited in Lightroom.
- Next, open up either a collection or filmstrip of the photos that you would like to change.
- Now, go to the Export tab, which is located in the lower right-hand corner of the Develop module. All the presets that you have installed in Lightroom will be located within the Post Process Actions box.
- Scroll the list, and find the preset that you wish to use. You may have to expand certain folders like the LR2/Mogrify folder.
- Add the preset, and click Export.
Now, the preset will be applied to all the photos in the collection or filmstrip.


