Paint Shop Pro’s Push brush can be used for a variety of purposes, including creating grunge effects in your digital photographs. In this article, we’ll give an example of how to use the tool in this manner.
What is the Push Brush?
The Push brush is a special tool in Paint Shop Pro that lets you literally “push” pixels in a digital photograph. It’s similar to the Smudge brush, except the Smudge brush smears adjoining colors together while the Push brush just pushes them out of the way.
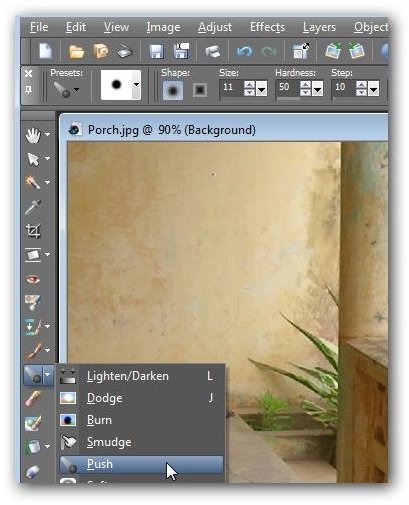
The Push brush can be found in the middle of the left tool panel of Paint Shop Pro in the same group as the Dodge and Burn brushes . This location is shown in the screenshot below. (Click any image in this article for a larger view.)
This tool can be used for a number of purposes, but one main application of the Push brush is to get rid of flaws or unwanted objects in a photo, especially if these problems are near the edges of the image or in any area where they can be pushed away.
The Push brush can also be used to make imprints or give texture to a digital photograph. With this tool, you can even create a quick, makeshift border frame for a photograph that mimics the grunge style that’s become so popular recently (again). We’ll show how in the following steps.
Step 1: Select the Push brush. You’ll now see a new toolbar containing all the optional settings for this brush underneath Paint Shop Pro’s main toolbar.
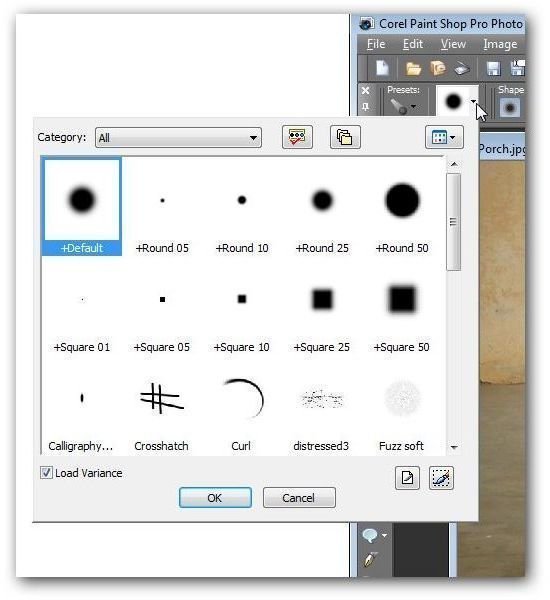
Step 2: Select the Brush Tip that you want to use from the drop down list. In this example, we’ll use the default tip, but you may want to experiment with some of the others.
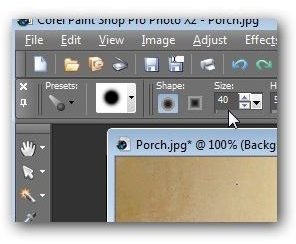
Step 3: Choose a value for the Size of the brush. This will vary depending on the dimensions of your digital photograph, but pick one that is approximately as wide as the border frame that you want to create around the photo.
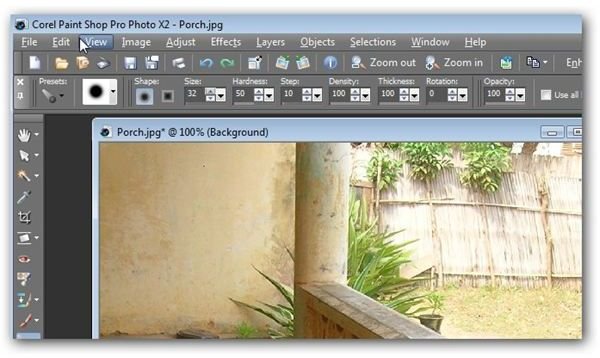
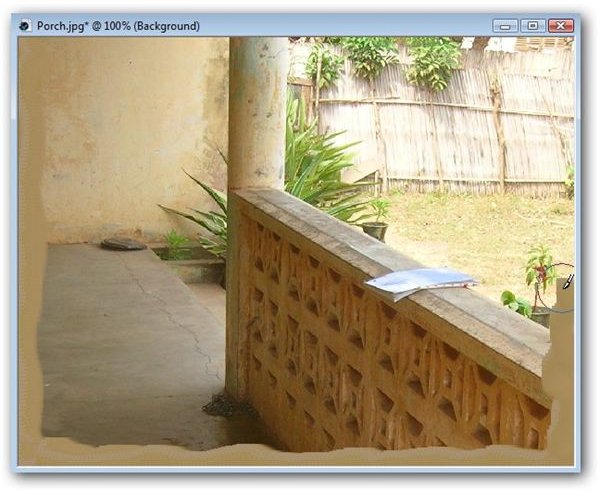
Step 4: Place the brush in one corner of the photograph, hold down the left mouse button, and begin dragging the brush around the edges of the photograph. Since we’re going for a grunge effect, you can be as messy and inconsistent as you like! The image below shows this step in progress.
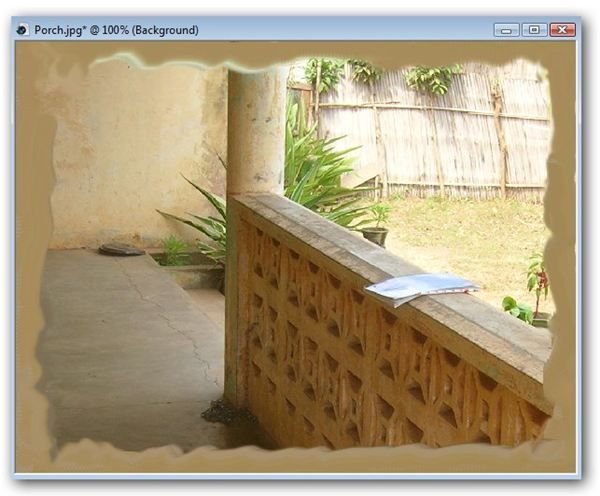
Step 5: Continue dragging around the brush, going back to make changes where necessary. When finished, you should have a grunge-like border frame around the photograph.
Additional Resources: For more tips and tricks, be sure to check out the other Paint Shop Pro tutorials here on Bright Hub’s Digital Photography Channel.


