Looking for new textures to add to your current collection in Paint Shop Pro? Instead of scouring the web in search of designs that others have created, make your own!
Expanding the Textures Library
Although there are a number of texture effects that come pre-packaged with Paint Shop Pro , it’s still possible to create your own custom swatches to use in your photo editing projects. (For more information on how to apply texture effects to a digital photograph, see Using Textures in Paint Shop Pro .)
All you need to get started is a digital photo or other image on which to base your new texture. Any type of photo will do, and you can even modify the process enough to use the same image to produce a variety of new texture effects.
How to Create a Texture from a Digital Photo
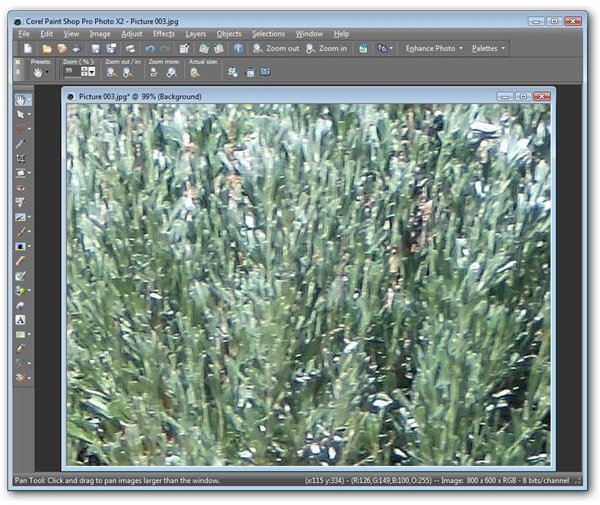
Step 1: Open the digital photograph that you want to use as a basis for the new texture in Paint Shop Pro. Although any type of image can be used, close up shots of materials like dirt, gravel, and leaves work very nicely. In this example, I’ll be using a cropped area from a picture of a desert plant. (Click on any image for a larger view.)
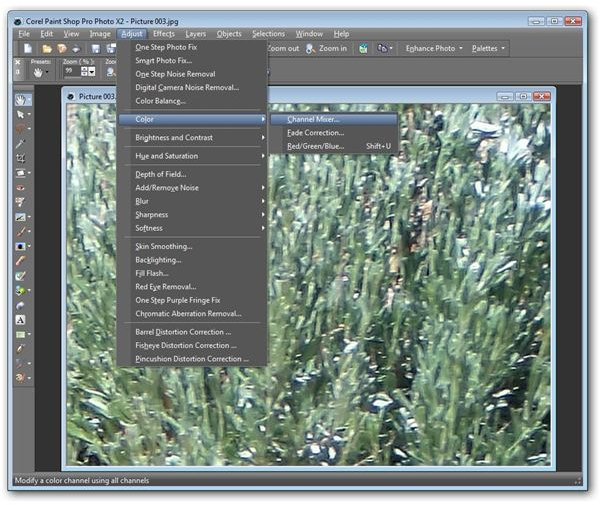
Step 2: The first thing we want to do is convert the image to all grey tones. There are several ways to do this in Paint Shop Pro, so if you have your own method that you prefer, feel free to use that instead.
From the Adjust menu on Paint Shop Pro’s main toolbar, select Color and then Channel Mixer.
In the Channel Mixer window, put a check in the box next to Monochrome. Make any adjustments to the settings in the Source channels to modify the image to your liking, using the Preview window as a guide.
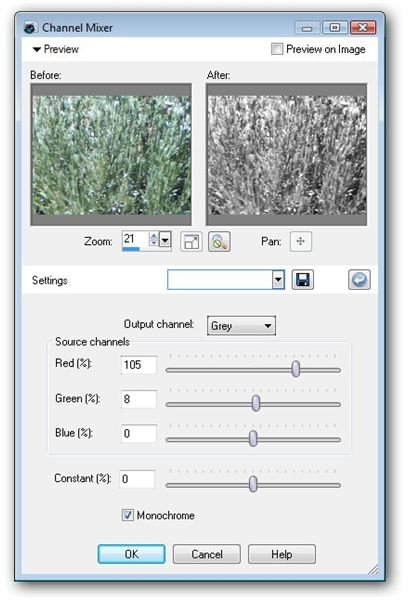
Click OK when done. The Channel Mixer window will close and the changes will be applied to your photo.
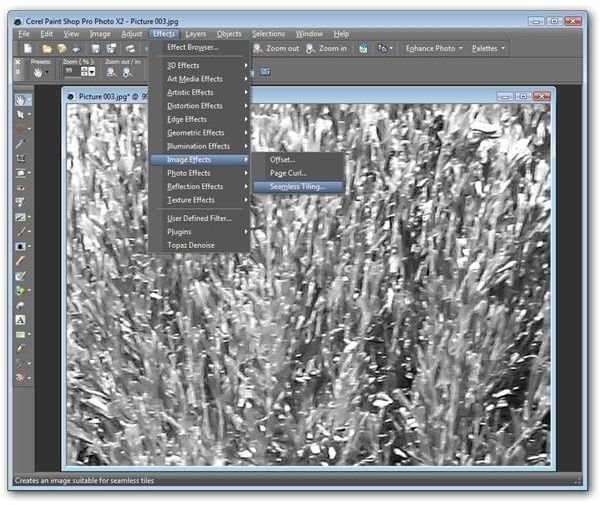
Step 3: Next, we need to edit the photo so that it can be tiled across an image of any size without the edges showing.
From the Effects menu, select Image Effects and then Seamless Tiling.
There are several options that you can modify in the Seamless Tiling window, and most of these you can change based on your own personal preferences.
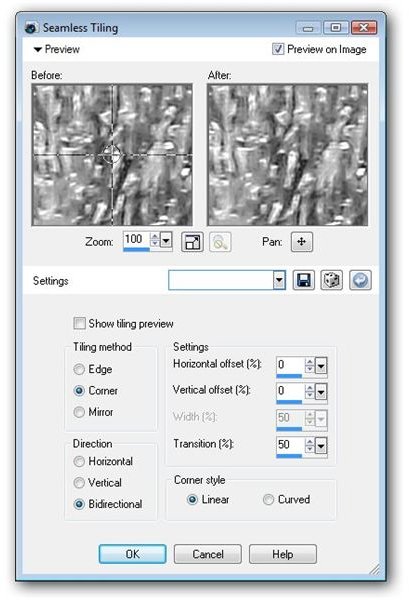
To help get an idea of how your image will appear when tiled, put a check in the box next to Show tiling preview. This will bring up an additional window that you can use to help guide your choices when modifying the settings in the main Seamless Tiling window.
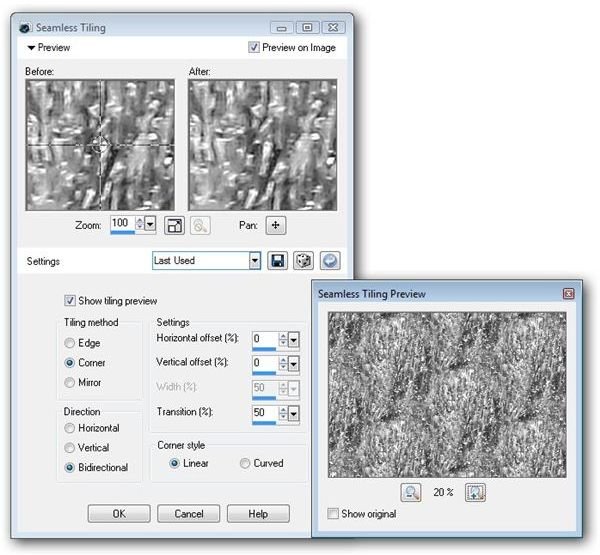
When finished, click OK to apply the changes to the photo.
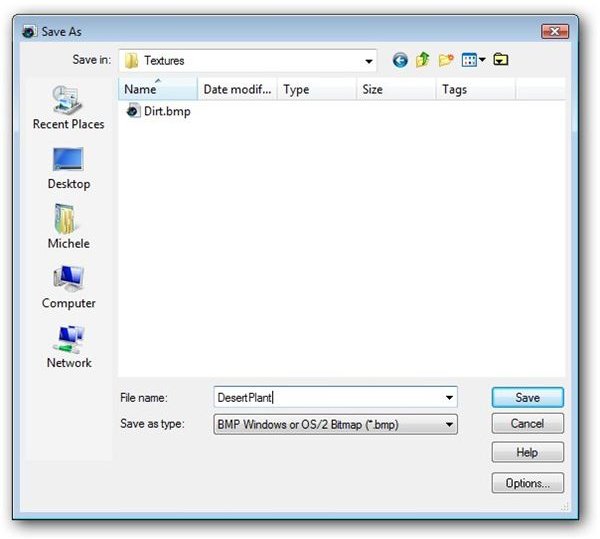
Step 4: The final step in the process is to save the newly created image as a texture. To do this, select Save As from the File menu. Choose the BMP Windows or OS/2 Bitmap option from the Save as type drop down list. Save the image in the Documents/MY PSP Files/Textures directory that should have been created when you first installed Paint Shop Pro. (If this directory doesn’t exist, create it first.)
Now, this new image will be available from the list of texture swatches the next time you want to apply a texture to a digital photograph.
To find out more about other tools and features in Paint Shop Pro, be sure to browse through the Digital Photography Channel’s collection of user guides and tutorials .


